

Gartner estimates 83 percent of data migration projects either fail or exceed their budgets and schedules. This is likely due to the fact that many companies still operate without the aid of dedicated migration software. Trying to navigate a Network-Attached Storage (NAS) migration with outdated and incompetent tools means:
- High cost of both internal and external personnel
- Increased risk across all aspects of the project from data integrity to reputation of the migration team
- Increased number of switchover events with extended outage durations
- Disruption to the business
- Lack of proper reporting and governance
- Skilled staff distracted by migrations instead of working on strategic initiatives
All these challenges can be avoided or significantly mitigated by following a solid migration process.
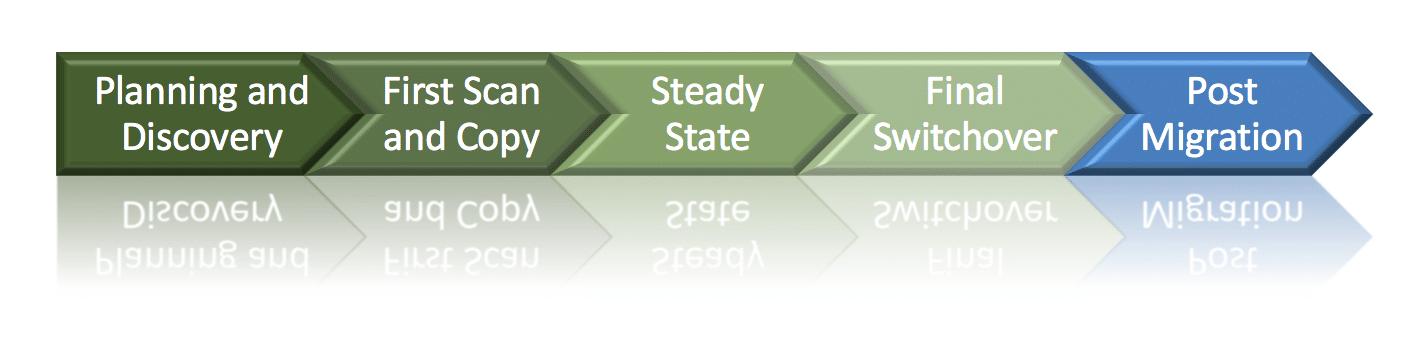
Dealing with complex NAS migrations for the past decade, it’s become clear that there are five steps to achieving a fast and accurate NAS migration.
Step 1: Planning and Discovery
Have you ever arrived to page 5 of an IKEA instruction manual to find you’ve put everything together backwards? Or better yet, you’re missing a screw? Hindsight: The first step to putting together that brand new office desk should have been to count the pieces and read through the instructions before screwing anything into place. Knowing the tools you’re working with and what you want the final product to look like is key. Otherwise, it’s a guaranteed headache. The same goes for starting a NAS migration. Knowing the type of content on the source system and the makeup of the data ahead of time is so important to preventing migration failure.
Before beginning a NAS migration, ask upfront questions to know what you’re working with:
- What data actually needs to be migrated – everything, or can you retire some of that older data no one has touched in over seven years?
- Will you be migrating over a LAN or WAN link? And how fast are the links?
- How much data is there and what is the makeup of that data?
- Size (this is important as it can drastically affect migration performance)?
- NFS and/or SMB or Mixed Protocol?
- What applications and application groups will be impacted?
- Does data need to be migrated in a specific order or in parallel?
- How long will the overall migration take?
- How long will the final switchover to the new system take?
- Will all the capacity be switched over at once, or in stages?
- What is your outage tolerance for the final cutover?
- What is the business impact of delaying migration efforts vs the cost impact of leaving old gear on the floor?
- Who will perform the migration and what method will they use?
In order to execute a seamless NAS migration and enable IT admins to plan well, you’ll need this in-depth view of current data and users. Your NAS migration tool of choice should provide insights into the source storage system by extracting metadata, which will explain when a file was stored, by whom, and when last accessed. Also, it should take into consideration capacity by files, directories, per user, per creation time, per modification time, or historical usage. You’ll need to analyze all of this data to better inform your approach to NAS migration.
Step 2: First Scan and Copy
This is where pen meets paper for the first time. You’ll need an enterprise-class software that allows you to migrate file or object data between storage platforms. To start, the initial set of data is moved from the source (keeping it synchronized) to the target NAS. The First Scan will discover the data that needs to be migrated, and the First Copy will copy the migration paths to the target.
Some companies are still using operating system schedules for each individual copy host, resulting in an unbalanced workload across servers. To create less protrusion, implement modern migration software that graphically defines migration policies so you can dictate what content gets copied between the source and target, the frequency at which that content is resynchronized, and a single pane of glass for easy monitoring and management.
Step 3: Steady State
Now that the first files have been scanned and copied over from the source NAS to the target NAS, it’s time to enter the next step of the migration process known as Steady State. Steady State provides a continuous mirroring of the data on the source and target systems. Here, your team will work out business details and timing decisions regarding redirecting applications and end users to the new system. It’s also important to address any errors that are taking place as data is being copied during Steady State. Errors are not uncommon, and they will help you identify data that won’t copy properly so that corrective action can be taken if needed. For example, you might look for character set conflicts and an inability to access a file on the source system. Working this out before the final switchover is, of course, imperative.
During this step, you should also consider a dry run of the final switchover step to get a good idea of whether or not you should cut everything over at one time or plan to operate in stages. Forecasting all of this will allow you to dictate how long the final switchover will take, which we’ll discuss in the next step.
Step 4: Final Cut Over
Now it’s time to cut over your data to the new system. The intention of the final cut over is to capture all files. This is done by first scanning the source data and target data to determine what needs to be moved in the final stage, including any data that might have been excluded in previous attempts. Before you begin this process, make sure the settings for your system of choice are set up to limit end user access to the source data so no source changes will happen that don’t also happen to the target data. In some systems, setting shares and exports on the source can be set to “Read Only” directly within the migration tool. For other systems, you will want to have planned time to do this via a script or manually.Once the final copy is done you will want to create the SMB shares and/or NFS exports on the target and make them read and/or write depending on what existed on the source system.
Step 5: Post Migration
Now that you’ve finally turned over the IKEA desk you worked carefully to assemble, it’s time to add some weight to make sure it’s sturdy and stable. First, I recommend doing some quick validation testing that looks at the files, file permission, and share/export access rights on the target system. Have application owners and even a few key end users run their own application tests – to check things such as home shares – is always a good idea post migration. Are you satisfied with the condition of your data? If the answer is yes, the final step is to redirect users and applications to your new source. This can be done via DFS or DNS changes depending on your environment. Or, you can forward new links to your users if you’d like.
One of the reasons so many NAS migrations fail is lack of preparation and visibility into existing data. It’s impossible to successfully execute a migration without knowing what you’re migrating in the first place. Knowing exactly what you’ll be working with ahead of time and migrating with a NAS-specific migration tool will lead to a better experience from your IT teams and your end users.
-Authored by Michael Jack, Vice President of Global Sales and Co-Founder, Datadobi


 Amazon