

We’ve now got servers out of the way and if you’re like me, you’ve chosen some power-hungry beasts that heat your little home office. At some point I want to move back into a house that has basements as those seem to an awesome location for such things unless you have an actual wiring closet built in to your house. We will now go over another important piece to your home lab – storage. There are several decisions that need to be made regarding storage, and each one will affect your lab a little differently. In this post, we will go over the differences between disk types, controllers, storage, and storage protocols so you are completely prepared to make the best decision.
Drives
Drives are one piece of your storage. There are several types of drives used today, and each can have a different impact on your storage infrastructure. We have made many advancements in disk drives and SSDs over the last two decades and we aren’t slowing down soon. While I wasn’t around for the original disk drives, they started off as impressive pieces of machinery that held small amounts of data compared to todays. The 4 main types of disks I will go over are:
- SATA Drives
- SAS Drives
- SSDs
- M.2 Drives
SATA
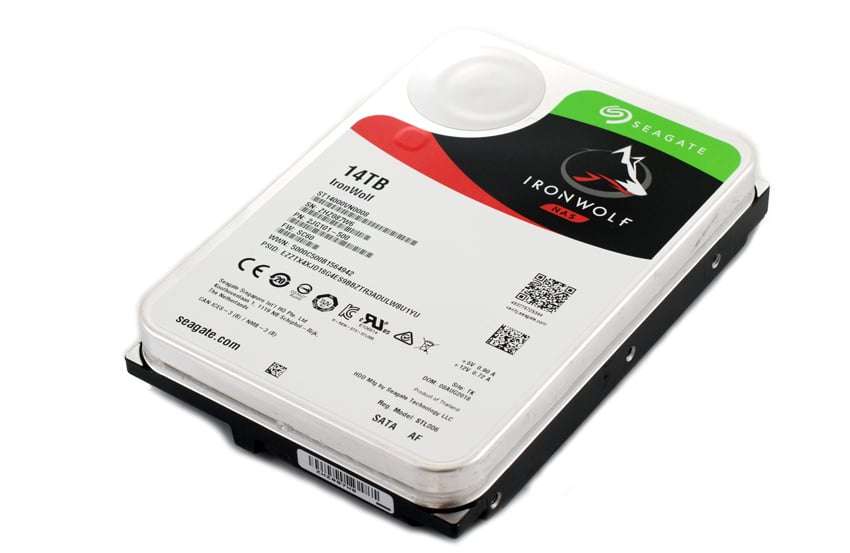
SATA stands for Serial Advanced Technology Attachment. Most of your home computers use SATA drives. They are inexpensive and can hold large amounts of data. As of the writing of this article, I believe the largest is around 16 Terabytes. When SATA 1.0 was introduced in 2003, they were a big jump over the hard drive technology they replaced, PATA or Parallel Advanced Technology Attachment. They could transfer much faster (originally 1.5Gbit/s or 150 MB/s) than the outgoing drives, which maxed out at 133 MB/s. They additionally offered features such as better hot plug (plugging in a hard drive while the system is on) and a much smaller cable connector only using 7 pins instead of 40 or 80. Since its introduction, SATA has evolved several revisions to where we are today. SATA 3.0 or Serial ATA-600 is the current iteration and has improved performance greatly. As you might have guessed, current transfer speeds are up to 600 MB/s and over the interim versions have added more features, such as Native Command Queueing, which has increased performance. As mentioned at the outset, the main driver for these disks is the amount of data they hold and the price point. They offer good performance and are more than enough for most home labs.
SAS
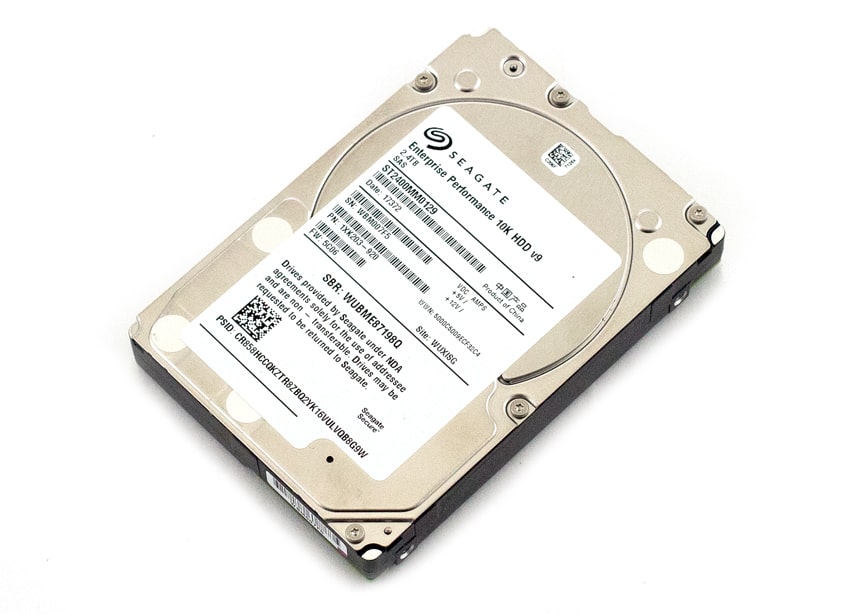
The next are SAS drives. SAS drives or Serial Attached SCSI was a replacement for the older Parallel SCSI disks. SAS entered the market in 2004 with the SAS-1. SCSI or Small Computers System Interface disks operate differently than SATA. SAS has taken a lot of the original problems of having to give addresses to the disks and other headaches that system admins had to deal with. SAS drives use a different command set based on the original SCSI command set and are more intelligent. SAS drives are also faster than SATA. Part of this is due to the command set, but also because of the interface itself and disk platter spindle speed. SAS is also full duplex, which means it can transmit and receive at the same time. The hard drive disk platters they use can spin as high as 15,000 RPM. SATA disks spin at 7,200 RPM or slower. They also use higher voltages that allow cable lengths to be longer. Current speeds of SAS-4 (current version) are 22.5Gbits/s or approximately 2500 MB/s. We find SAS disks in enterprise servers and they are more expensive. These are great to use in your home lab, but they will cost you more and usually be smaller disks.
There is one drive type that can be confusing. NL-SAS drives. These are SATA drives with a SAS interface on them. They were introduced as a cheap way to get more storage on enterprise servers. They are more reliable than regular SATA drives, and the price falls somewhere in the middle.
SSDs
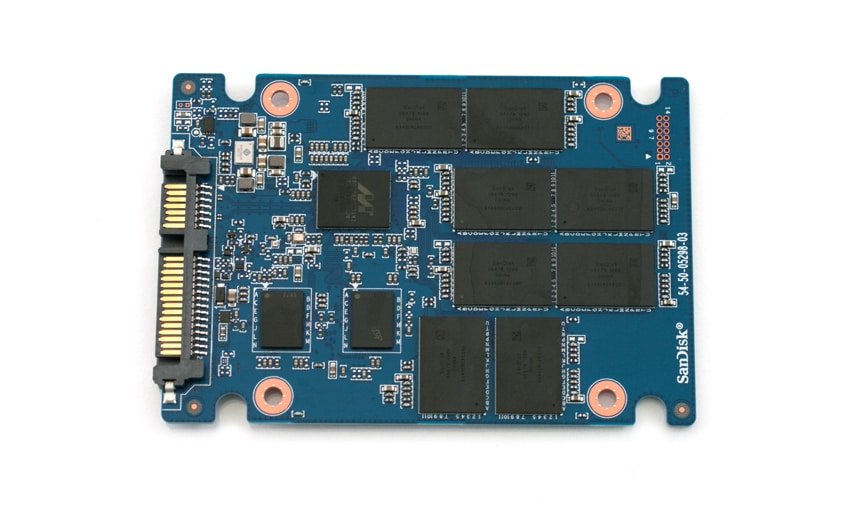
SSDs are fast. No doubt about it, I would have everything in my home lab SSDs if I could afford it. SSD stands for Solid State Drives, and they don’t use disk platters; they use memory chips to store your data. Because of this, they are orders of magnitude faster than the previous drives discussed. Since SSD mainly describes the storage technology, you can find SSDs with SATA, SAS, NVMe and other interfaces. SSDs employ a few different chips and their speeds vary depending on which chips and controllers are used. While I won’t go into the deeper levels of SSD tech, I will leave you with the following. There are SLC, MLC, TLC, and QLC chips. The order I listed them is the order of speed. The slower the chip, the cheaper it will be, so if you use them, you can choose accordingly.
M.2
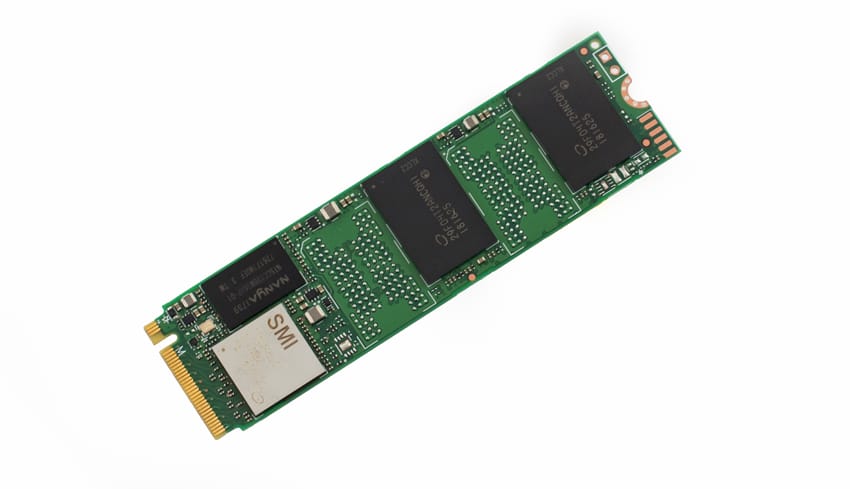
The final type of drive we will discuss are M.2 SSDs. They also use SSDs and can use either SATA command sets or NVMe command sets. If you use the regular SATA command set (there is also a difference in the physical interface) it will be about the same speed as a regular SATA SSD, maxing out about 600 MB/s. NVMe SSDs can hit speeds up to 5GB/s using AMD’s new motherboards. Even using “older” technology, we can still achieve 3500 MB/s read speeds. NVMe drives use direct paths to the processor to achieve their impressive speed. The price on these has decreased a lot in the last couple of months, but they are still approximately $100USD for the cheapest 1 Terabyte NVMe drives. Keep in mind that different speed chips (QLC etc) are used on these drives too, since they are SSDs.
Based on the information above you can make sound decisions on what type of drives you want to consist of. Remember too, that it is very possible to mix the above types based on need and motherboard or RAID card support. Indeed, most companies will use NL-SAS or SATA drives for their storage of archives or older information and use SAS or SSDs or a mix of them for their main data. In a lot of different storage devices, you can create different “tiers” of service. Such as hot and cold storage and the device will move data between them depending on how often the data is accessed. Experiment a little with it.
Controllers
Once you’ve purchased drives, you need to be able to control them. Just like drives, controllers have different levels of performance. You generally choose one based on the interface you need to support and the protection level you wish to use.
Naming can be a bit confusing on these. Fortunately, there is usually good documentation available to help you make your decision. Dell has a webpage to help you figure out which one you need. If you go here there is a great comparison table that lists all features of their current controllers. In most of the controllers you might buy on older server, they will be slightly less featured. Some of the columns may not make sense so I will go over them.
- Model = Name of the card
- Interface Support = this is what type of hard drives the card supports.
- PCI Support = This is the version of slot on the motherboard the card requires to operate
- SAS Connectors = Number of supported hard drives and if they are internal to the server or external (connected by a port)
- Cache Memory Size = This is important as it plays a large role in performance. At a high level this is where the card offloads commands from the OS and holds it until it performs them. The larger the cache the faster you get control back to your OS or application to go to the next operation. So bigger usually is better in this case.
- Write Back Cache = This is how the data in your cache (mentioned above) is protected in case of a power outage. Older cards such as the H700 would use batteries in case the server lost power to hold onto any commands they hadn’t made it to the disk yet. Limitation was that if power wasn’t restored soon, your battery would die, and they need to be replaced when the battery was no longer good. Flash Backed doesn’t have that limitation and uses capacitors to provide power to write to the cache and hold the info until the commands can be flushed to disk.
- RAID Levels = This is the RAID protection level that the controller supports
- Max Drive Support = This is the number of drives the card supports.
- RAID Support = This column delineates if the RAID process is done through Hardware or Software. If it is done through software, what software is supported. While software RAID has gotten faster, Hardware RAID will always be faster. There are certain circumstances you might choose to use software (for example if you have different size disks to combine) but I highly recommend you stay with hardware-based if your budget allows.
The closest matrix I could find for HP controllers was the following. Here is there Gen10 (newest ones currently) and here is the Gen 8 controllers which is the generation that will be coming in most of the inexpensive servers on eBay. They have a bit more technical information on the controllers as these are marketing papers, but the important fields above are still used. They do abbreviate the Flash Based Write Cache into FWBC.
Different Approaches – Commercial NAS, Home Built NAS, or Local Storage
Now you have a better understanding of the hardware involved in your home lab storage. Which leaves you with a new decision. Do you want to only have local storage (drives in your server), or do you want to use shared storage? We obviously need to dig into these options a bit more.
- Local Storage – This is storage directly attached to your server. This can also be termed, Direct Attached Storage or DAS. It can either be disks housed inside the server or an enclosure unit and attached with a SAS cable. The advantages of this are you don’t need to purchase any extra hardware or servers. Another is simplicity of setup. You can setup the RAID level and format in the Operating System and go. Then there is speed. Direct Attached will always be faster than shared storage. Disadvantages are you can only use the storage directly on that server.
- Shared Storage – This storage is hard drives in an enclosure running a storage Operating System of some sort. This storage is shared out over the network to be used. There are two types of shared storage in use by home labs.
- Block level storage – This is usually using a protocol called iSCSI. Essentially sending SCSI commands over the network. This protocol is used to present storage that to the operating system looks like raw hard drives. You will need to format them to use them. Control of the file system and files on the disks is done by the remote servers that it is shared with. There is other block level storage such as Fiber Channel, but I won’t go over them here due to them not being common for home labs.
- File Level Storage – This is using either the protocol NFS or SMB. NFS is an acronym for Network File System and SMB stands for Server Message Block. Each of these protocols have been improved upon and usually referred to by the version they are using, i.e. NFSv3 or SMBv3. Each new version builds on the previous’ features and capabilities. Instead of presenting raw storage to the Operating System, File Level Storage presents a share or mount to servers. The computer controlling the disks also controls the file system and files on it.
Which is better? Well as mentioned above, it depends. If you are only going to have one server, local storage is just fine and more than likely the fastest option for your needs. If you need to share storage between servers, you should look at purchasing some sort of shared storage solution. Of the two of those, I like to try to monitor whatever enterprise model I am trying to learn. If my company uses iSCSI then I want to learn that. On a personal note, I prefer iSCSI. The main reason is speed. iSCSI is generally a bit faster and it supports multipathing (more than one data path to the storage) better than NFS. SMB is generally used only in Windows environments and it isn’t used much currently for enterprise environments. You are free to disagree with me on the iSCSI vs NFS. I am basing my research on a couple of things, such as this paper. There are plenty of supporters for both sides. NFS IS easier to setup to be fair. But that is for another blog post.
Pre-built Shared Storage vs DIY
If you’ve got this far, you need to decide if you want to try to build your own shared storage solution or if you want to buy a pre-made solution.
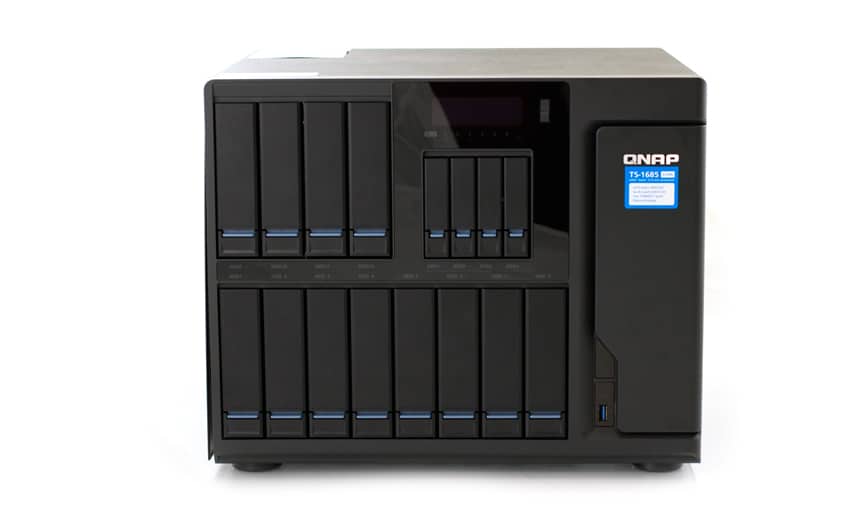
There are several good solutions out there made by companies like QNAP and Synology, to name a few. There are a quite a few companies making these solutions and they each carry many of the same features. StorageReview.com has reviewed quite a few of these too and those can help you decide. Some points to keep in mind, what features you will need or want and future expandability. Most pre-built units will support NFS/SMB/and iSCSI. Some of the smaller units might have trouble with supplying enough data bandwidth to keep up with your environment so you will need to decide accordingly. Most of them share a decent amount in common. Most of them are smaller boxes than servers, and will use less power and draw less power. Each company has their own Operating System, usually some flavor of Linux built specifically in-house. There may be a bit of setup involved but usually it is a bit simpler than a do it yourself box. I personally like going this route as it’s simple and unless you are going to be supporting storage servers then there isn’t really a “need” to try to design something yourself.
However, there are good reasons to have a DYI storage solution. Most of the pre-built units charge a bit of a premium for their solutions and they are, in most cases, difficult to upgrade. If it is possible, you will usually need to use their hardware to upgrade. If these reasons make you unhappy, then this is your path. You can buy a regular tower case or even a rack mount case. You can use a regular PC or build one from the ground up. You will need to decide which Operating System to use. Windows or Linux are your two options usually. The software you use to share the storage is a bit trickier just because there are several options. A lot of home lab’ers use an operating system called FreeNAS. There is a bit more to setup but you have a lot of help available on the internet. FreeNAS is by far one of the most popular options and like its name indicates, it is free. The software is all free minus the time you spend setting it up. You could also just use Windows Server as well. But there is a cost associated with that of course. The top 5 software packages courtesy of how2shout.com are as follows:
- FreeNAS
- NAS4Free / XigmaNAS
- OpenMediaVault (OMV)
- Openfiler
- Rockstor
I personally have two units currently. The first one is a Synology and has 4 “bays” or can accept 4 hard drives. This allows for a decent amount of speed and has 2 network connections to provide for multi-pathing or a standby network connection. Hard drives up to 14 Terabyte are currently available, but I wanted a few more capabilities so I now have a QNAP unit. This one has 9 bays and can accept 5 drives of the larger 3.5” size and 4 of the smaller 2.5” size. It also offers something called Smart Tiering. Tiering is a concept originally put on more expensive storage units. Tiering is taking two or more speeds of discs and using them intelligently. The software on the storage unit looks at how often data is used. If used a lot, it will move it to a faster speed disk so that it is faster for the users. The concept uses the ideas of “hot” and “cold” storage. The more something is used, it is moved to hot storage. Conversely, the less something is used, the colder it is and it gets moved to the cold storage drives or the slower performance drives. This allows a company to buy less expensive disks like SATA drives for data that isn’t used very much.
This covers the storage section. I will be taking you through setup of my QNAP unit from scratch when we get to the setup section of this blog series. That way you can get a better idea through that blog and also from others on here at StorageReview.com to decide on the best storage solution for your home lab.
– Mike Wilson @IT_Muscle
This post is part of an ongoing series of user-submitted content dedicated to exploring the fun and challenges of building, maintaining and sometimes building again a home lab. This series is in partnership with our friends at /r/homelab. If you’re interested in sharing your set up, please send an email to [email protected]


 Amazon