

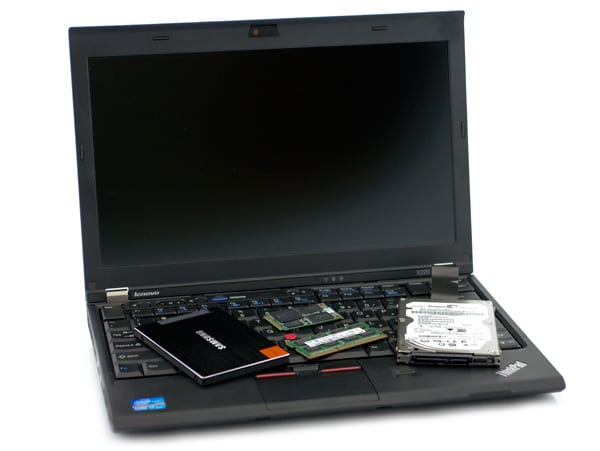
Upgrading your own notebook doesn't have to be a daunting task. At StorageReview, we understand some of our readers might not be comfortable opening up their own notebooks. In this upgrade guide we look at the increasingly popular 12.5” Lenovo ThinkPad X220. This step-by-step guide shows you how to open access panels and replace or upgrade your system memory and storage devices.
Make sure you ground yourself by touching a piece of metal (a faucet) while working with the innards of the notebook; this will eliminate any static electricity that is present. It may be a good idea to get an anti-static wristband prior to performing the work.
Lenovo ThinkPad X220 Component Specifications:
- System Memory: 204-pin PC3-10600 (DDR3 1333) DDR3 Memory
- Primary Drive Bay: 7mm 2.5-inch SATA Hard Drive or SSD
- mSATA Slot: Compatible with all newer mSATA SSDs
System Memory
Memory upgrades are perhaps the most popular component upgrades. It’s often cheaper to upgrade the memory in a notebook yourself rather than pay the manufacturer up front to install more at the factory. It’s generally a good idea to purchase as much memory as you can afford; too little RAM can lead to a lack of performance while running multiple applications.
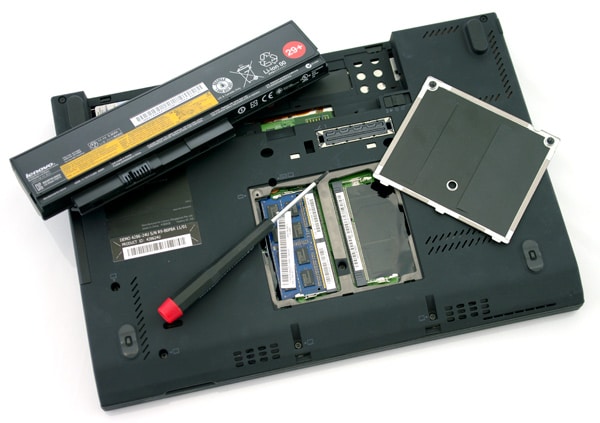
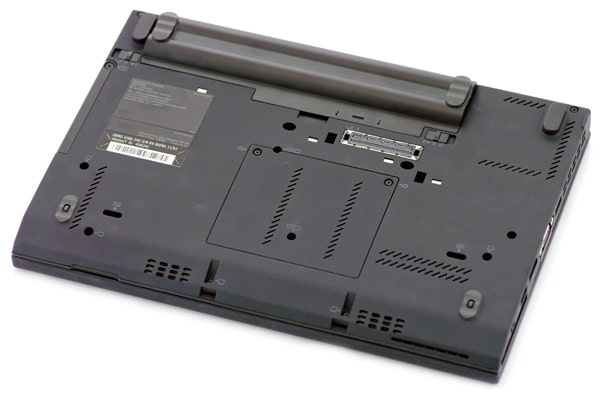
Upgrading the X220’s memory is easy to do. Flip the notebook upside down (put a towel down so the lid of the notebook doesn’t get scratched) and remove the battery. There is a relatively large user-accessible panel in the center of the chassis – unscrew the two Phillips head screws holding it in and gently pull it off.
There are two retention clips holding the memory chip down; gently push them towards the sides with your thumbs simultaneously. The memory chip will then pop up – pull it out gently. Inserting a memory chip is the exact opposite; push the stick in at an angle (be careful, as it will only go in one way – pay attention to the notch along the line of gold pins) and then push it down until the retention clips snap in place.
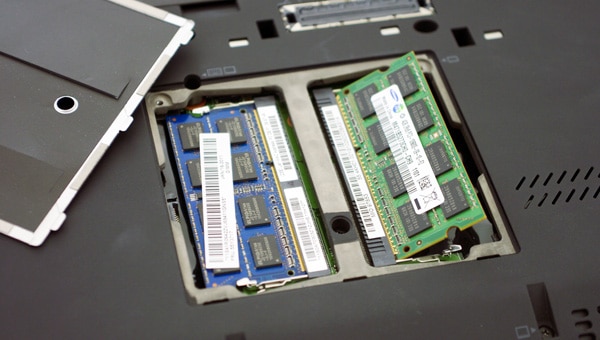
Speaking of which, be careful not to touch the gold pins of the memory stick; any oils or dirt there can lead to memory errors later on.
Hard Drive or SSD
There are two options for expanding the X220’s storage:
- Primary 2.5-inch bay
- mSATA slot
The 2.5-inch bay can take slim 7mm hard drives and SSDs while the mSATA slot, located under the keyboard, can only take specialized mSATA SSDs.
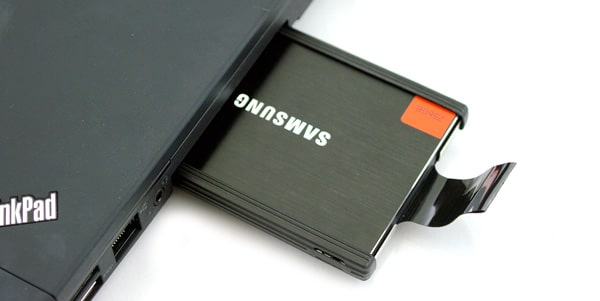
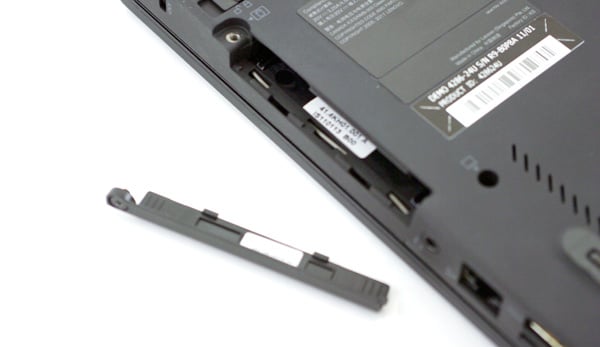
The primary 2.5-inch bay is the easiest to upgrade. The hard drive bay is located on the right side of the notebook next to the headphone jack. Remove the single screw holding it in place and slide the drive out. The drive is actually attached to a caddy and needs to be removed. Take off the rubber bumpers and the four screws holding it in place, then replace the drive and performing the opposite actions to put the drive back into the notebook.
The mSATA slot is the next storage expansion option. It may be desirable to use this slot to house a fast SSD, and then just use the primary 2.5-inch drive for storage. The keyboard and palmrest need to be removed to access the mSATA slot; remove all of the keyboard/card labeled screws on the bottom of your notebook. There are six in total.
Next, turn the notebook over and open the lid. Push the keyboard forward gently – notice the clips holding it in place. The clips will pop free when the keyboard is pushed far enough; don’t use a lot of pressure. The keyboard will lift up easily once the clips are undone. Don’t lift the keyboard up too quickly as there is a small cable that connects it to the computer. Once the keyboard is removed, carefully pop the palmrest off to access the mSATA slot.
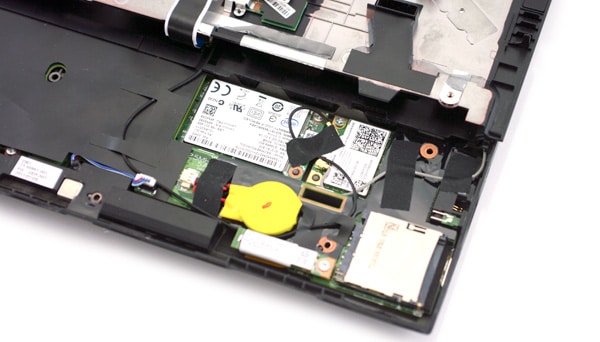
The mSATA slot is located at the bottom right hand side of the notebook underneath the palmrest. If you ordered your notebook with the WWAN (embedded 3G/4G) option, this slot will be occupied, in which case it’s probably not a good idea to upgrade with an mSATA SSD. Otherwise, the installation of an mSATA SSD is like installing a memory chip.
Remove the single screw in the slot first, then insert the mSATA SSD at an angle (be careful again not to touch any of the gold pins), push it down, and screw it down. Put the keyboard back on the notebook, pop it in place (don’t force anything), and then remember to screw the keyboard back in on the bottom of the notebook.
Wrap-up
The Lenovo ThinkPad X220 is an exceptionally versatile 12.5-inch ultraportable notebook. It’s primarily designed for business but works great as a student or home notebook as well. In this guide we showed you how to upgrade the memory and the storage, consisting of the primary 2.5-inch bay and the secondary mSATA slot. Looking to upgrade another component we didn’t cover in this guide? Be sure to ask our resident experts in the forums!


 Amazon