
 Nothing is worse than having a powerful NAS for your business needs to only have the bottleneck manifest itself in the network. Synology has a quick and easy fix for this with its network AIC, the E10G17-F2 Ethernet Adapter. The E10G17-F2 easily adds dual 10GbE SFP+ ports (there is also a single port option, E10G15-F1) to a NAS in a few minutes. For this In The Lab, we will go over how to install the card.
Nothing is worse than having a powerful NAS for your business needs to only have the bottleneck manifest itself in the network. Synology has a quick and easy fix for this with its network AIC, the E10G17-F2 Ethernet Adapter. The E10G17-F2 easily adds dual 10GbE SFP+ ports (there is also a single port option, E10G15-F1) to a NAS in a few minutes. For this In The Lab, we will go over how to install the card.

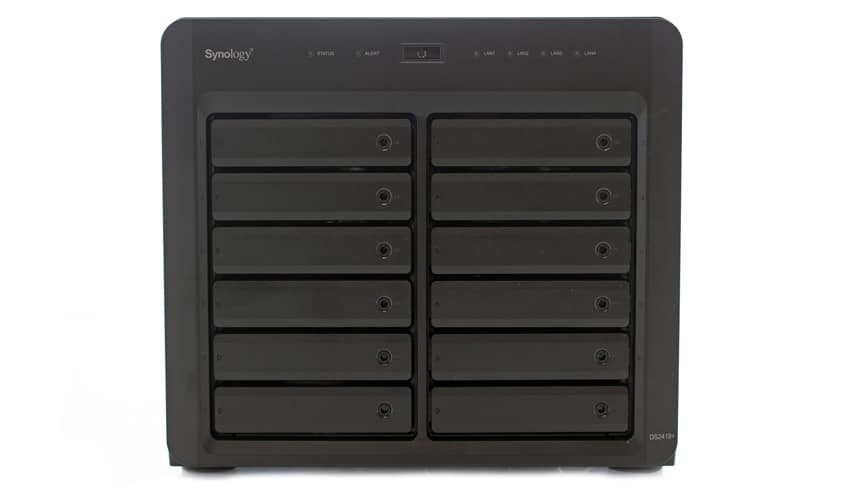
For this article, we will be using the Synology DiskStation DS2419+ that will be featured in an upcoming review. This new NAS is a 12-bay model for up to 168TB of capacity. The NAS also comes with a nifty PCIe slot that allows user to install either the E10G17-F2 Ethernet Adapter or the M2D18 Dual M.2 NVMe/SATA SSD card. For this piece, we’ll focus on the NIC though the procedure to install the other card is nearly identical.
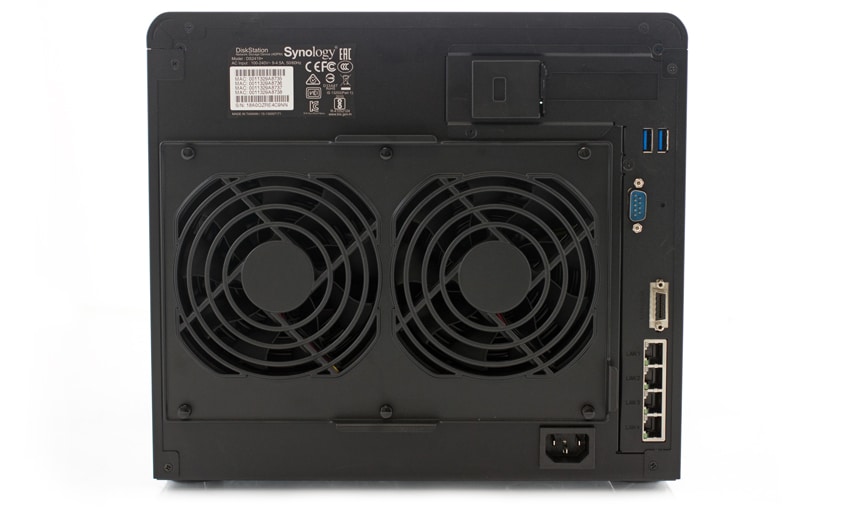
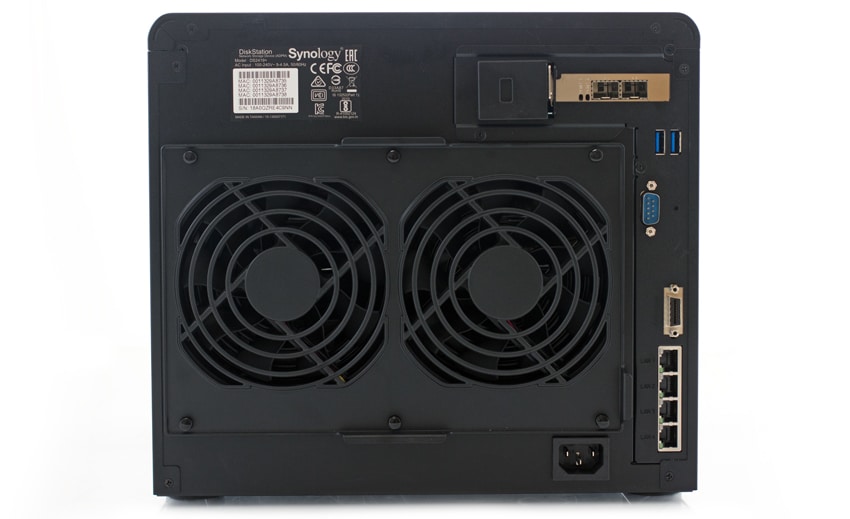
Flipping around to the Rear of the NAS one can clearly see a blank spot for the PCIe cards to be slotted into. The slot is in the upper right corner. This takes a bit more than just popping out the blank and sliding in the new card. Synology NAS devices come with an out cover that can be slid off after unscrewing it from the back. The large DS2419+ actually has three separate panels (top and both sides). One only needs to take off the top panel to have access to the PCIe slot (a close observer will notice one of the side panels is also missing, as I was poking around trying to figure out how it comes off at first.
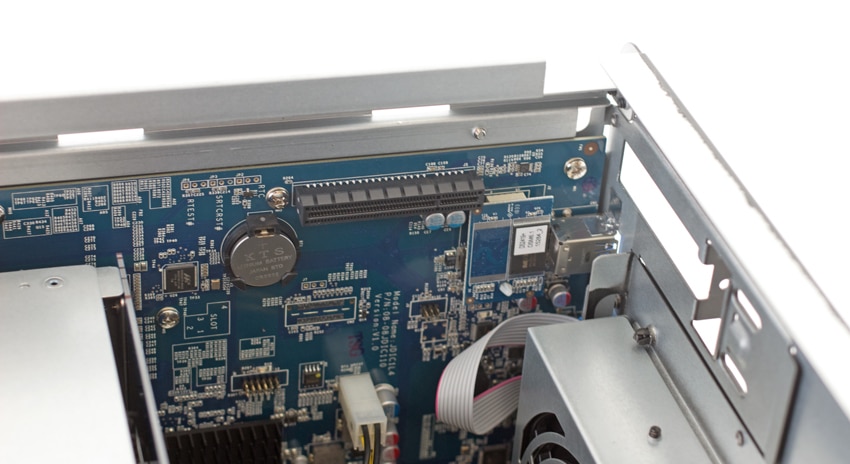
Once the top is off, it is easy to access the PCIe slot and remove the blank. There is a plastic piece that holds the blank in but comes out easily when the two screws are removed.
The NIC pops right into the PCIe slot and can be secured by adding the plastic piece back.
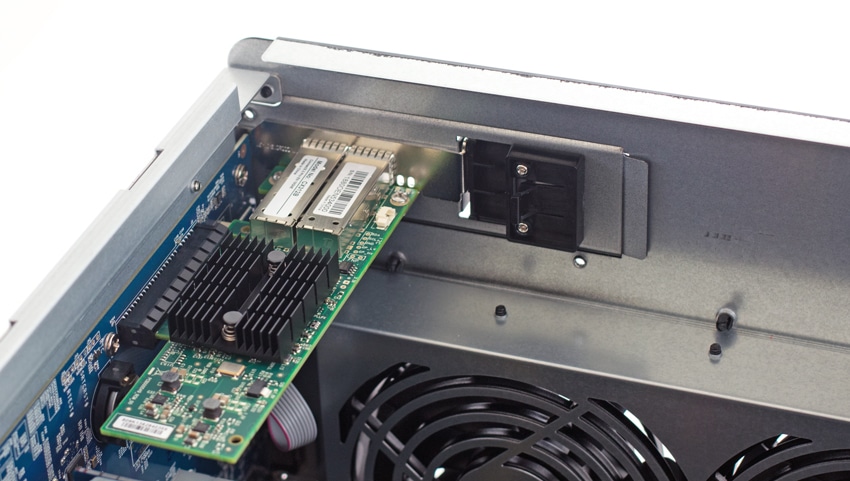
Putting the top back on (and the side if you are me), the 10GbE SPF+ ports are ready to go.
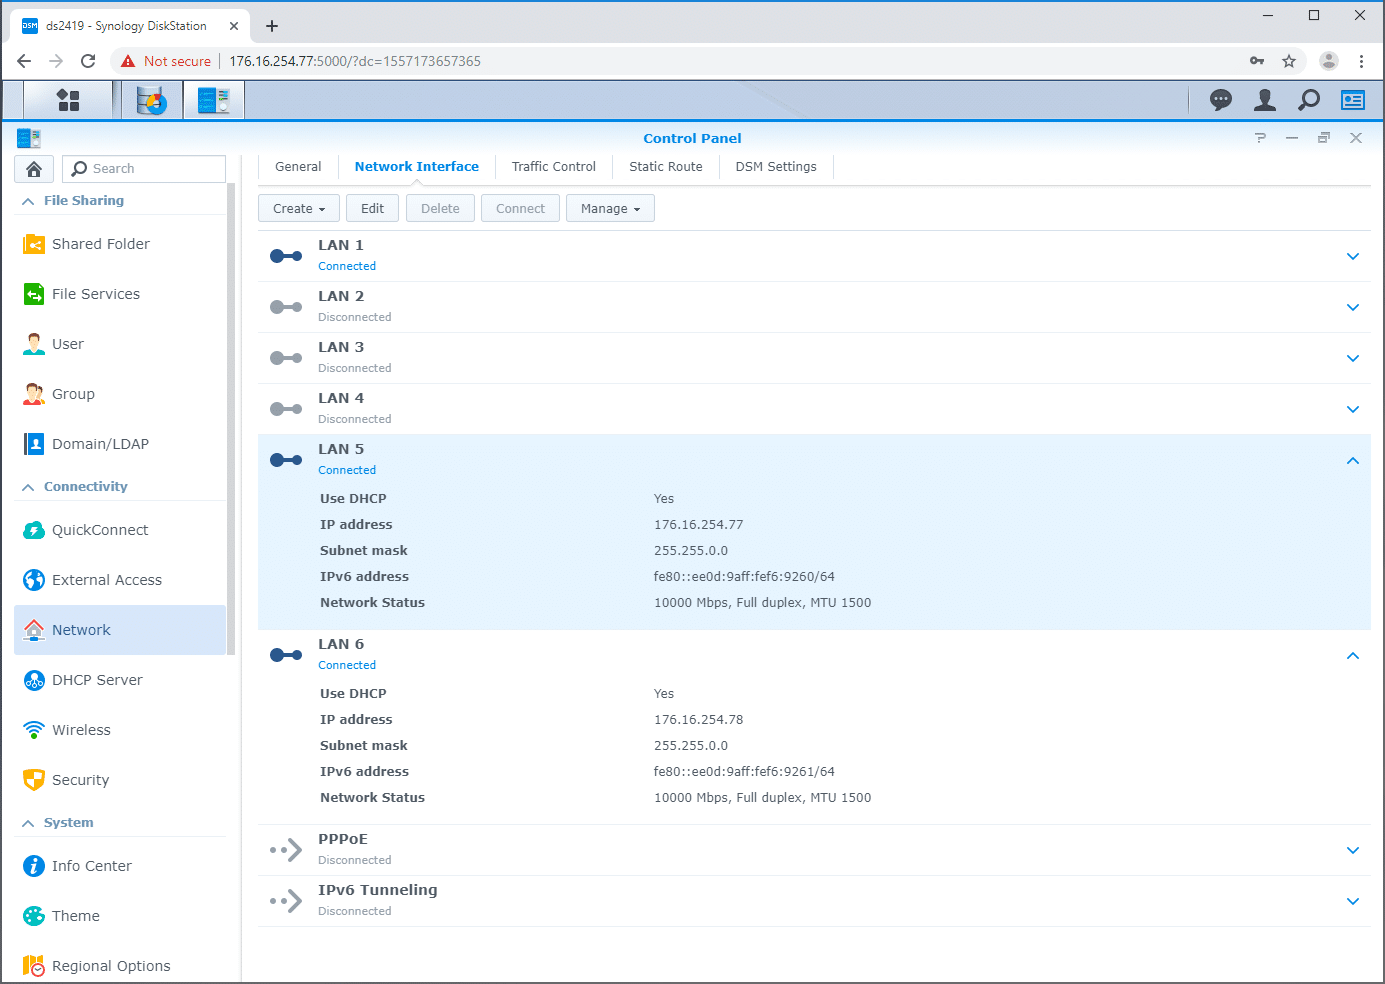
Once it is back together, load up the bays, hook it to the network, and it is good to go. To check on the card, simply login, go to the control panel and click the Network Interface tab. As we can see, the new ports pop up under LAN 5 and LAN6. From that point on it is good to go. In our case we’ll start our testing with the faster network speed, in most users’ cases they can begin their normal workloads again.
Sign up for the StorageReview newsletter