

We have come a long way from the strictly enterprise SAN devices that were firmly targeted to only those with a large budget. We now have dozens of various manufacturers that are offering low cost; high performance hardware at nearly every price point. It's possible to purchase a simple 2 bay NAS that under the hood is running the same OS as the much larger rackmount models – additionally providing many of the same features the more expensive alternative. This OS update function allows for many much older devices to benefit from feature updates, security updates and additional functionality. One of the best in the industry at being able to solve the issues faced in the home, small business or enterprise edge is QNAP with their QTS operating system.
QNAP Systems Inc. was founded in 2004 when it was spun off from the IEI Group of Taiwan. Over the years QNAP has made revisions to their QTS dashboard software. In 2013 QNAP released version 4.0 of its QTS software and has been making incremental revisions constantly. Now in 2019 – we are seeing updates for NAS devices that were released back in 2013. As of this writing 4.3.6 is the latest release and I will be basing my review on that version.
Getting Started with QNAP QTS
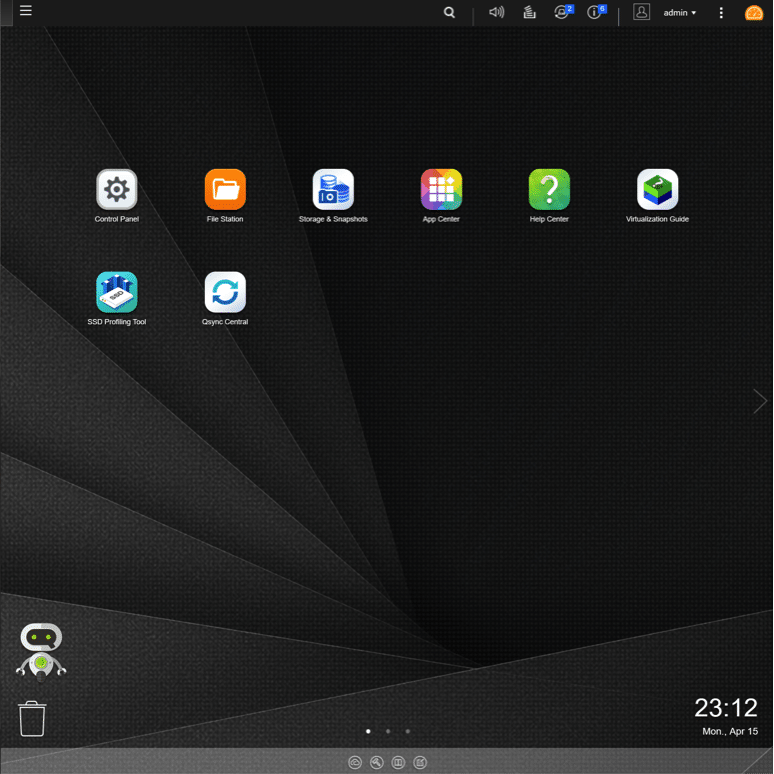
At first glance QNAP QTS has a clean desktop feel to it that is easily accessible from a modern web browser.
Clicking on the little robot (QBoost) will bring up a very simple application and memory overview.

Clicking the dashboard icon in the top right will bring up a system health and resource monitor
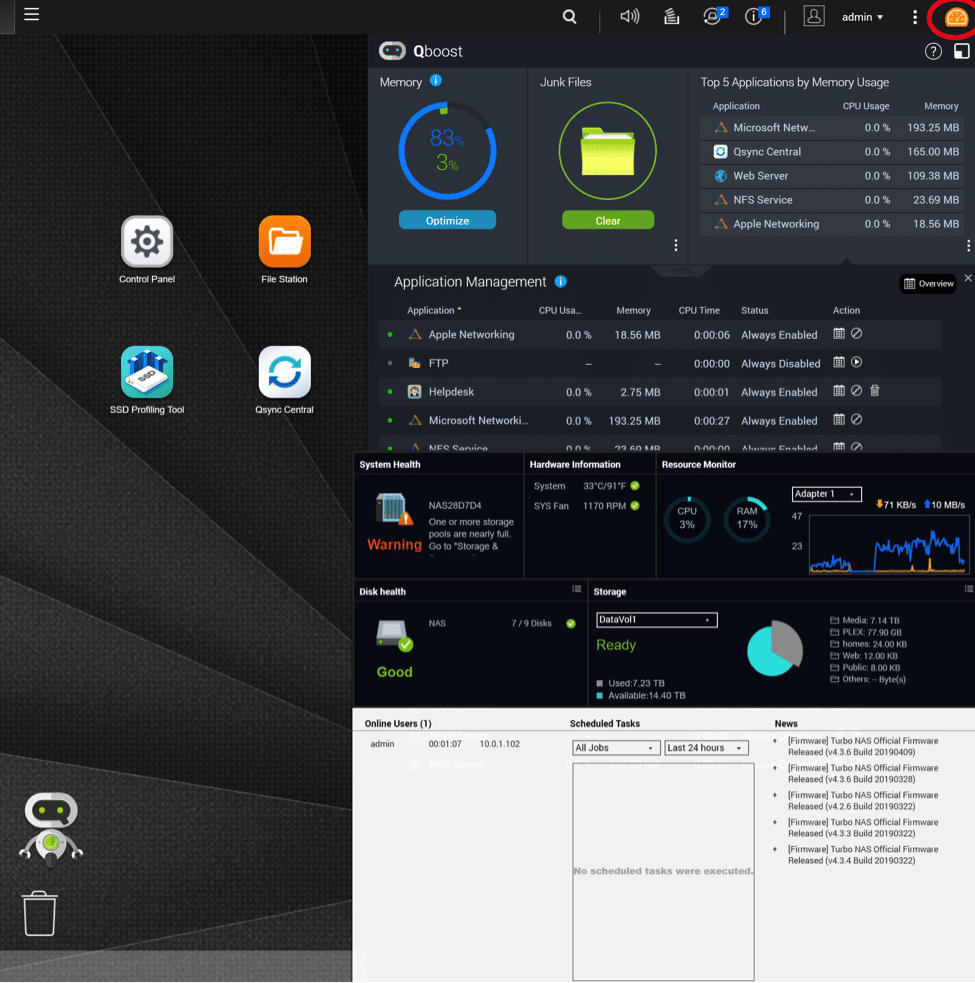
I find that the dashboard is a great high-level overview of resources on the device.
Next we will move on to the control panel of the unit – This review is being performed on a TS-932X
QNAP QTS Control and Configuration
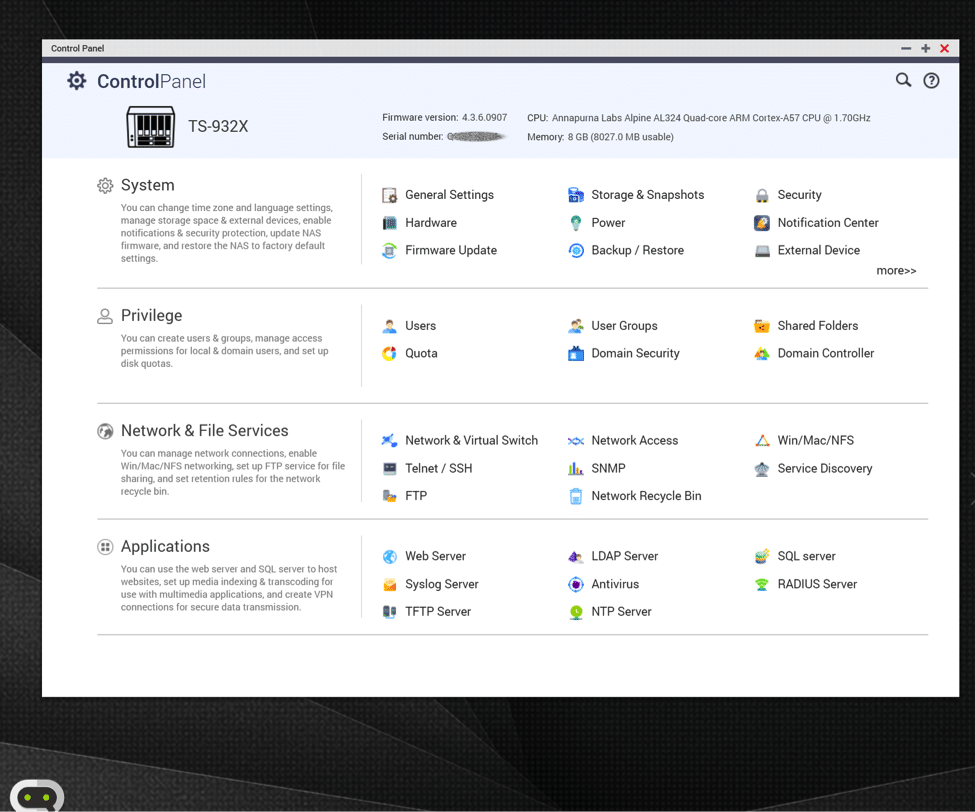
The layouts of the menus are logical and the global search in the top right corner allows for fast search of specific functions. Details of what firmware version (QTS), CPU, Serial Number and Memory are prominently displayed.
One very important detail of the Annapurna Labs Alpine (aside from the fact that Amazon bought the company in 2015 for just over $350 Million) is that it is an ARM based CPU. This will limit the ability to install several third-party packages on this device. Higher end functions like virtualization station and hypervisor compatibility are limited. No HDMI out, no Plex. Looking over the differences between the version of this NAS with an Intel CPU vs the ARM CPU is multimedia functions. The ARM version of this NAS includes two 10G SFP+ ports and two gigabit Ethernet ports where the Intel based version only include one of each. If you are looking for a unit to act as a Plex server or as a multimedia server – consider the Intel versions of the QNAP NAS.
QTS File Station
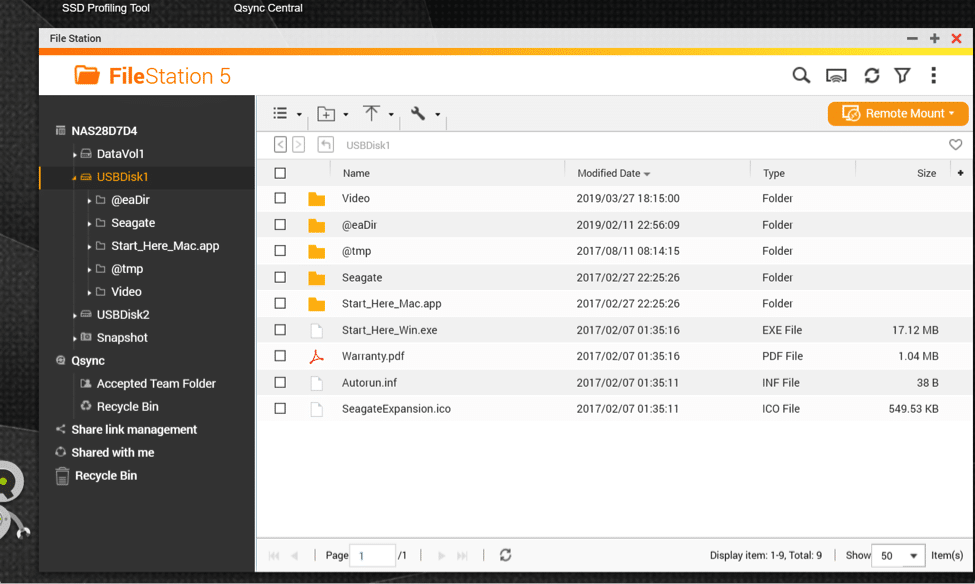
The file station is one of the better file manages I have seen. I was pleased with the incredibly easy to use. Actions that are performed such as copy or move that may require some time will automatically be queued by FileStation to be completed in the background.
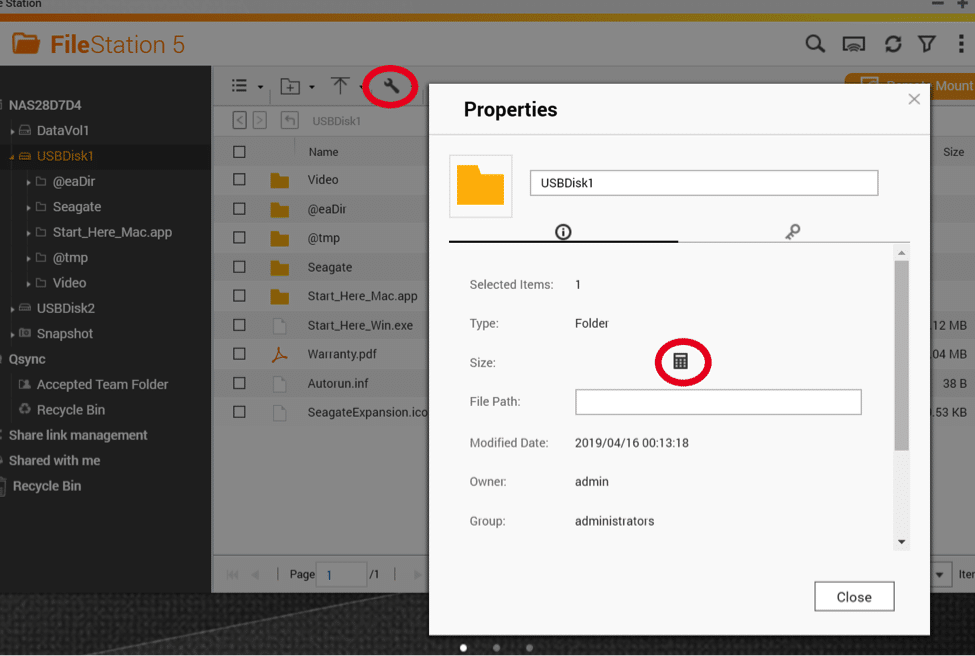
Settings are easy to navigate and when accessing properties it does NOT automatically calculate the size of the folder unless you click on the little calculator icon. This is a real win for me, as when I’m updating permissions for a USB Disk – I don’t need to have the drive hit with size calculations for 5 minutes. Kudos to QNAP for this.
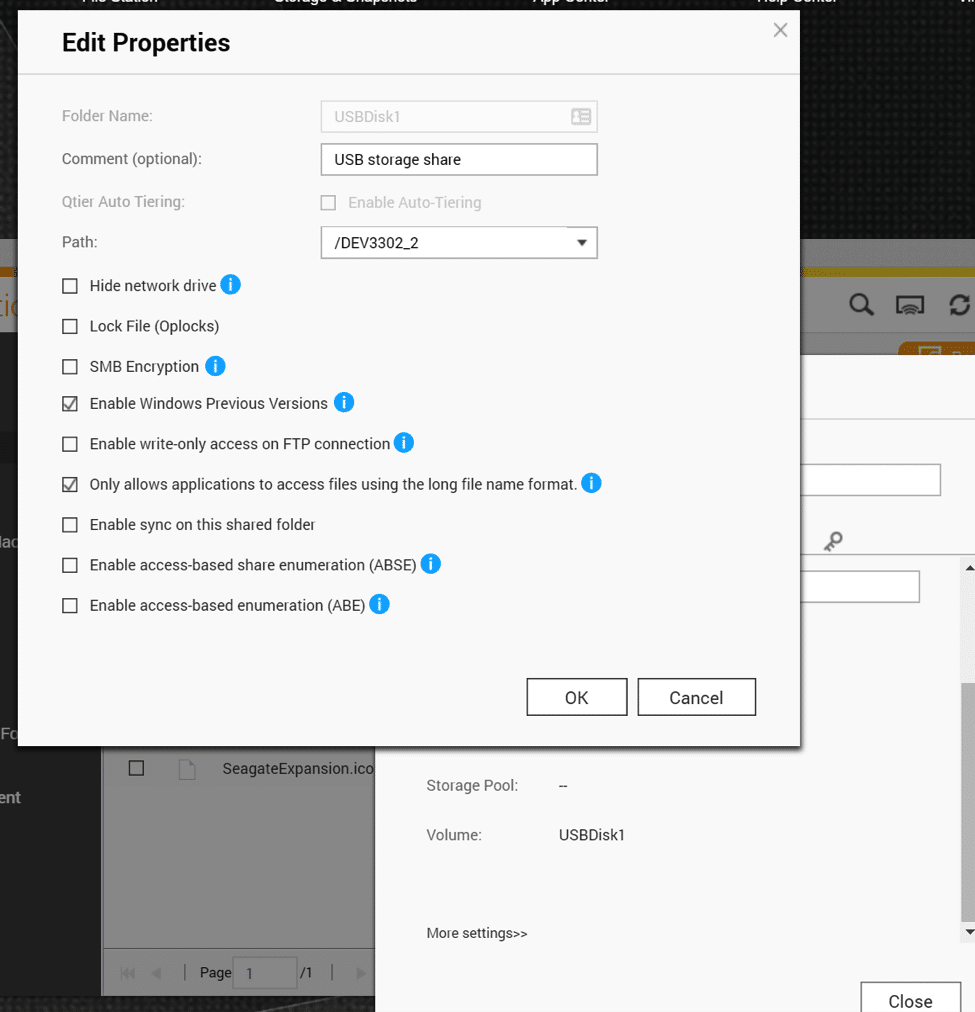
The abilities of File Station to manage files, shares and settings with a few short clicks has made management much easier.
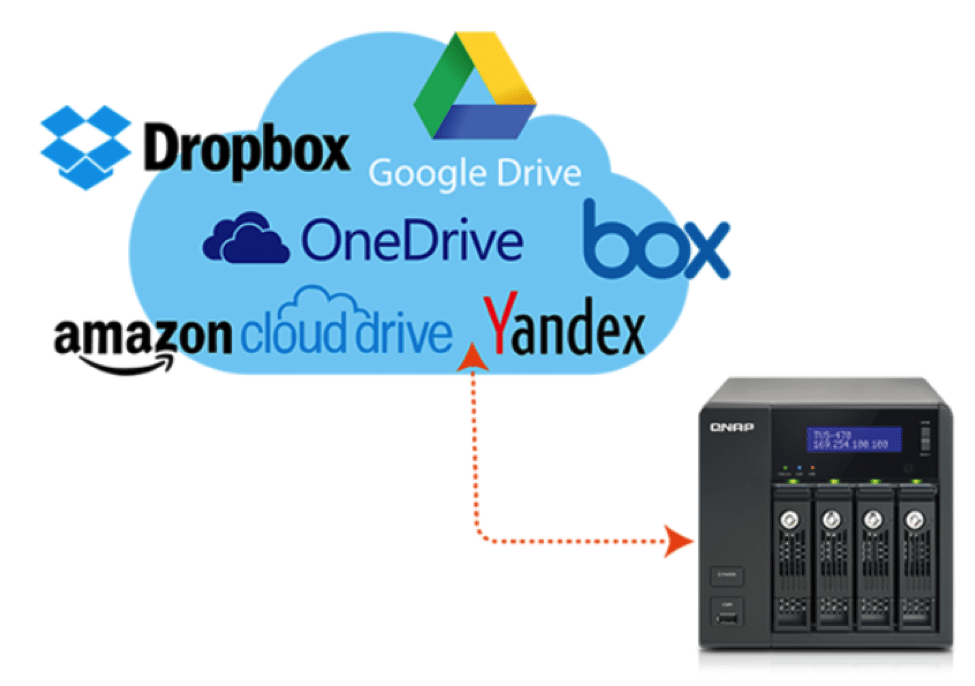
Remote mount is where the magic happens. Remote mount gives QTS the ability to remotely connect to a cloud service (Dropbox, Microsoft Onedrive, Google Drive, Amazon Cloud Drive, Box or Yandex Disk) directly in file station and allow you to mount any of those cloud services as a shared resource on the NAS for access by other users.
QTS Storage & Snapshots

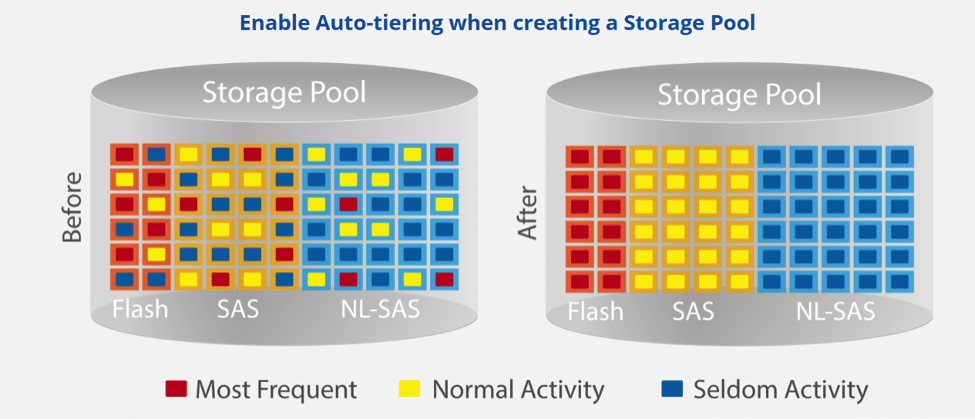
The Storage & Snapshots application gives a great overview of the attached disks, snapshots, external storage, SSD cache and iSCSI storage. One of the nicest features that QNAP has brought from years of enterprise management is a prioritization protocol that they call Qtier (QNAP Qtier and SSD Cache review). This will allow the storage pools to identify files that are regularly accessed on the pool and prioritize them for access on higher speed storage on the NAS. I have 2 500GB Samsung SSDs on the pool with the Qtier enabled – I personally find the benefit to be significant in my day-to-day operations.
QNAP App Center
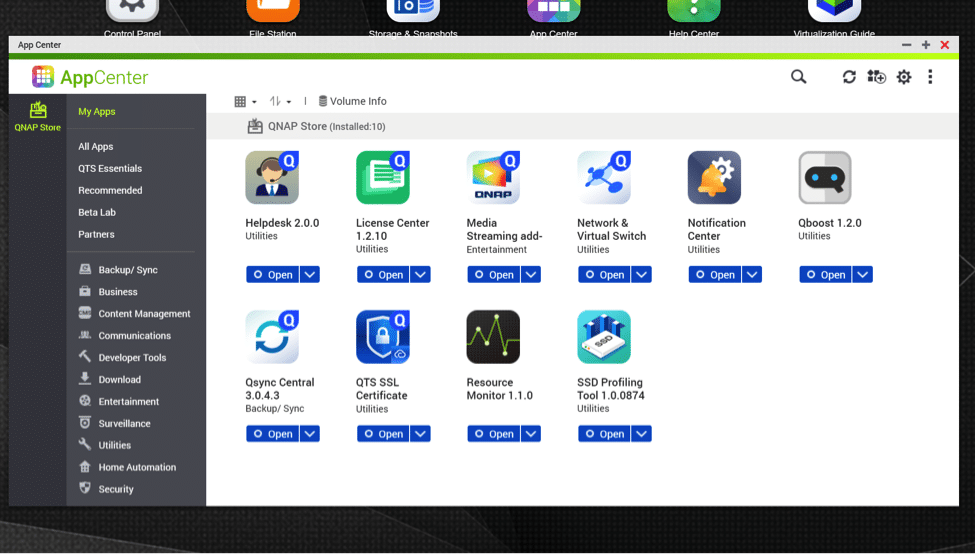
In the age of “One More Thing” QNAP has stepped up their game and provided a fantastic resource to users to extend the functionality of their devices with easy to install packages located on the QNAP Store. The ability to add multimedia functionality, cloud sync and backup, VPN, IOT, SSH, container services, home automation, anti malware scanning and many more.
myQNAPcloud Service
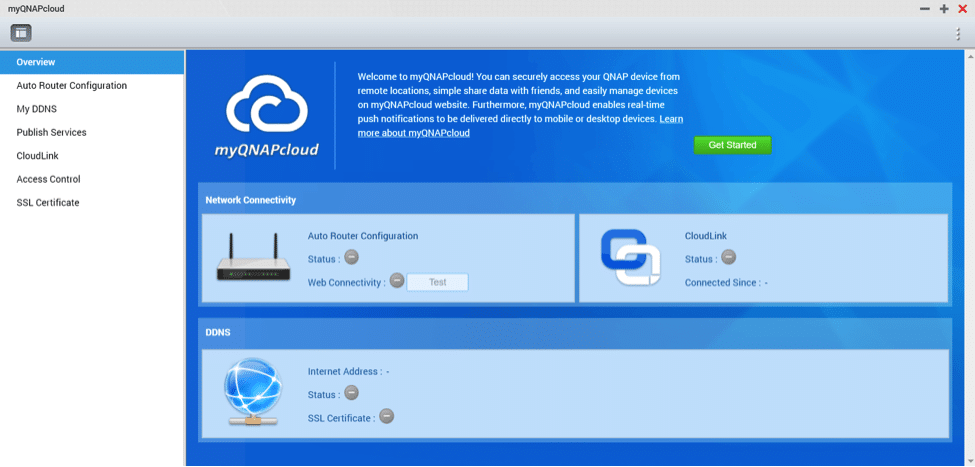
Click "Get Started." and off we go.
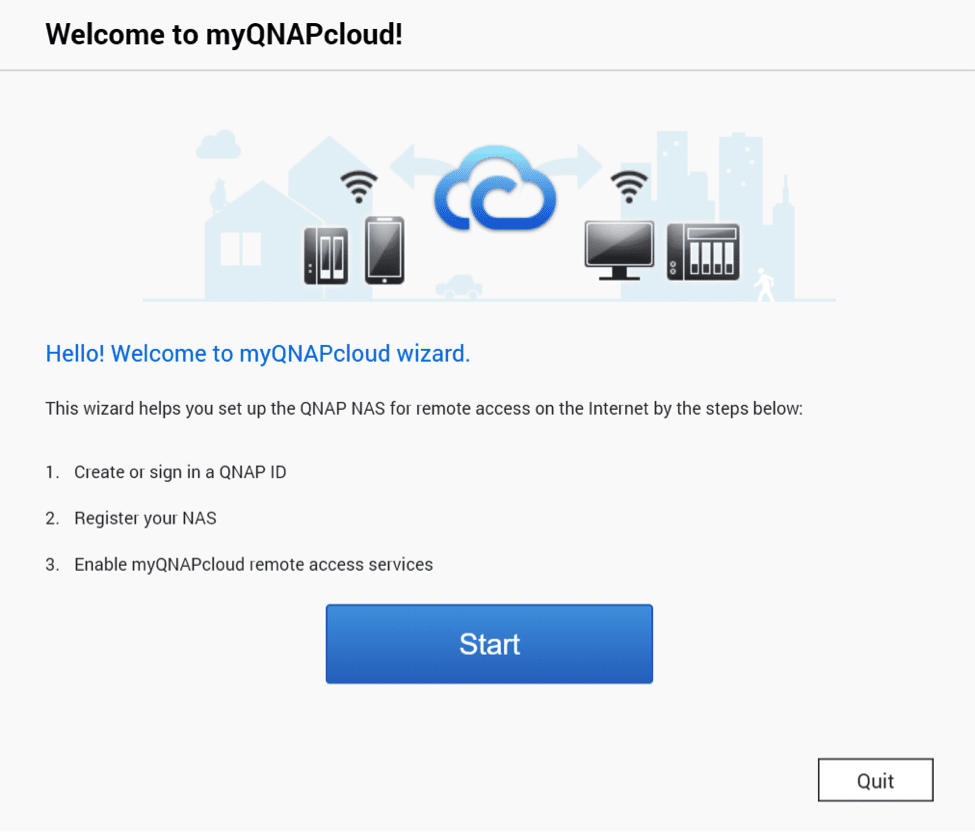
Once you click Start – You will be asked to sign in with your QNAP account – account creation if you don’t have an account is very easy and straightforward.
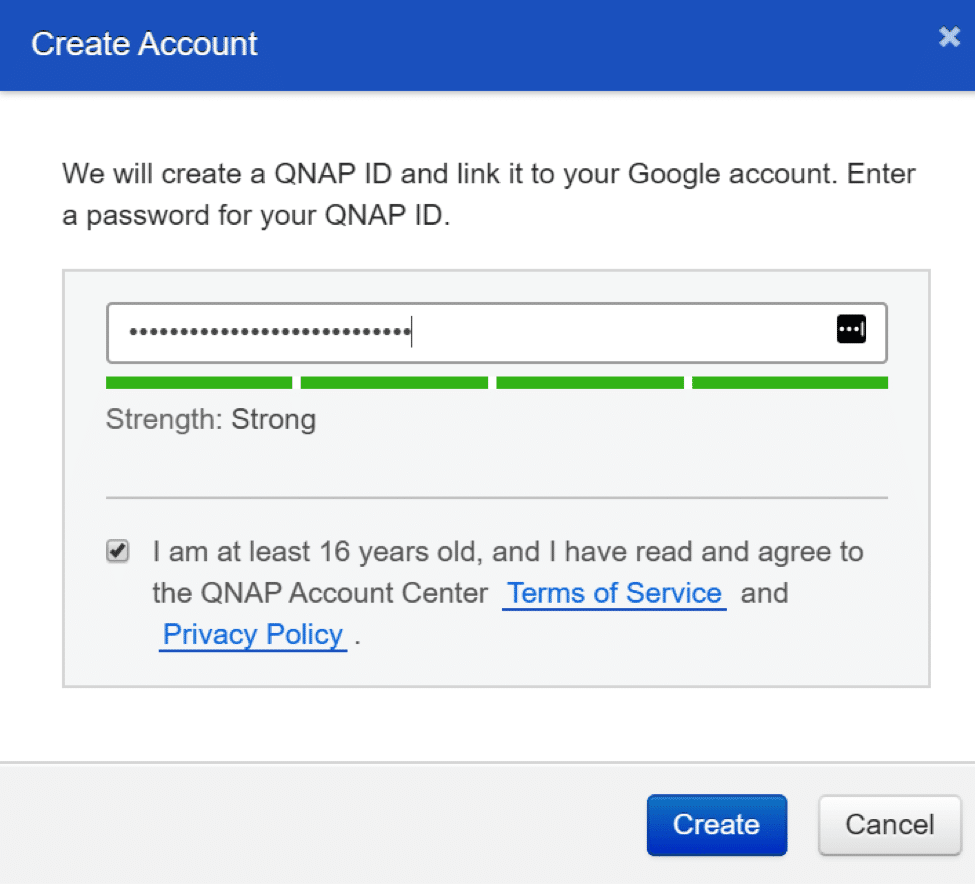
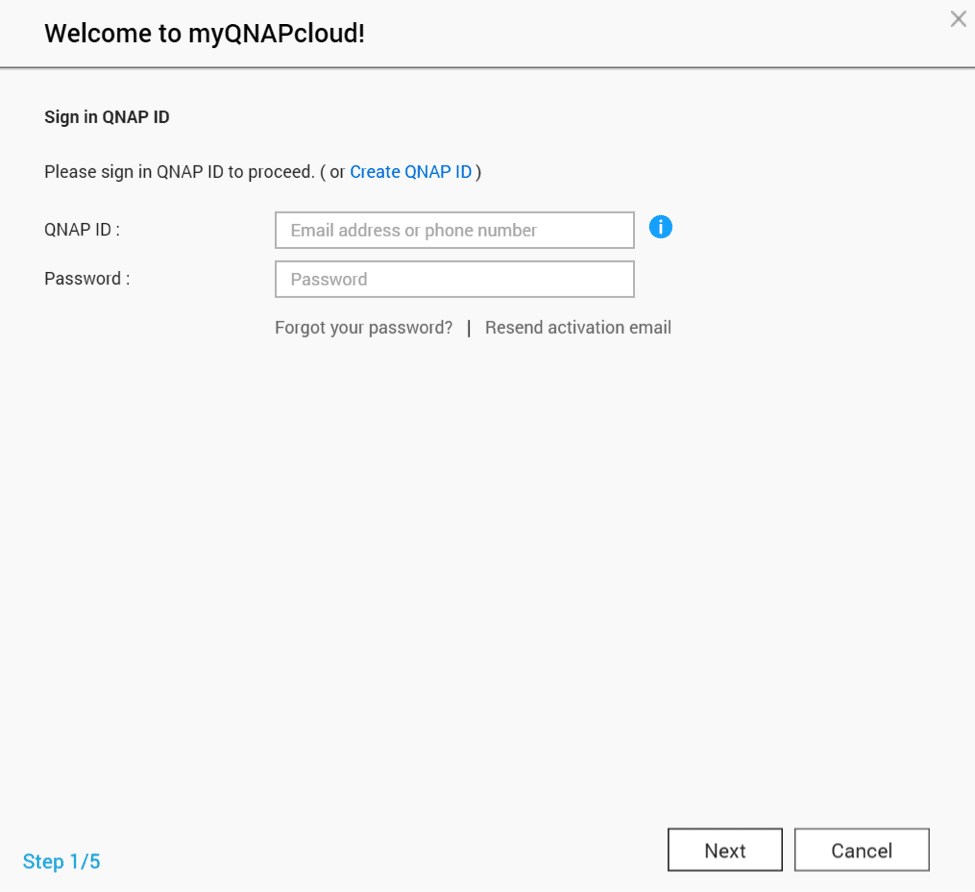
Next we sign in with the new password we created (Or use your QNAP account) and name the NAS
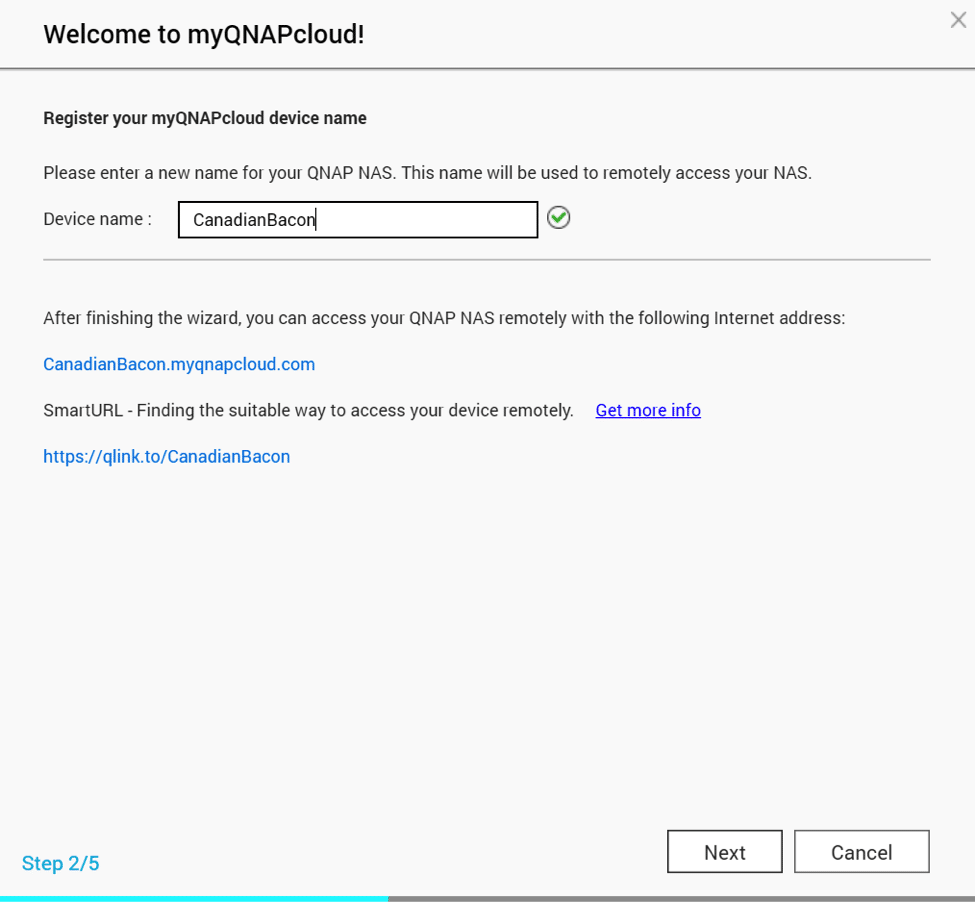
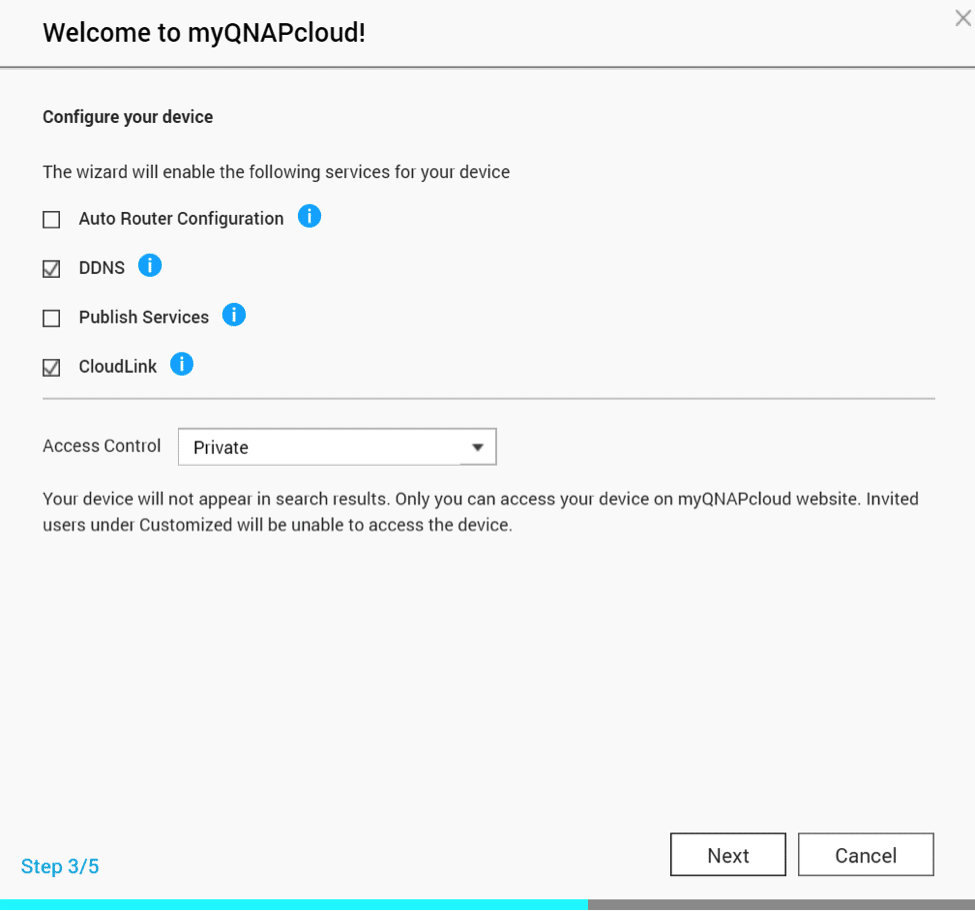
If you are using UPNP on your router (Shame!) – you can click the Auto Router Configuration and the port settings will automatically be sent to your router. If not you will need to manually setup port forwarding rules.
- DDNS will assign (NAS NAME HERE).qnapcloud.com
- Publish Services – This will publish device services on the myqnapcloud website
- Cloudlink – will allow for remote link to the NAS from mobile devices.
Step 4 – Will configure the QNAP for access and Step 5 will provide you a recap of what the device was named and your device ID.
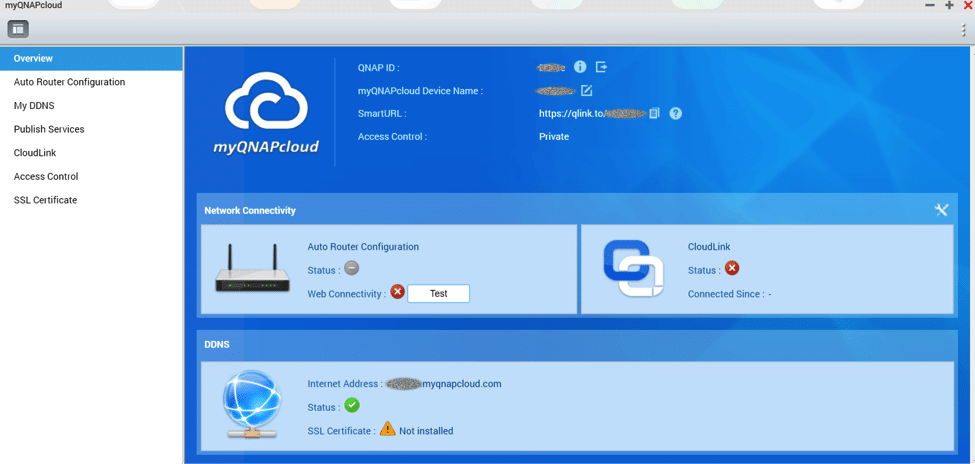
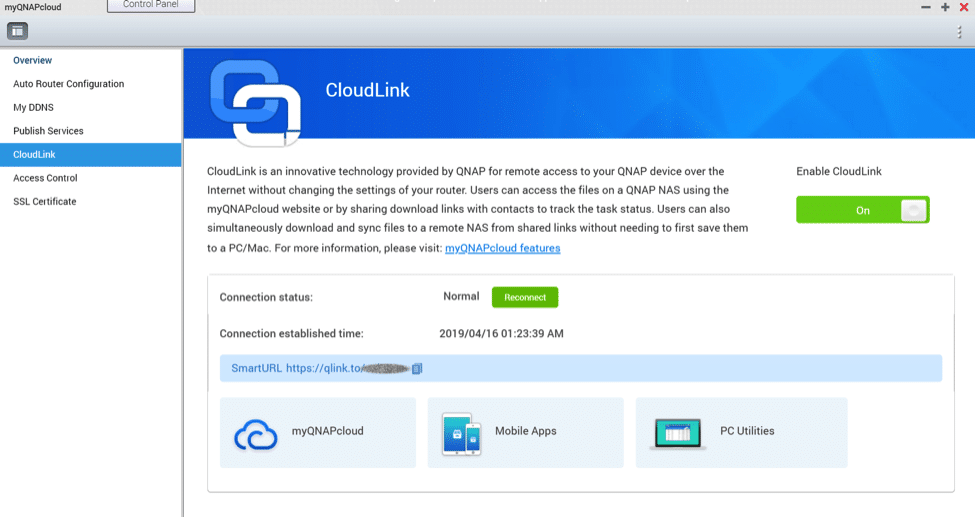
Cloudlink service is an absolutely amazing set of utilities. The myQNAPcloud connect application for Windows will allow Windows users to access published services of the QNAP NAS. It should be mentioned that the essentials page linked above contains many of the additional utilities that will allow for remote data replication, Device location (Qfinder Pro) and management.
QTS Surveillance Station
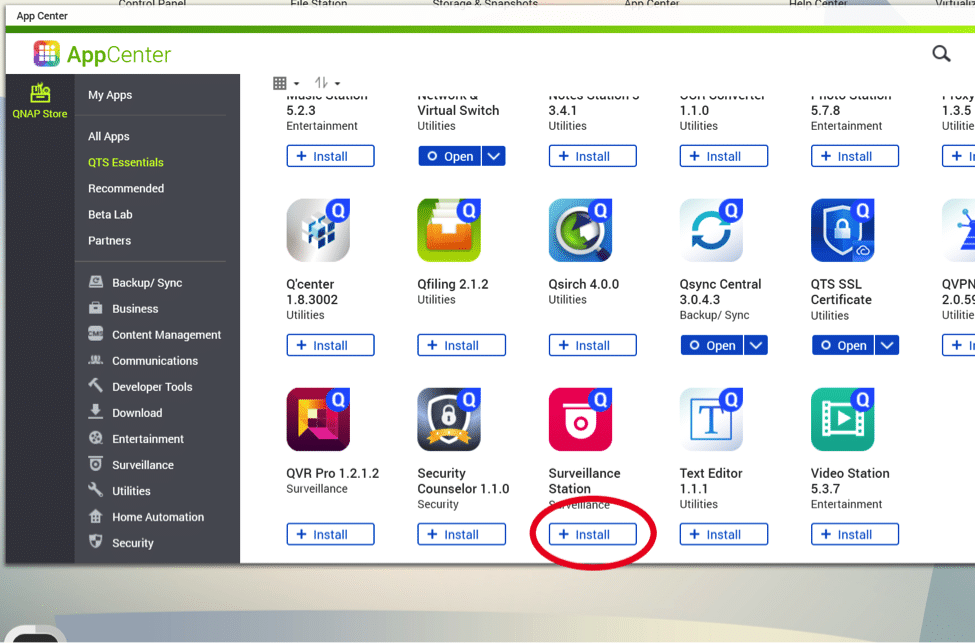
Without a doubt one of the most useful utilities that QNAP includes is the surveillance station. Easily installed through the AppCenter by selecting Install under QTS Essentials.
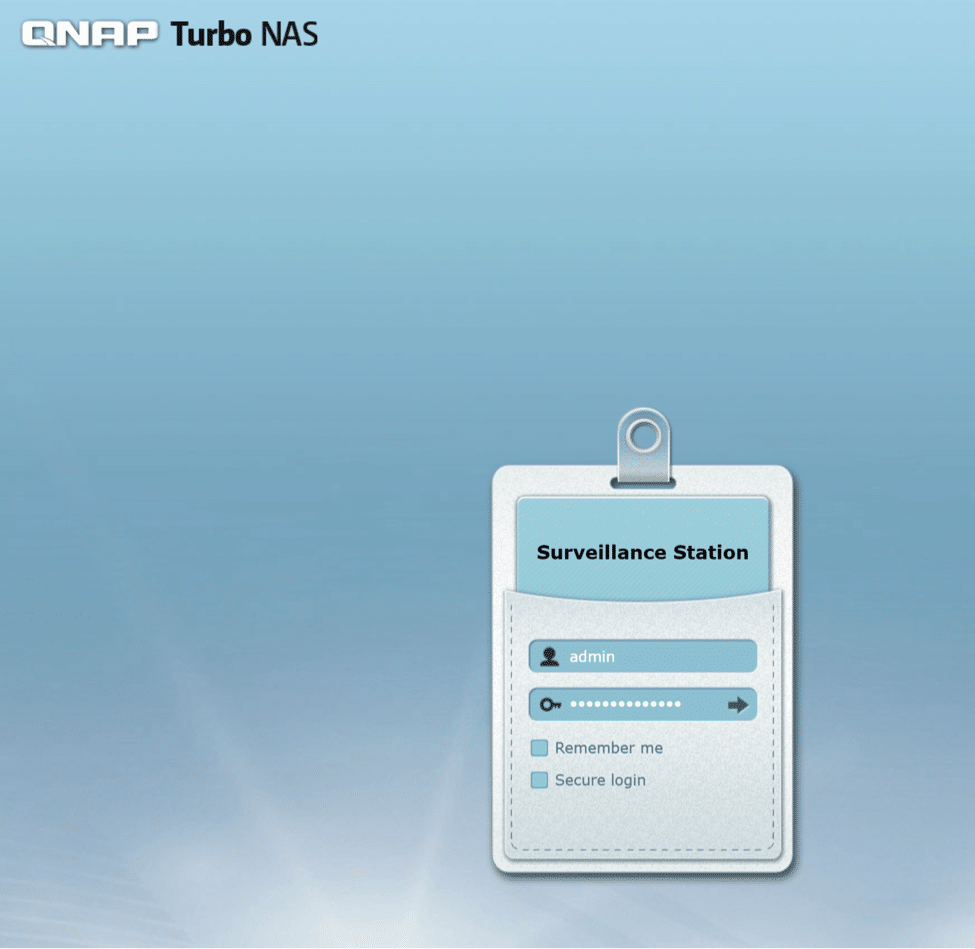
Once the install is complete simply open the surveillance station from the main page. You will be greeted with a login prompt.
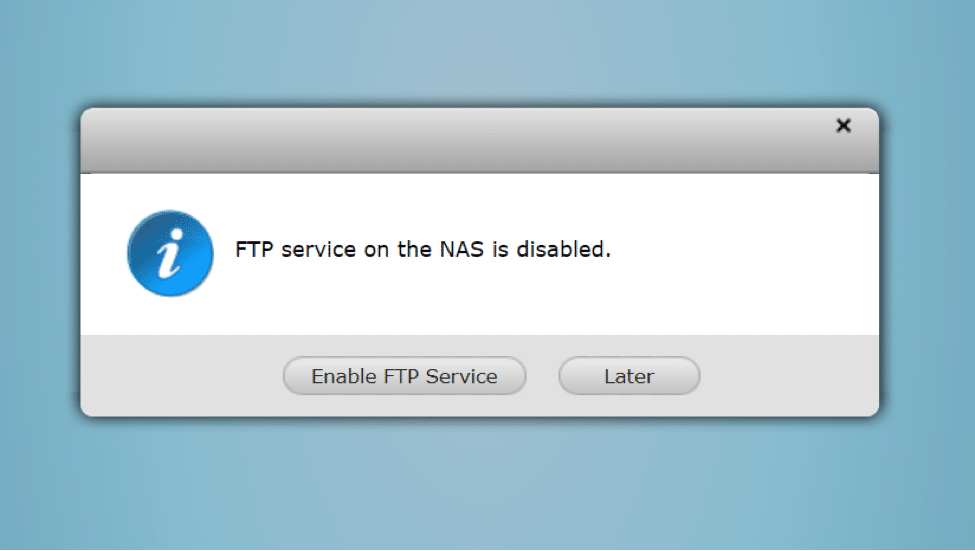
Upon first launch – you may be prompted to enable the FTP service – this is not required for operation of the surveillance station.

You will be prompted for a folder and volume to save the camera feeds – be aware that these feeds can get LARGE – you may want to create a separate volume to save your footage. Don’t worry – one of the settings is what to do once the volume is full.
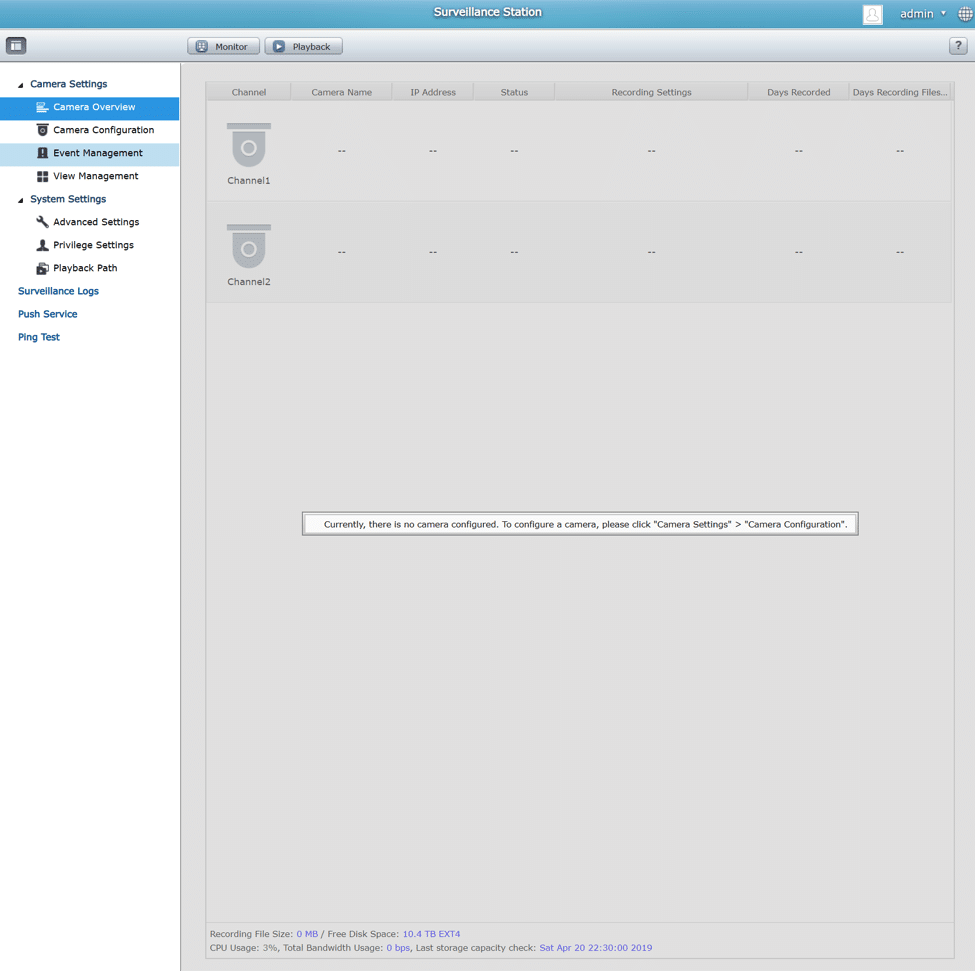
The main console displays the camera overview – By default this shows you the number of cameras you are licensed for. Don’t worry – if you have more than the default number of cameras; you can purchase additional licenses from the QNAP Store.
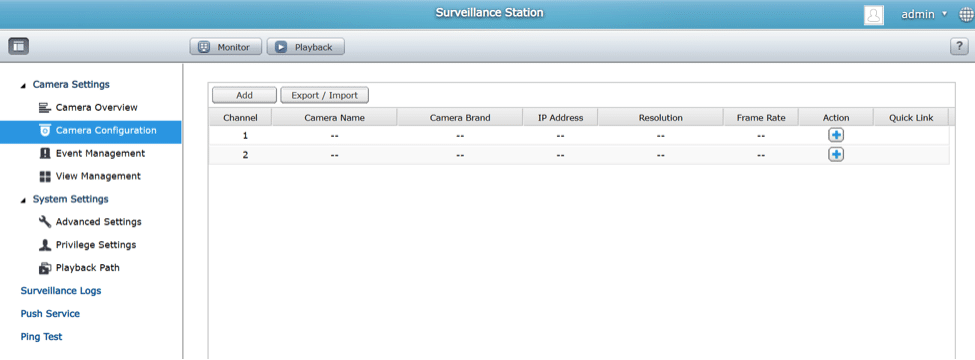
To add a camera it couldn’t be easier – Select Camera configuration and click “Add” to launch the wizard.
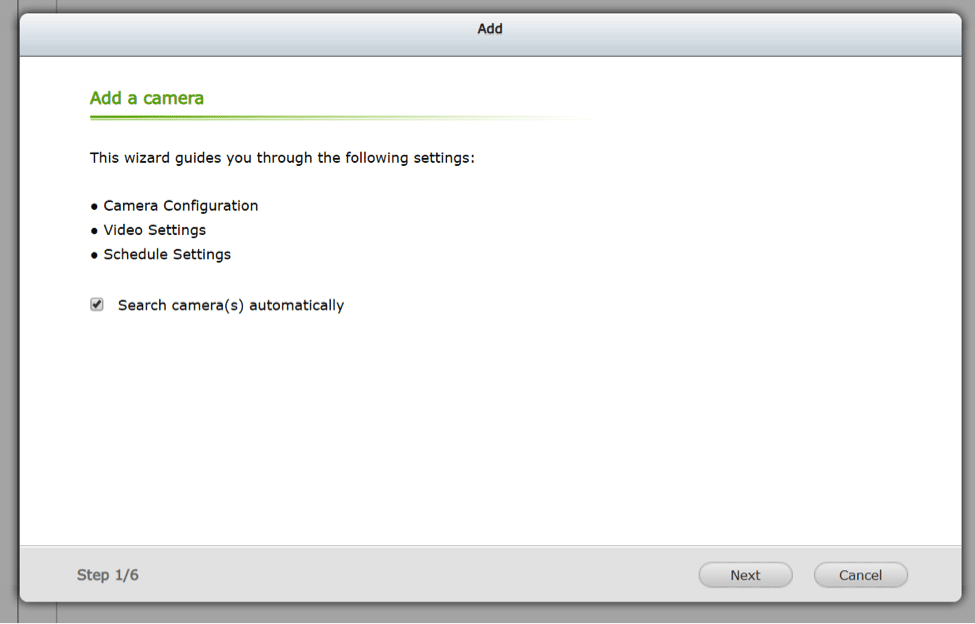
By selecting “Search Camera(s) automatically – it will search the local network for known cameras.
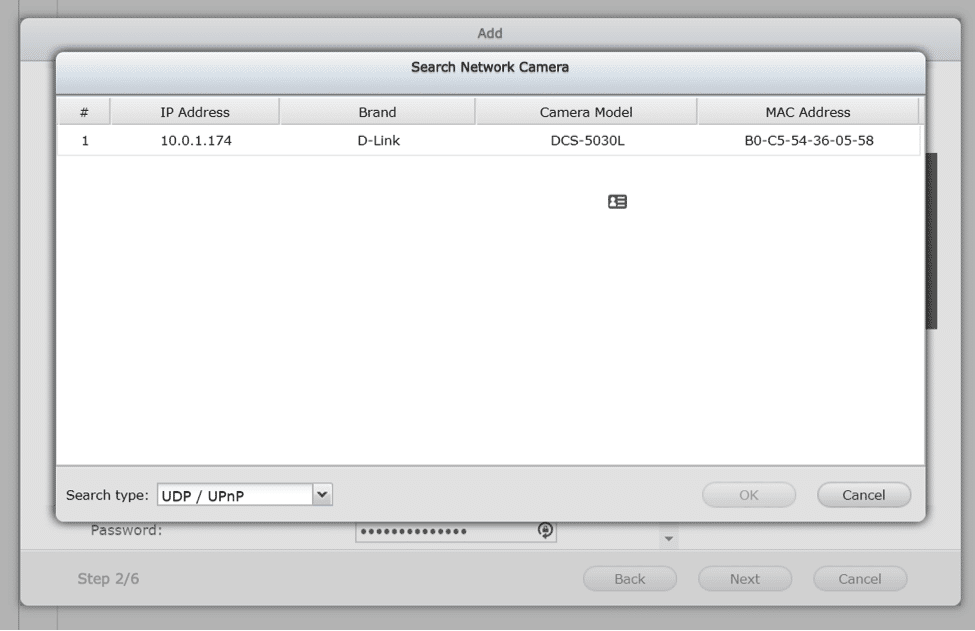
The camera I am using for the demo is a D-Link DCS-5030L – Once found it automatically populates the camera configuration.
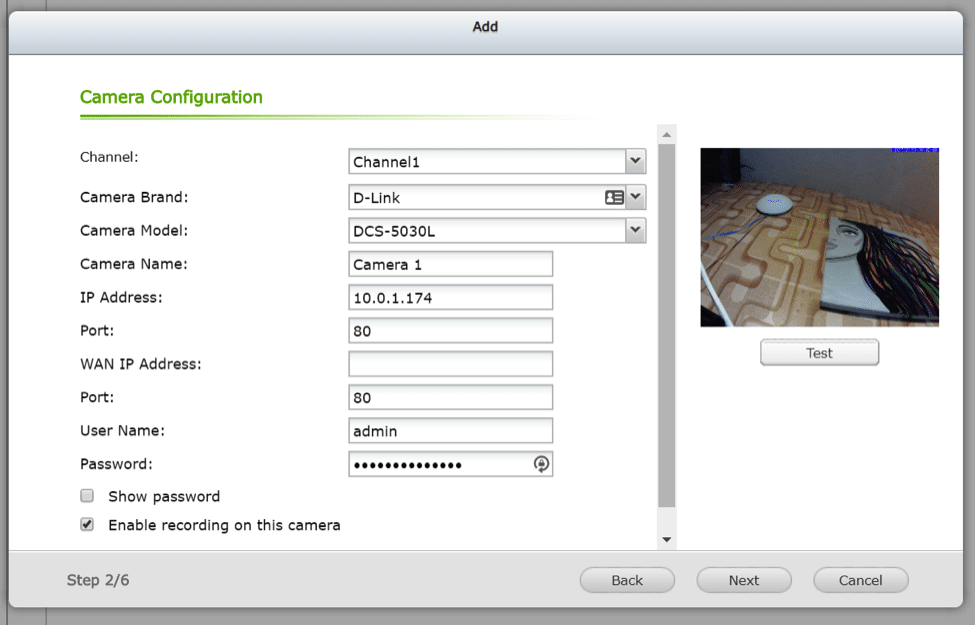
The camera configuration requires the user name and password to be populated. If the camera autodetect fails to identify the camera – the settings can be manually configured with the appropriate dropdowns.
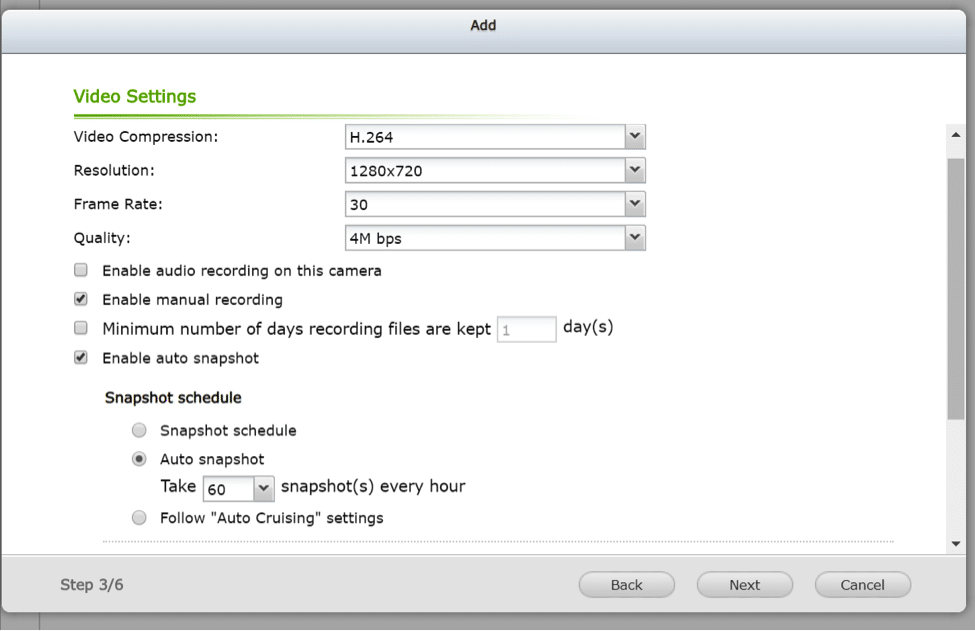
Video settings are straightforward – compression, resolution, frame rate, quality and audio are easy to setup and configure.
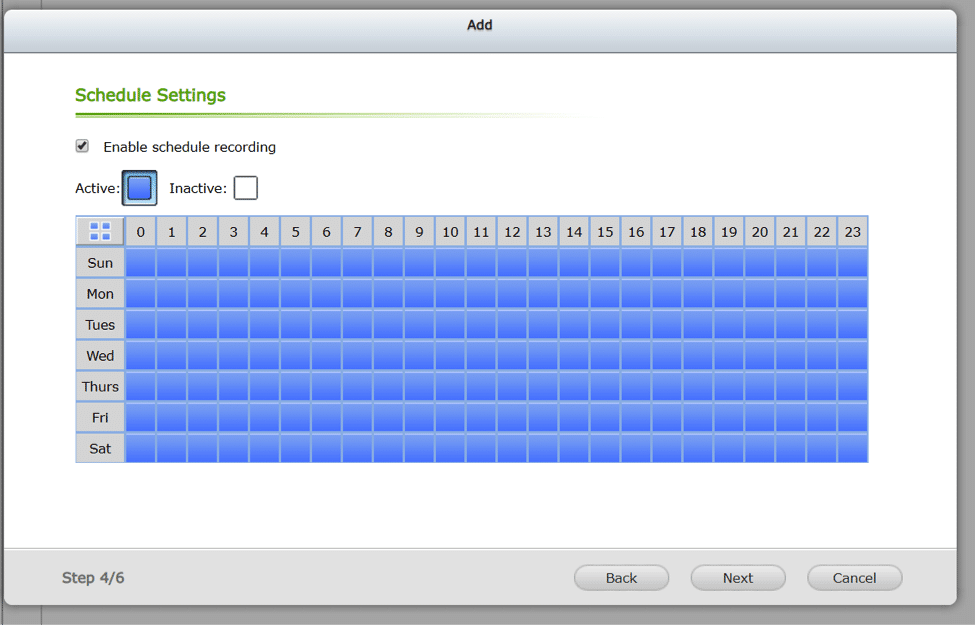
Here you can schedule recording – this can be useful if the camera is intended to keep an eye on things after hours.
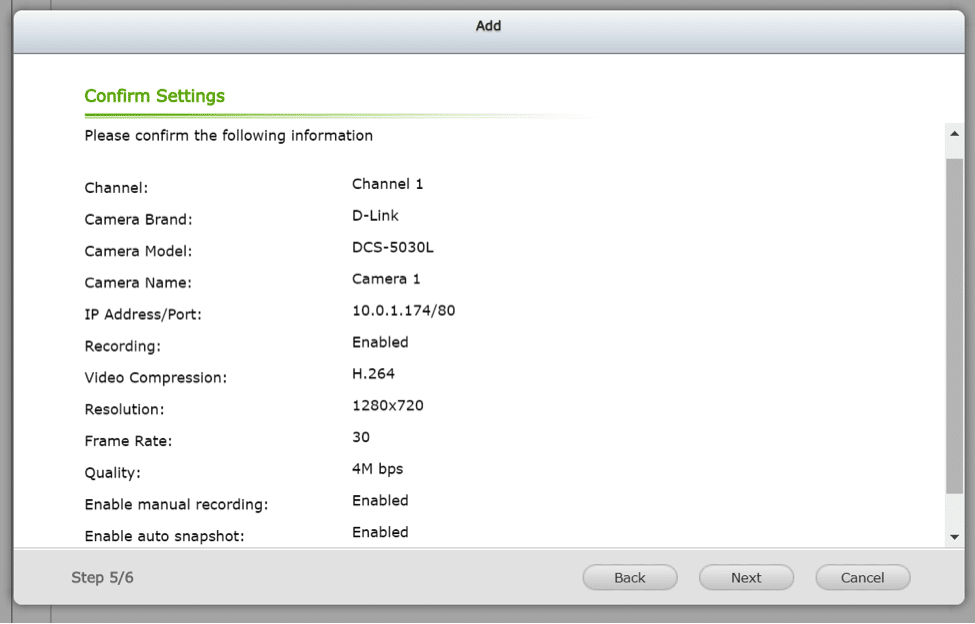
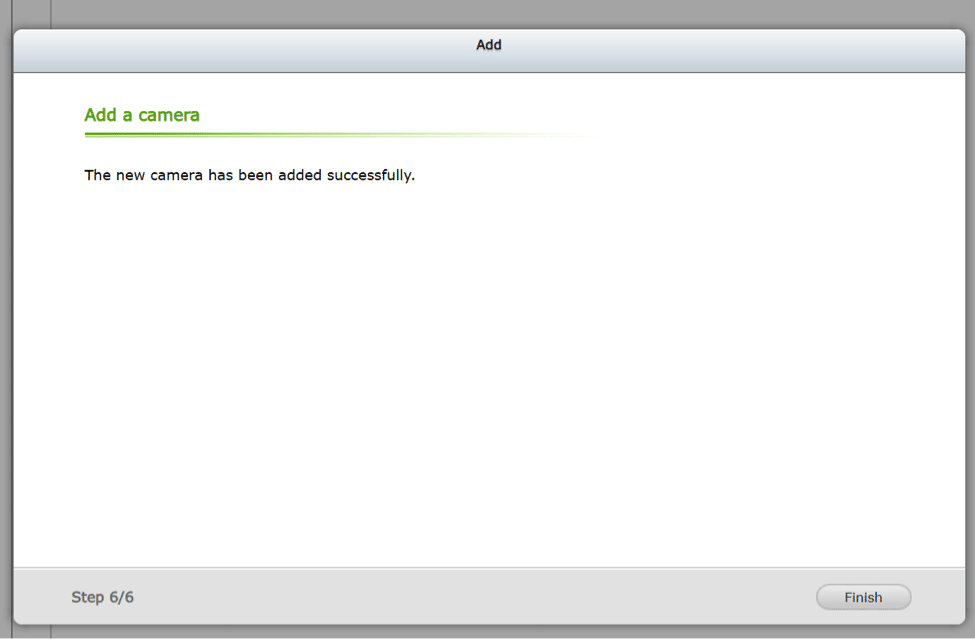
The final step is to verify the settings. Things to keep in mind when setting up cameras – its best to use static IPs on cameras – if the IP changes on the camera; you may be staring at a blank screen.
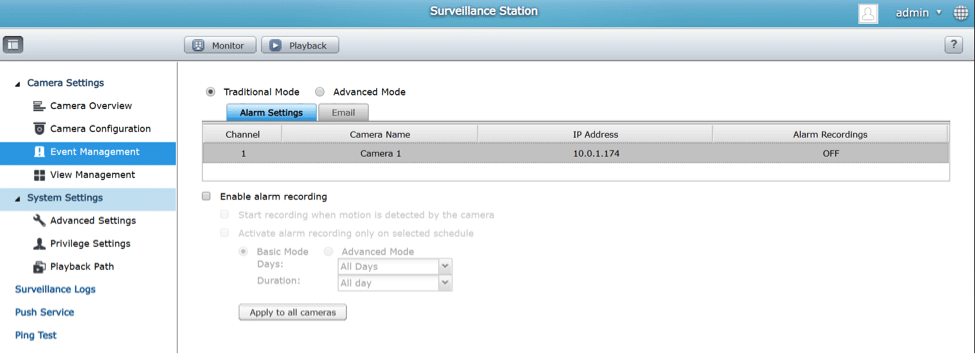
Event management will allow for you to set alarms and alerts that can be logged or emailed to you.
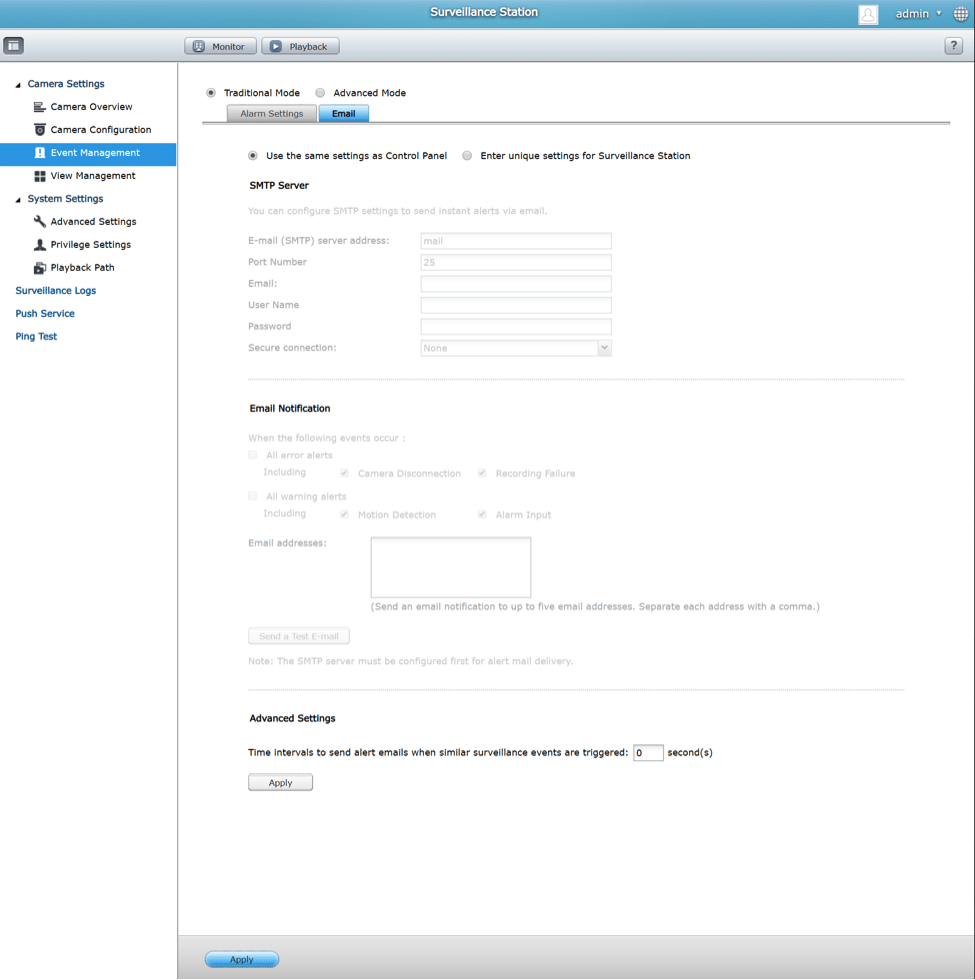
Email alerts are simple to setup – simply enter your mail server settings and interval and apply the settings.
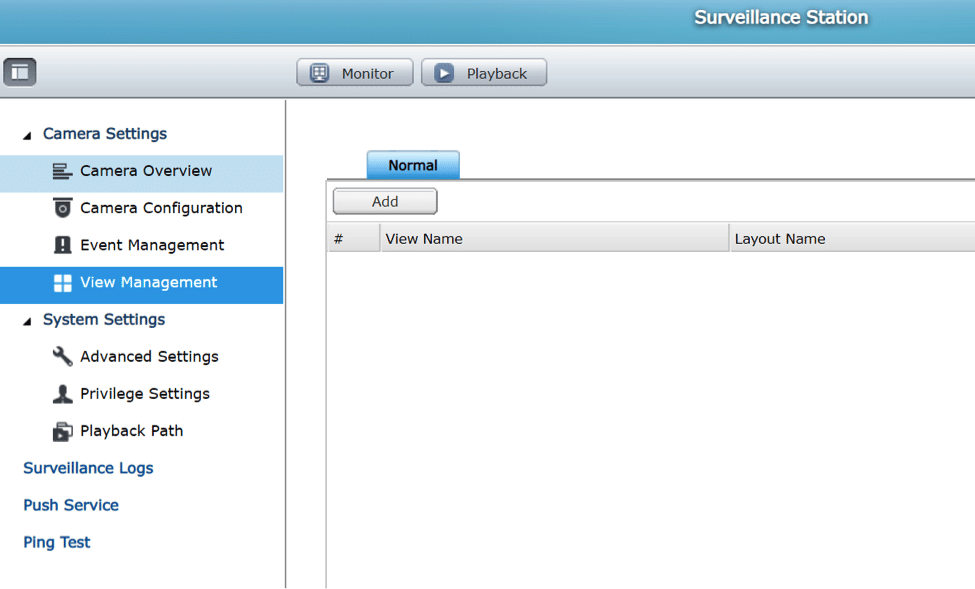
View management will allow you to add a specific layout to your cameras. For example lets say you are running 8 cameras in a restaurant – you can group your cameras for convenient viewing.
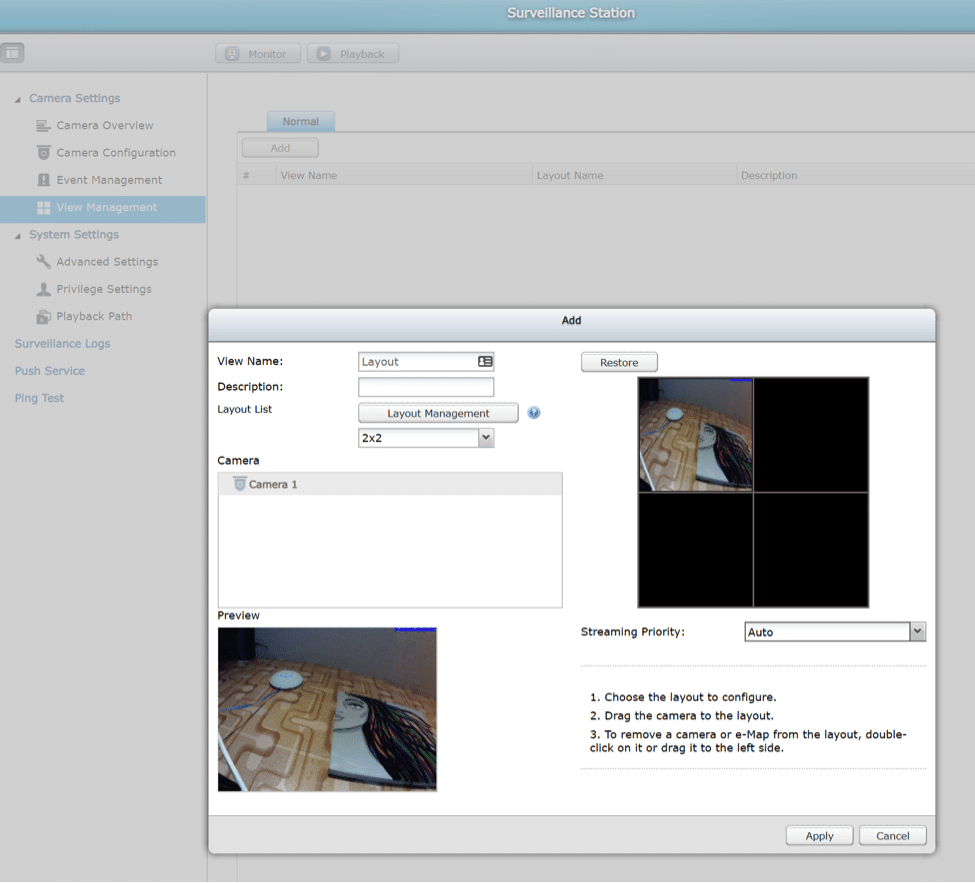
The custom layout interface is as simple as drag and drop. It will give you a preview of your cameras as you select them in the camera list.
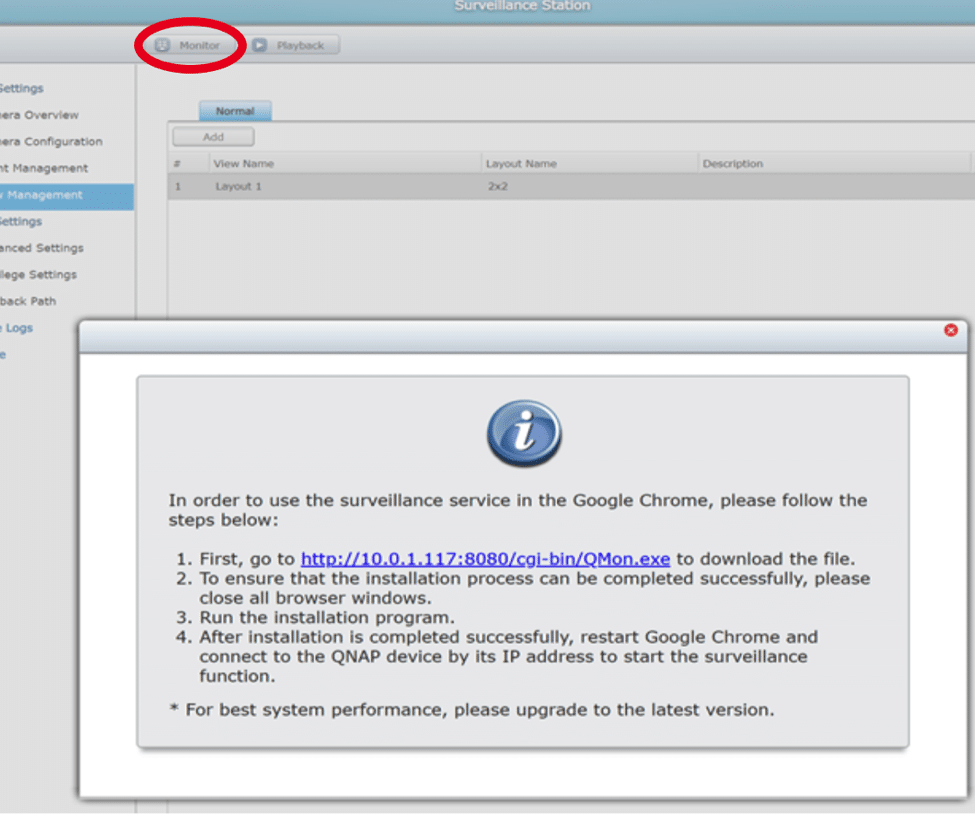
By clicking on monitor the first time – it will request you to download a local file that will allow you to install the QNAP QVR client. Once the client is installed – be sure to restart chrome and connect to the QNAP and start the surveillance station again. Clicking “Monitor” will launch the QVR-Monitor.
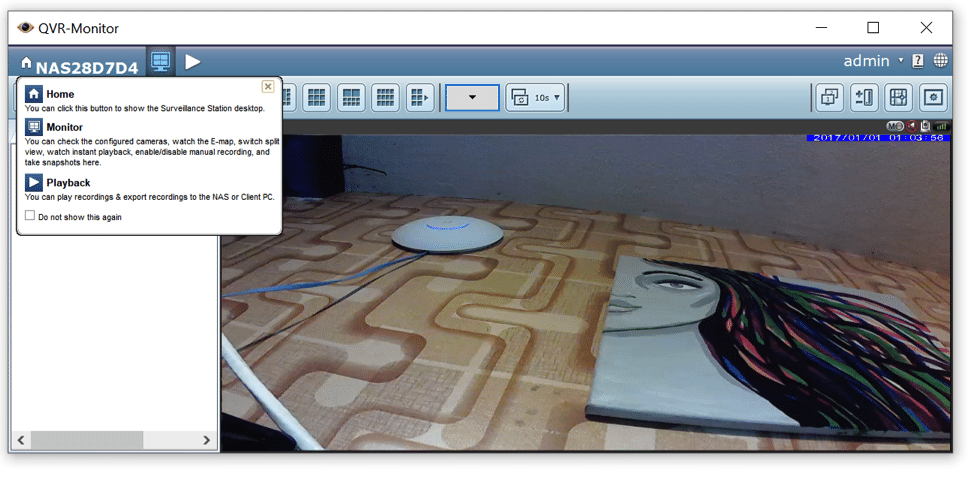
QVR Monitor is a very easy to use application that will allow you to view one, two or many cameras simultaneously.
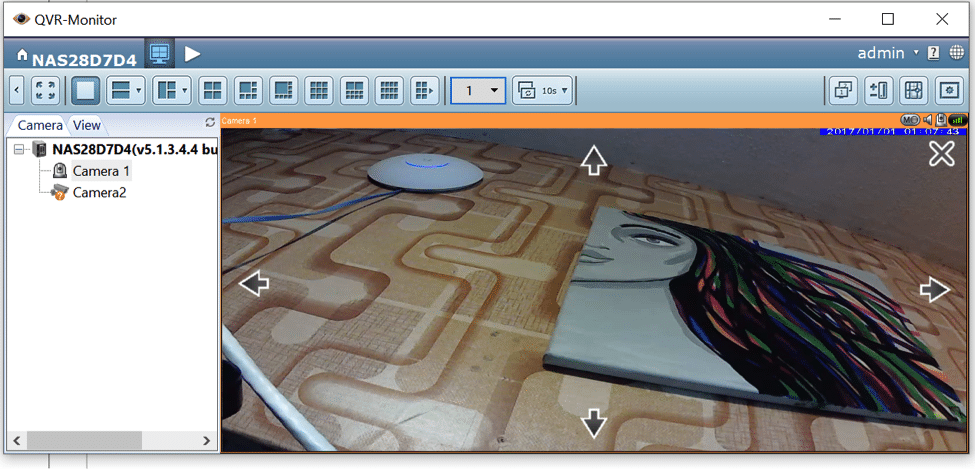

If you camera has PTZ (Pan, Tilt and zoom) functionality (Yes this cheap D-Link Camera has it) the QVR-Monitor has the ability to control it by selecting the PTZ control by moussing over the camera feed and selecting the arrow control
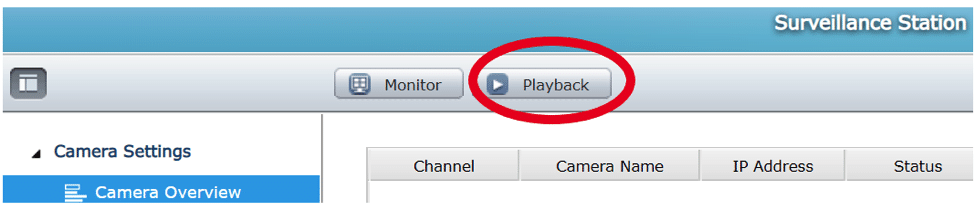
Playback control is much of the same – simply click Playback
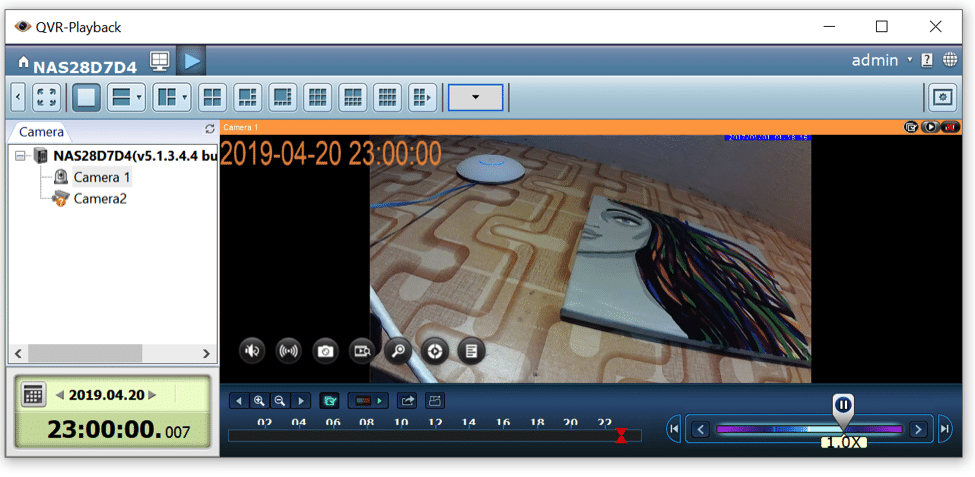
The QVR-Playback console will allow for playback by selecting the date and time on the left and speed on the right.
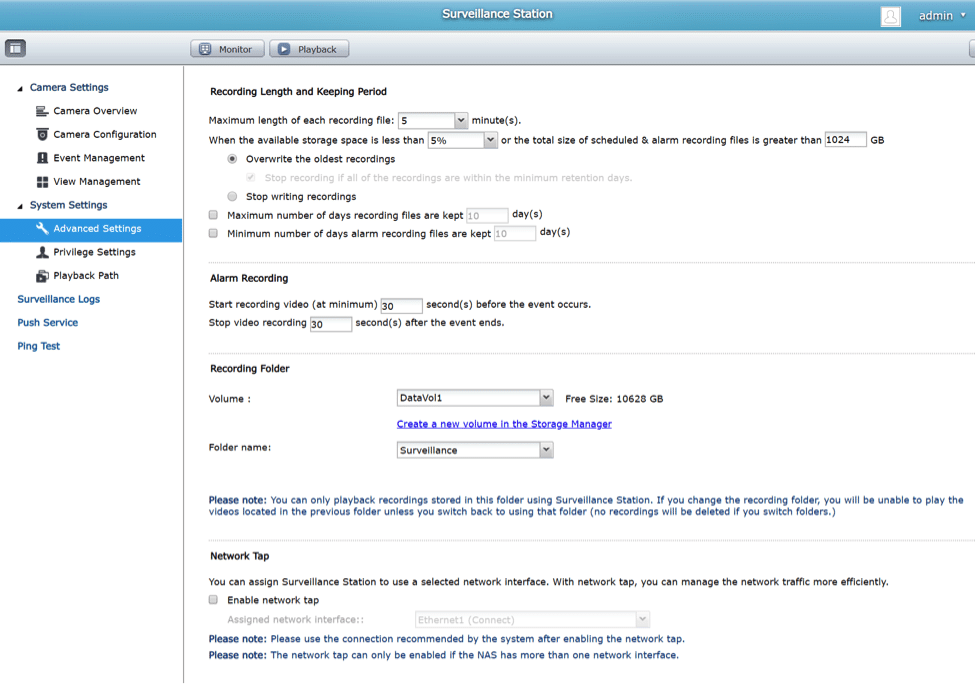
For the more advanced user (Outside the scope of my not so brief rundown) – you have the ability to setup alarms and limitations. Here you can tell the unit what to do when you run out of space – This is why I said you may want to consider a separate volume that you can dedicate to only security footage.
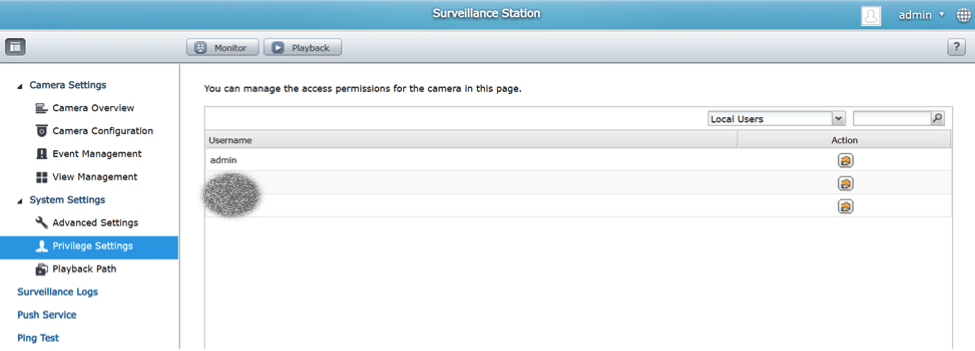
Permissions can be assigned to users – useful if you don’t want users to delete things they are not supposed to.
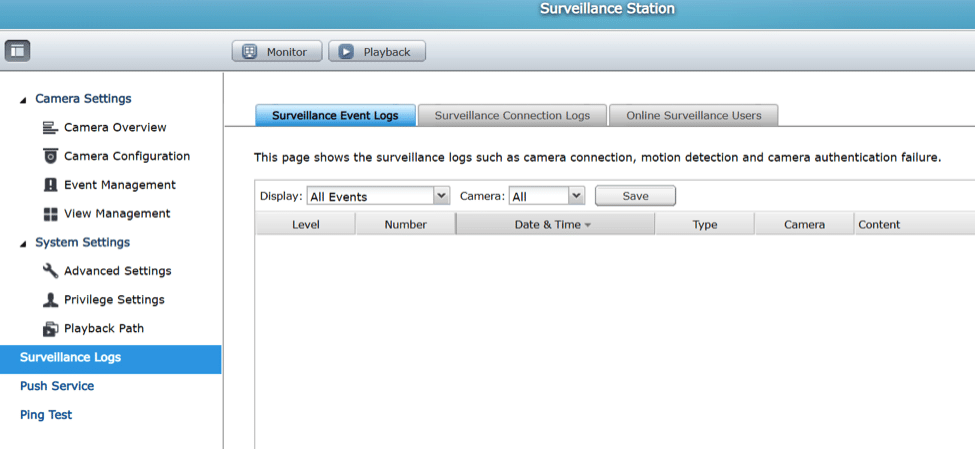
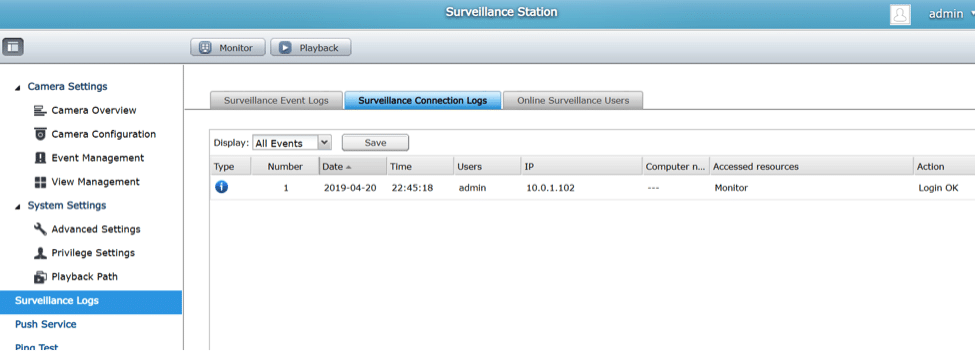
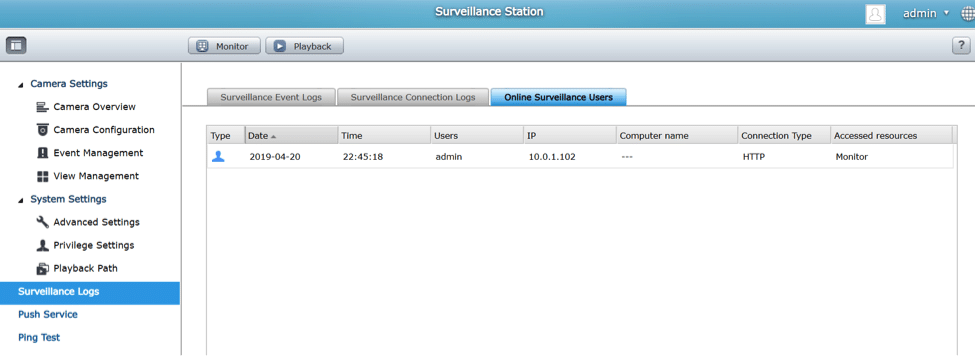
The logging on the station is great and will break down when users connect and from where.
Push service will allow the user to manage paired devices – Yes – there is an app for that.
QNAP also offers mobile apps; they are definitely worth a look, as it will give you full control of the camera anywhere. There is also a great app called Vcam that will turn your phone into a network camera.
Conclusion
On the surface QNAP QTS is intuitive, but there are enough knobs and buttons to make it more complicated if you like. You can easily manage a simple file share for home or deploy remote cloud backup for your laptop or install apps to expand the functionality indefinitely. While I've touched on many of the major features in QTS, there's much more there like SSD over provisioning tools and support for GPUs in data science use cases. Of course not all features are relevant or available in all models; QNAP has dozens of SKUs to choose from.
With so many features it may get overwhelming to a novice user. Keep in mind that these devices first job is file storage. QTS does a fantastic job of communicating complicated details with the user in a clear and concise way. The documentation is thorough. I have not had reason to reach out to their customer support and I may do that in a later review to see how easy the interaction is. The software has come along way since the initial 4.0 release in 2013 – with the cloud integration QNAP has brought to QTS both private and public, the home user can now leverage what only the enterprise had access to at a price that will fit any budget.
– Blaise Robitaille @daemonq


 Amazon