

In the lab recently we worked on one of our Dell EMC PowerEdge R740xd test platforms, performing an 2nd Gen Intel Xeon Scalable CPU upgrade. We have an upcoming VDI project so we are upgrading the test platform to get ready. As we will detail below, it was a pretty simple process with a mixture of software and hardware updates.
In order to install the new Intel Xeon Scalable CPUs, the motherboard needs to have the most recent BIOS supporting the new Intel CPUs. We left the old CPUs installed before upgrading the BIOS to a version compatible with the new CPUs. Then, we were able to swap the old out for the new. The only materials we needed were a couple flat head screwdrivers and thermal paste. Most hardware in Dell EMC servers are easily swapped out without a screwdriver. However, a CPU swap does need tools as the screws holding the heat sink into the motherboard provide needed tension.
Upgrade Dell EMC PowerEdge BIOS
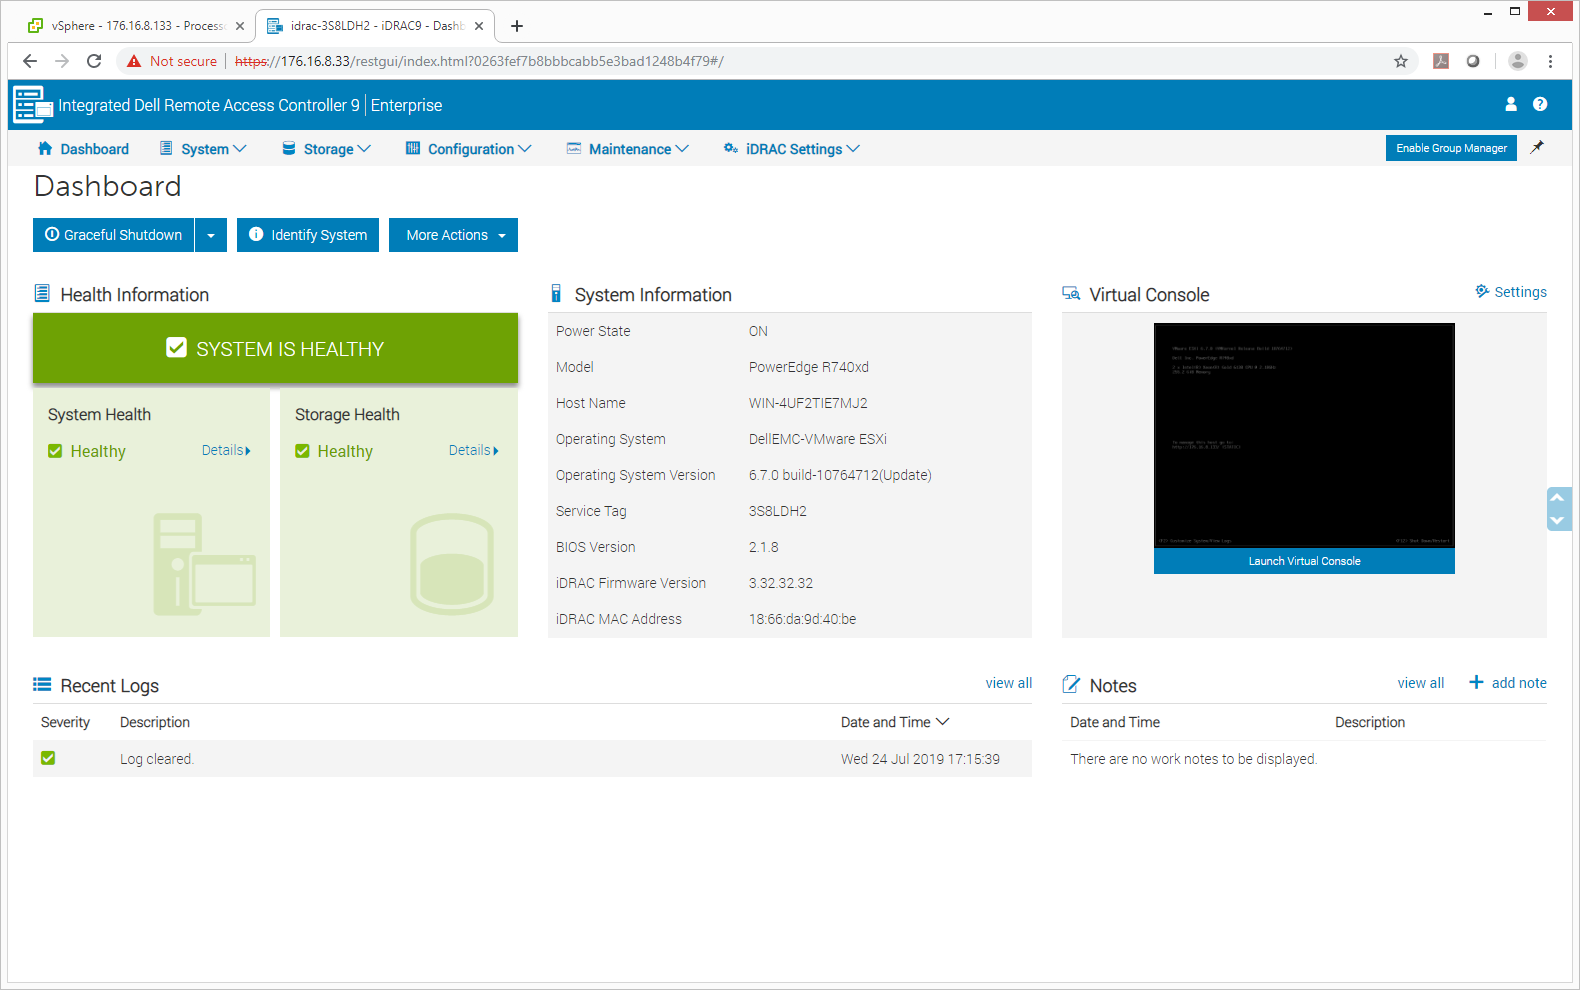
Before starting the upgrade, the first thing we’re going to take a look at is the BIOS. You can see that we are running version 2.1.8 of the BIOS as seen in Dell EMC's iDRAC.
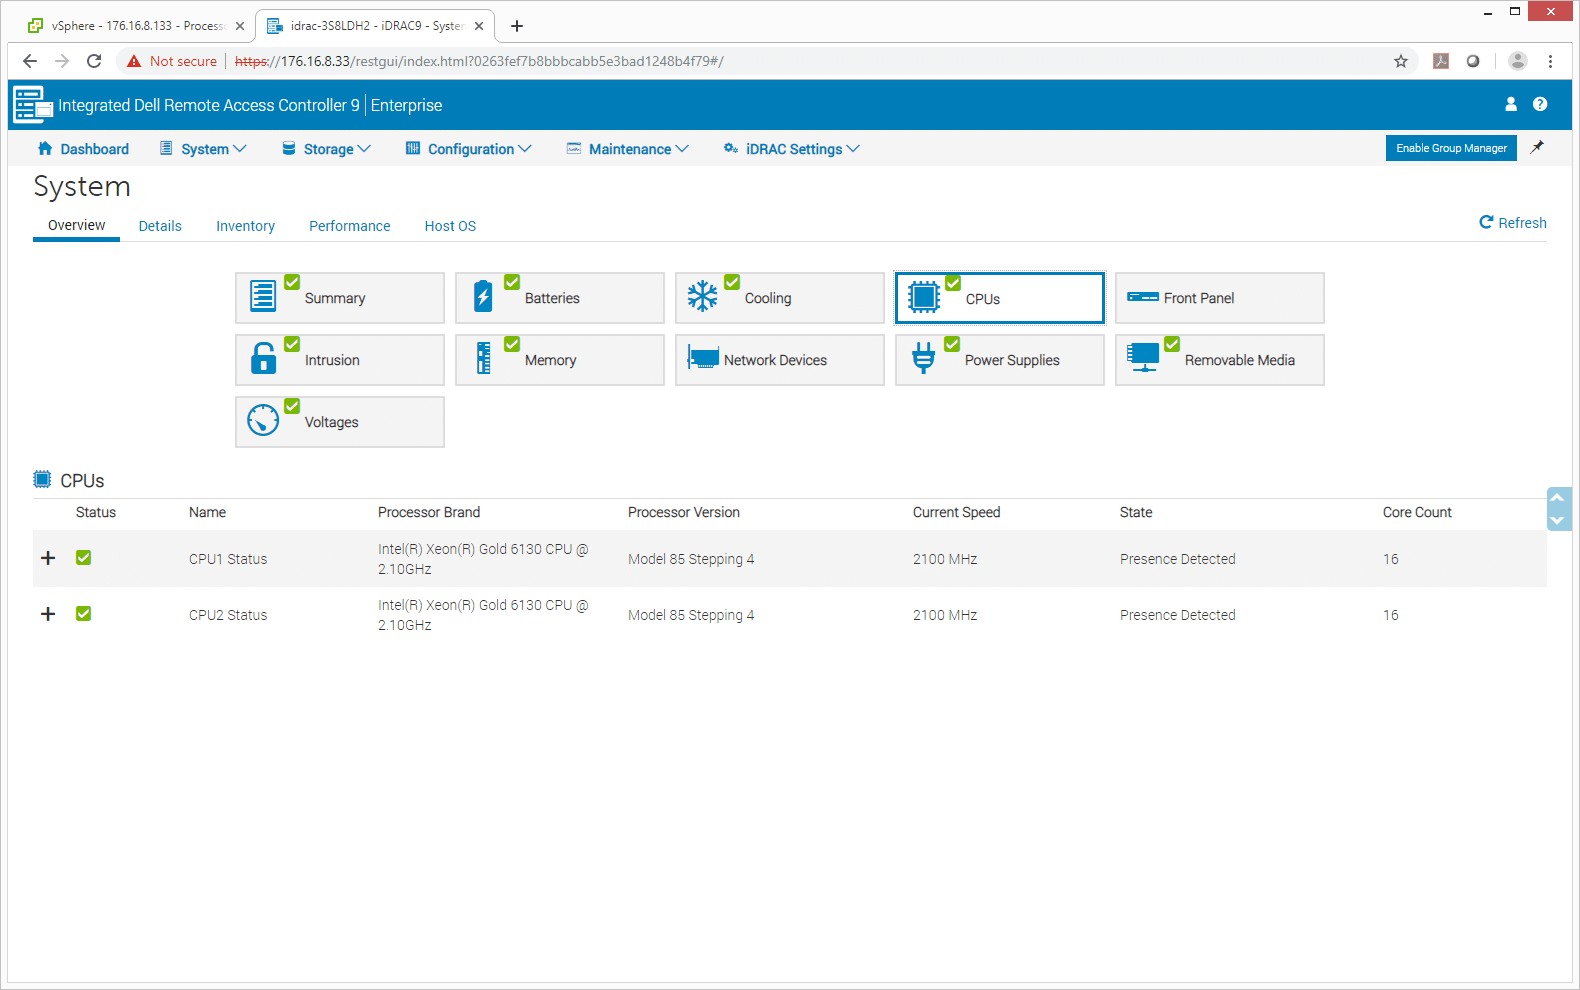
Below are the old processors, two Intel Xeon Gold 6130s. The old CPUs are used to upgrade the BIOS and prepare the server for the new CPUs.
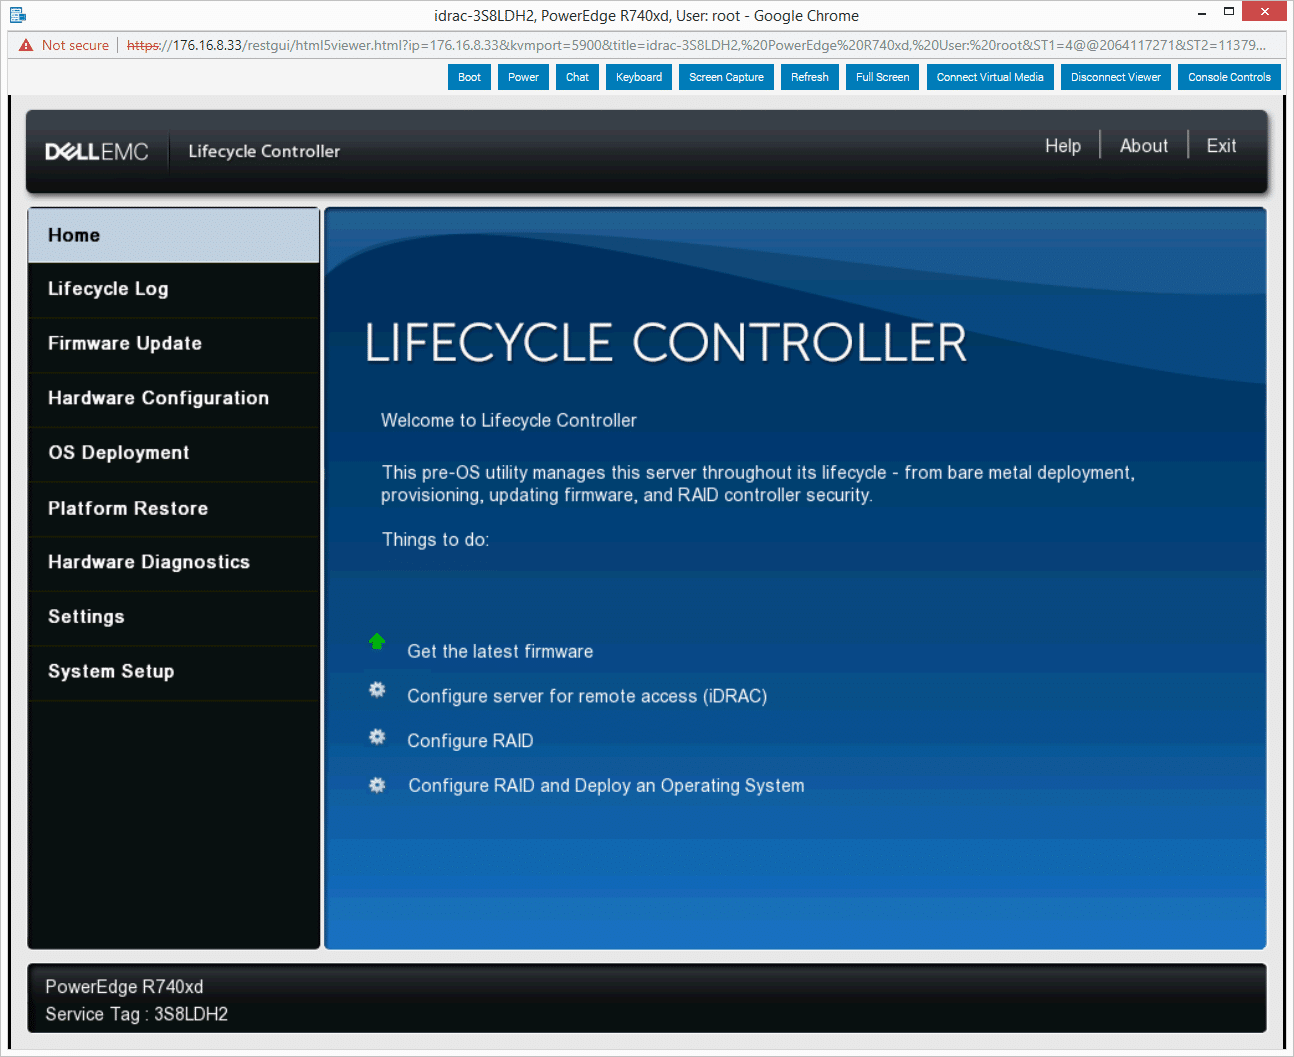
The next step in beginning the upgrade is to access the Lifecycle Controller through boot controls. Leveraging the onboard Dell EMC PowerEdge iDRAC interface we set the server to boot into its Lifecycle Controller.

This is what the lifecycle controller main screen looks like and where firmware update can be accessed.
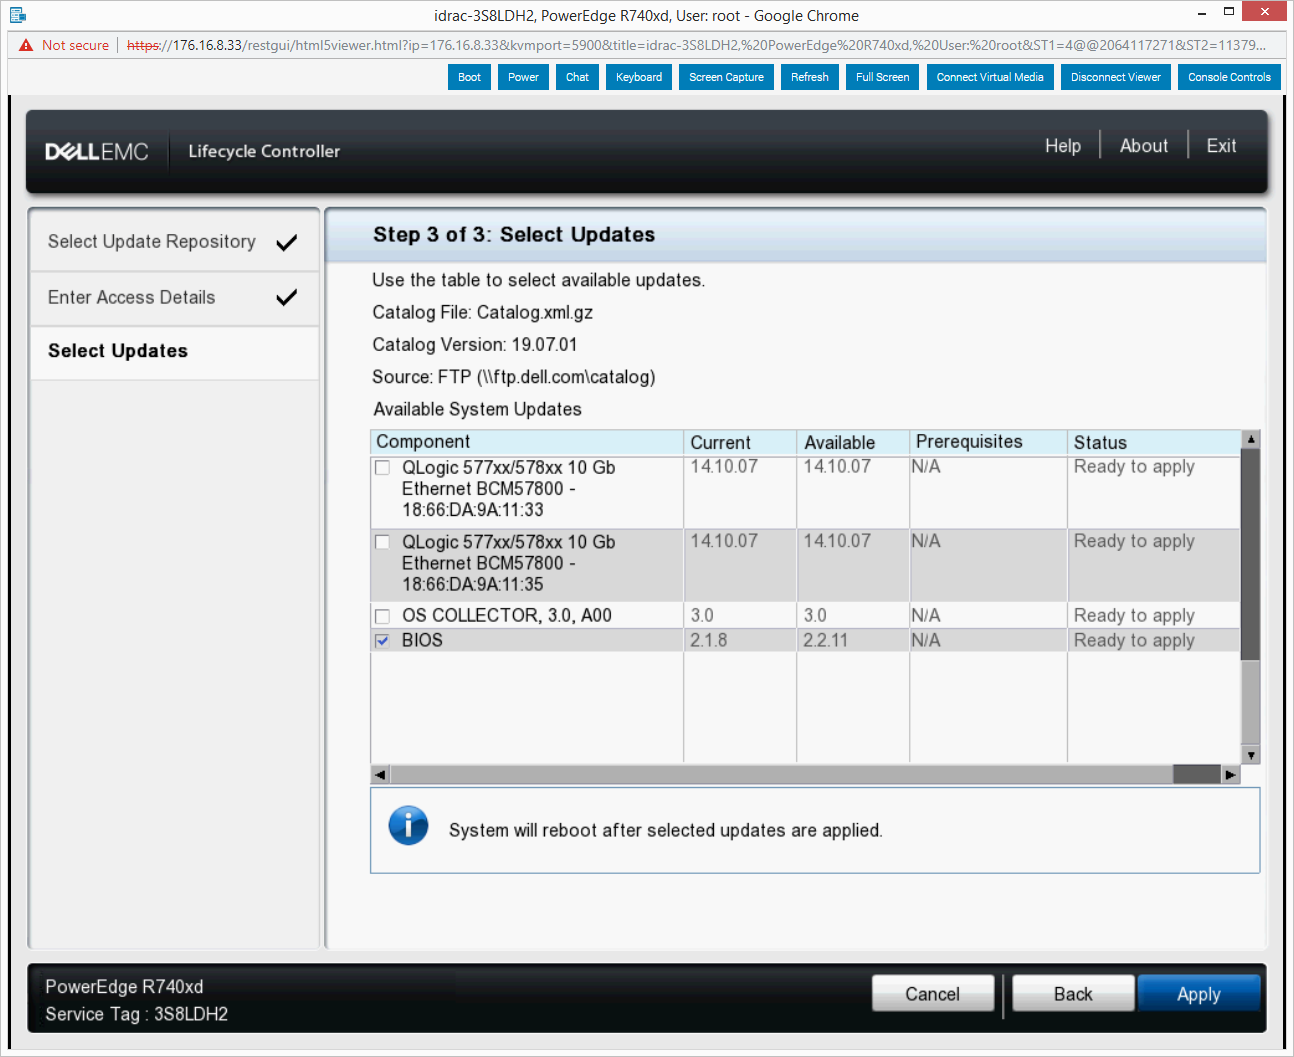
Shown here is the screen of the update controller. Select the BIOS as the component to update. Currently the BIOS is running 2.1.8 and the available firmware version being updated to is 2.2.11.
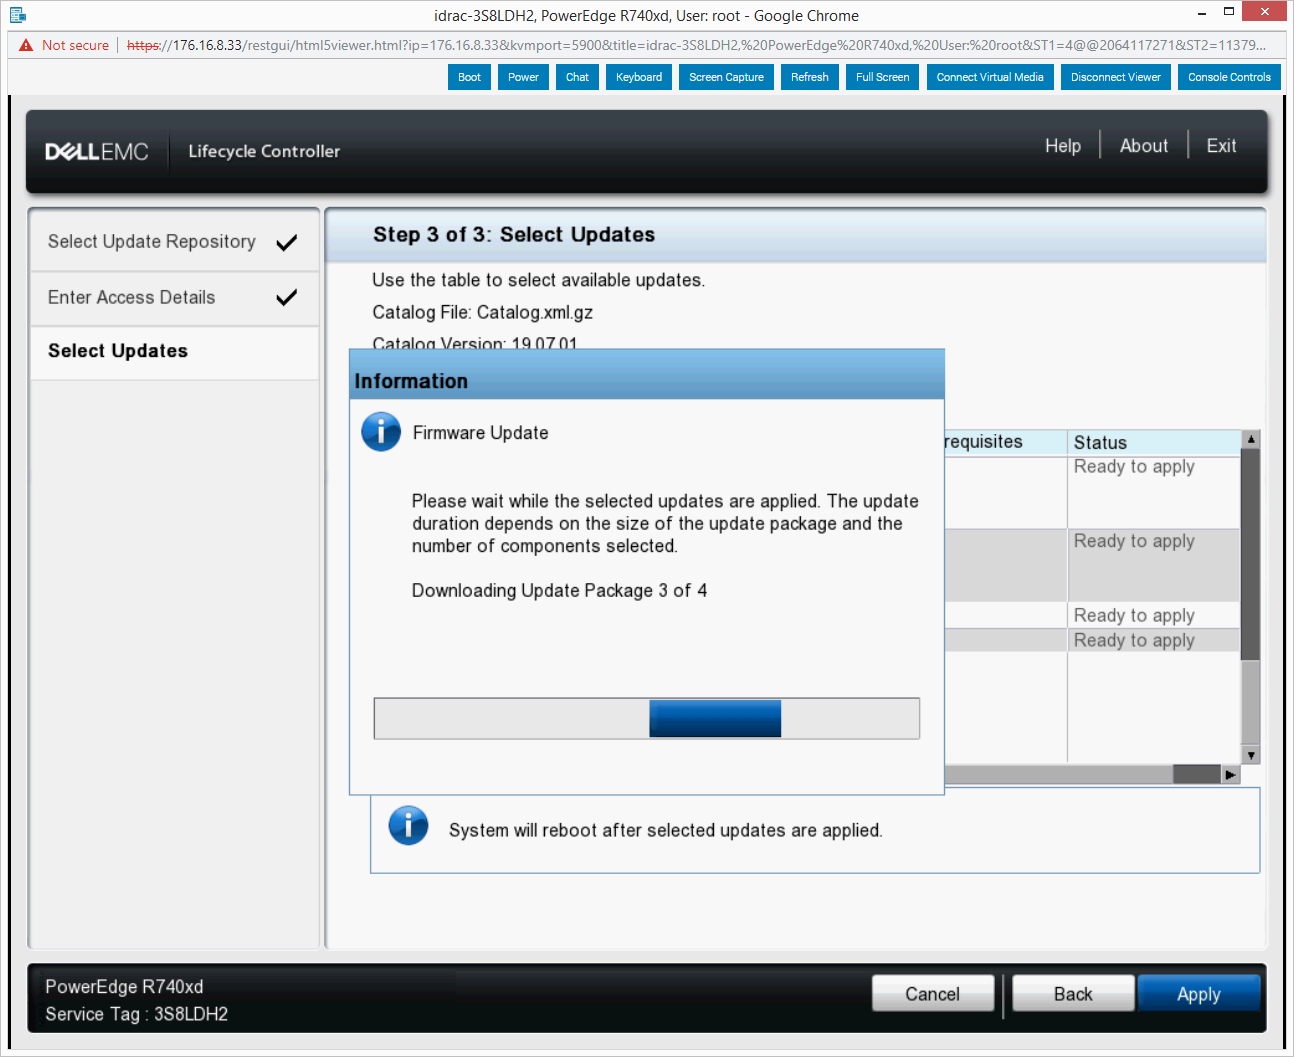
Continuing the update process the next step is waiting for the update packages to download.
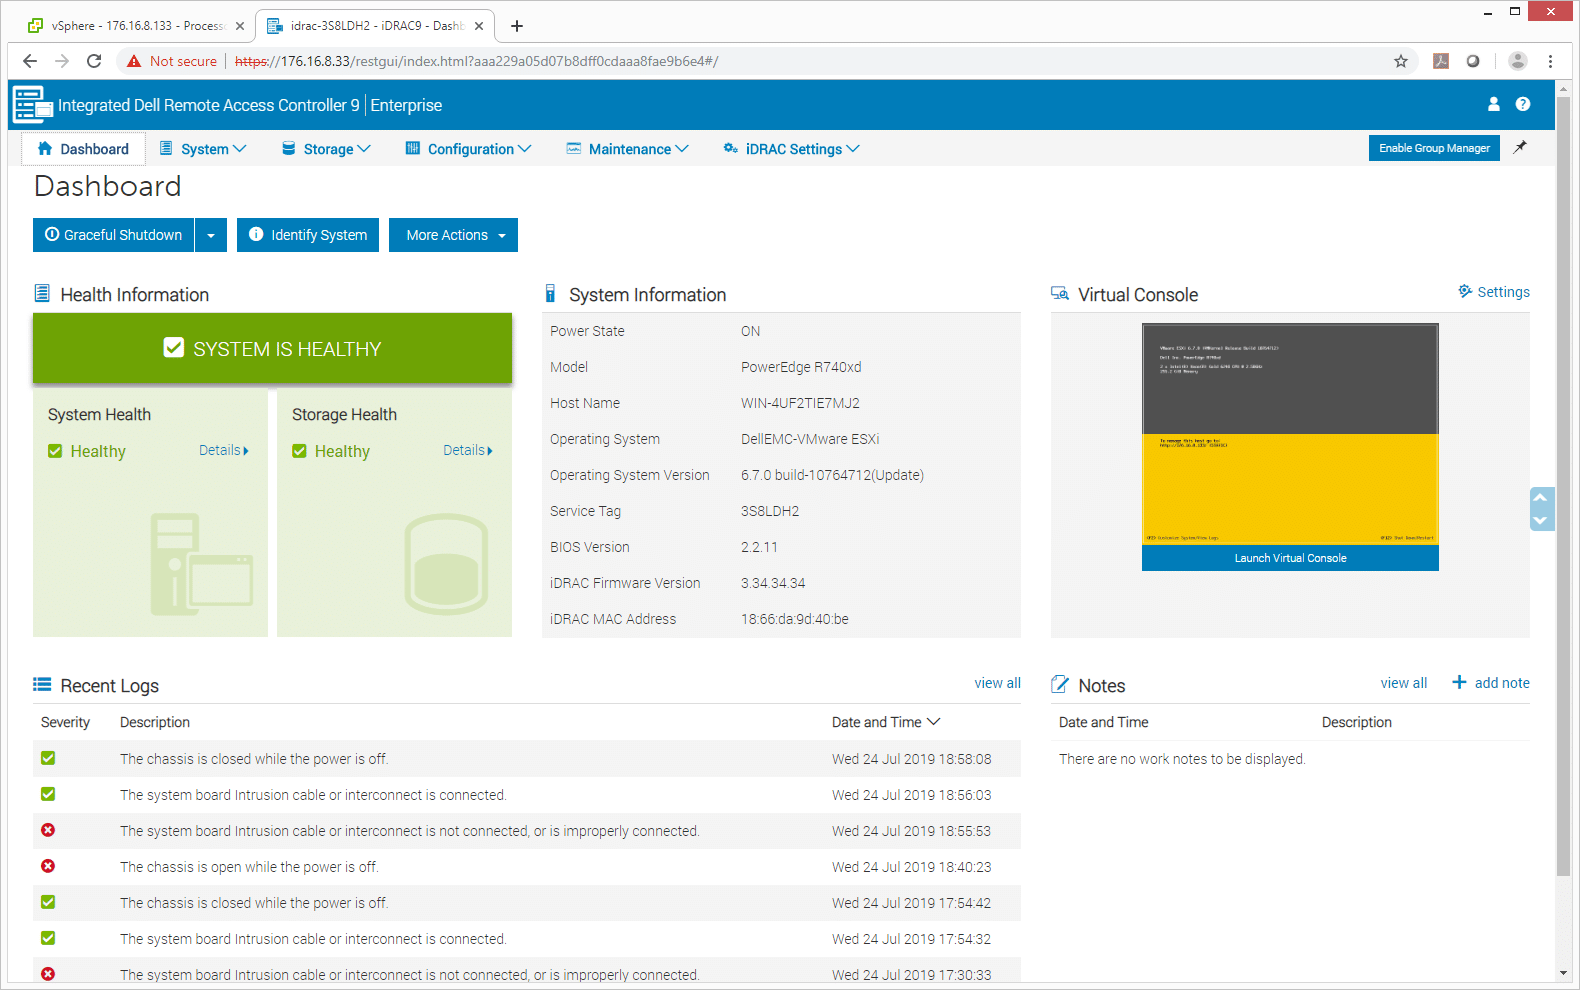
The download and update of the firmware has completed we are back to look at the BIOS. As you can see the BIOS version is now 2.2.11 so the update is successful. With updated firmware the server is ready for the new CPUs to be installed.
Install 2nd Generation Xeon Scalable CPUs
The CPUs are housed under the fan cover inside the server. Removing it gives access to the CPU heat sinks. To access the CPUs, we remove the heat sinks by unscrewing two Torx screws holding each heat sink in place. With the heat sink pulled up and away, the CPU goes with it, being held in place with its old thermal paste. Using a smaller flat head screwdriver, we were able to break the tension of the thermal paste and take the old CPU off. Apply a reasonable amount of paste to the new CPU and the CPU is ready to be attached to the heat sink. There are two triangles in the corners to help with alignment placing the heat sink back onto the motherboard. Lastly, screw the heat sink back onto the motherboard and the CPU swap is complete.
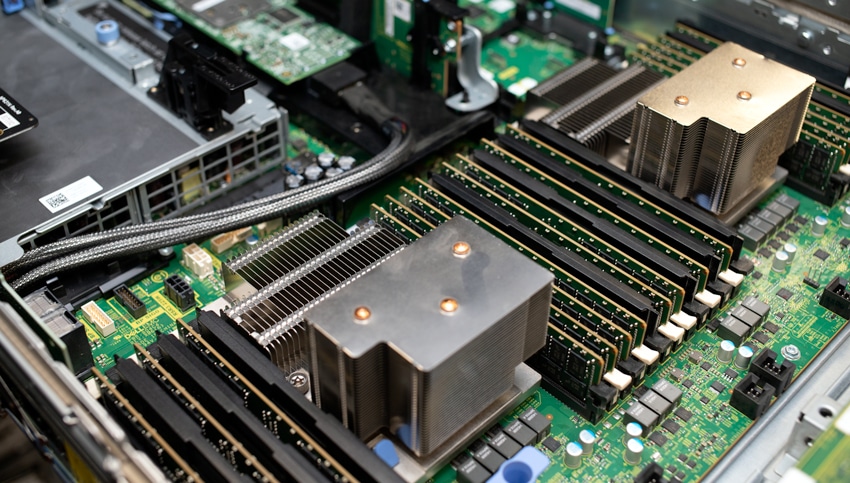
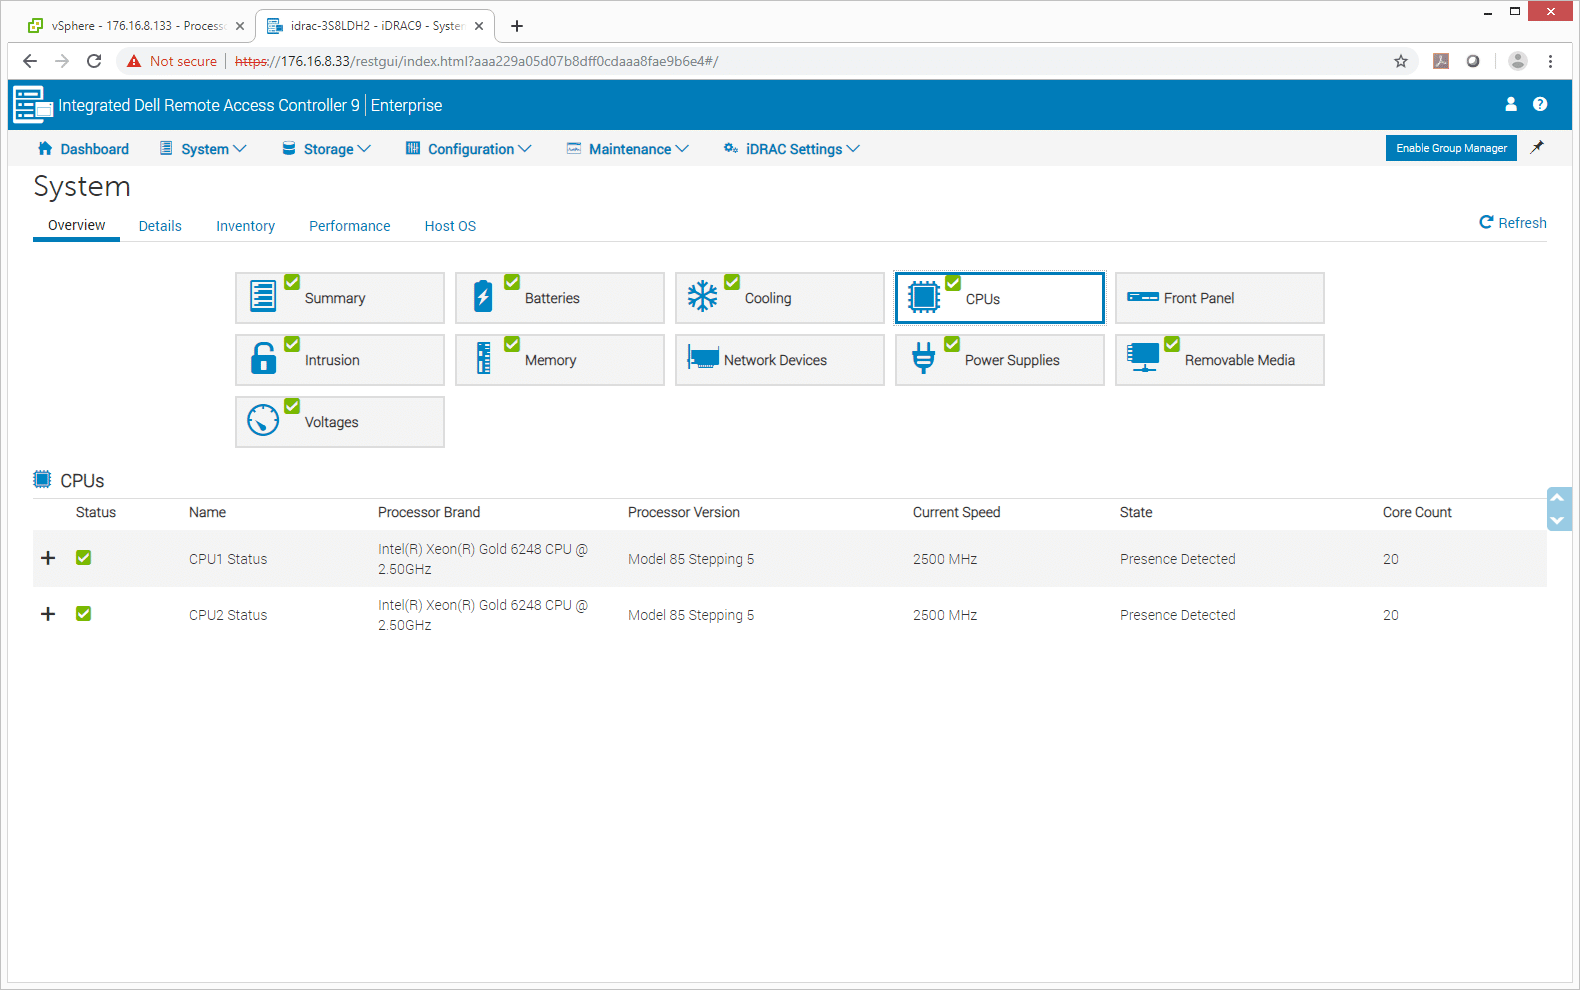
Now we have the new Intel Xeon Gold 6248 CPUs installed into our Dell EMC Poweredge R740 server.
Overall the process of upgrading to 2nd Generation Intel Xeon Scalable CPUs is just about as painless as it could be. With the release of the latest BIOS version the servers fully support the new CPUs and in under 30 minutes we're operational again.


 Amazon