

Today we’ll be turning what, at first glance, appears to be a pile of gaming gear, into a DIY NAS build! If you’ve never built a NAS before, or even heard of one, don’t worry; this in-depth guide will walk you through the ins and outs of NAS. We’ll start by covering off on what a NAS is, moving into my build’s part list, the installation, and then finishing off by installing TrueNAS CORE. This also just happens to be my entry in our $800 TrueNAS showdown!
What is a NAS?
NAS stands for network-attached storage. In simple terms, it is a data storage computer that, when paired with a few drives (SSD or HDD), enables a user to easily access (and share) files from a variety of computers. (Our friends at RedHat have an in-depth explanation if you’d like to know more on the technical side!) One of the key benefits of a home NAS is that files don’t need to be stored on the public cloud, allowing for enhanced security and zero monthly subscription fees. 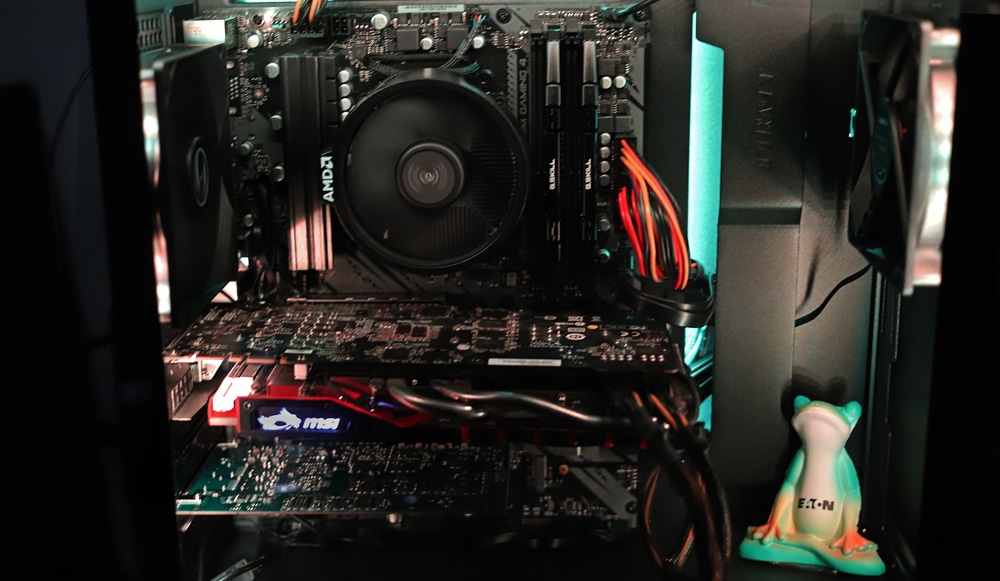 There are a number of nice, cost-effective NAS available to purchase from companies such as QNAP, Synology, and iXsystems. But a DIY NAS allows for flexibility in the budget, as well as design customization. Overall, (aside from the purchasing side of things), this build took only thirty minutes to complete, so it can be time effective as well. Now that you’ve gotten an idea of what a NAS is and why you’d want one, let’s move on to what parts you need to successfully create your own.
DIY NAS Parts List
To begin the build, you’ll need the following components:
- Motherboard
- Processor
- Power Supply
- Case to hold everything
- RAM
- Storage (M.2 SSD, HDD…)
- Network Port
Whether you go with the latest model products or choose budget options, that’s up to you, but these products are a must! Here’s a walkthrough of where I sourced my parts.
Sourcing the Products
The first part that I picked up for my DIY NAS was an OCZ GSX600 PSU from the Cincinnati Computer Cooperative, a discount facility featuring upcycled tech, ranging from massive servers to ancient iMacs. I got this power supply for $5, untested (risky, I know, but the deal was too good to pass up). Fortunately for me and my budget, it was in working order minus a strange operating scent.
The next few parts needed to be top tier, so I went with a slightly more reliable parts supplier, MicroCenter. I drove over on a Saturday to see what deals I could find on a motherboard, RAM, and CPU.
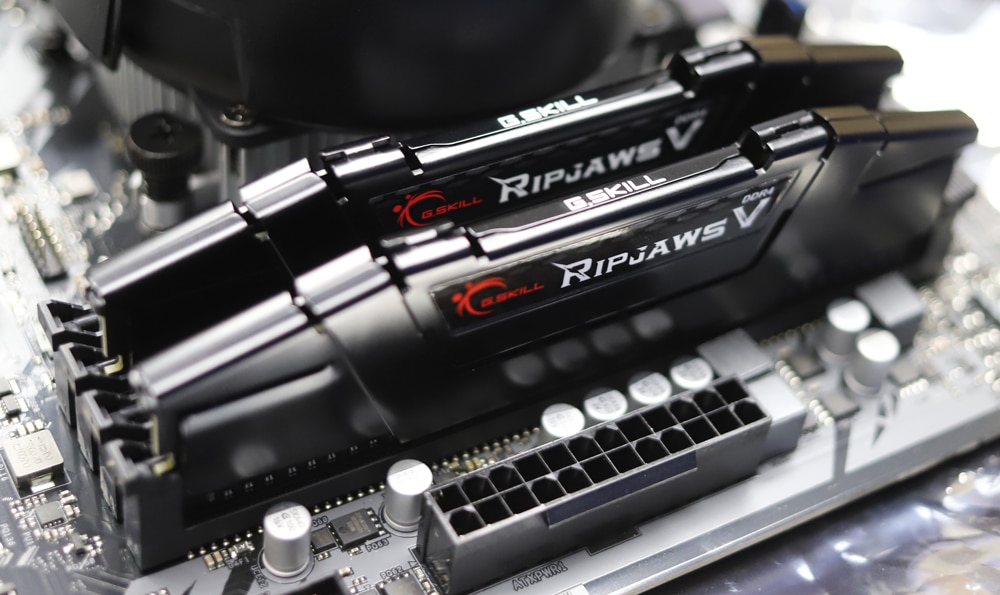
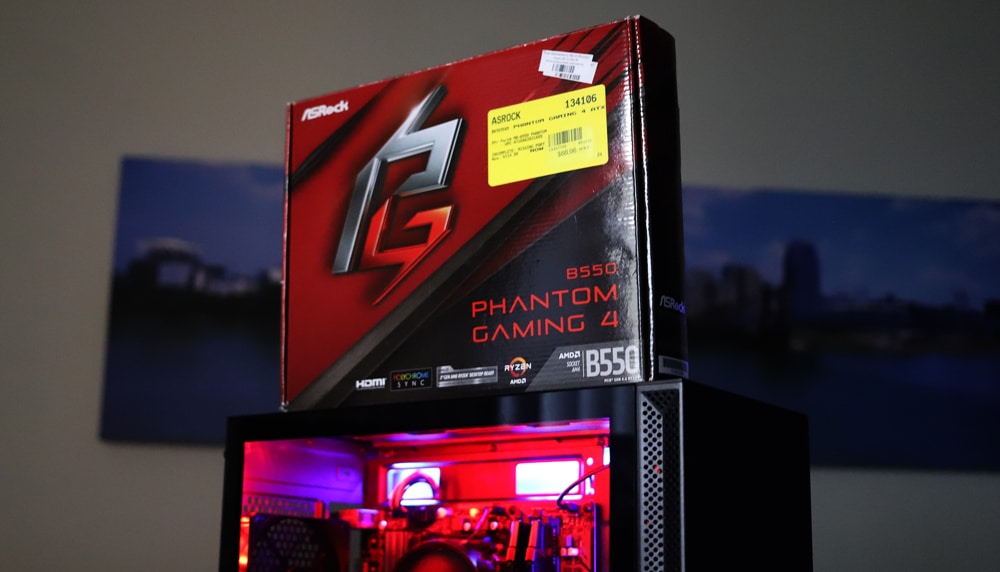 The first item I located was an ASRock B550 motherboard for $68.96, an open box discount. This motherboard supports PCIe 4.0, which I knew would be crucial if I wanted the highest possible SSD speeds. The next find was G.Skill Ripjaws V 64GB (2 x 32GB) DDR4-3600 RAM. This was an open box item as well, for $288.96. Unfortunately, the B550 chipset doesn’t have support for ECC RAM (don’t groan at me TrueNAS experts), but 64GB will be more than enough for ZFS.
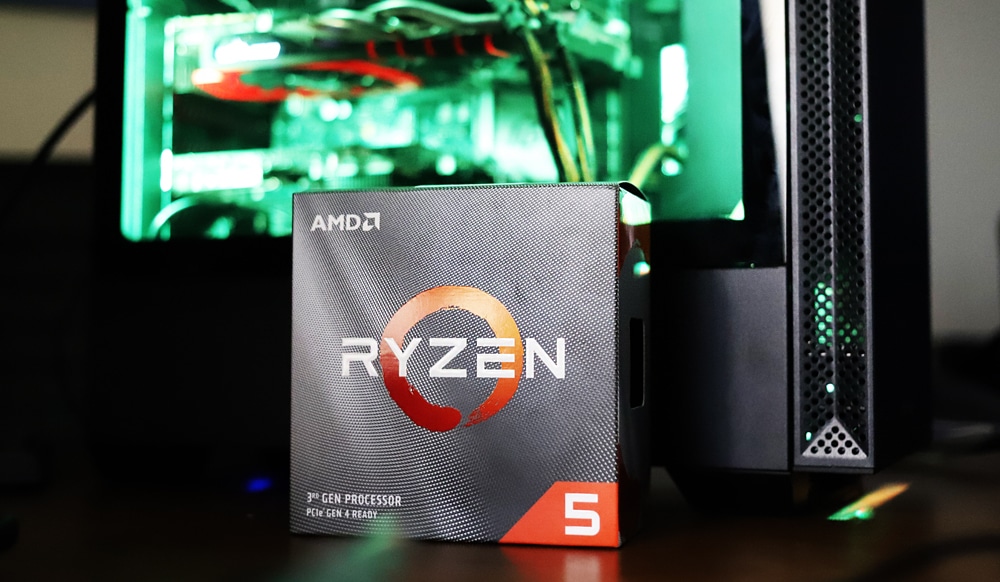
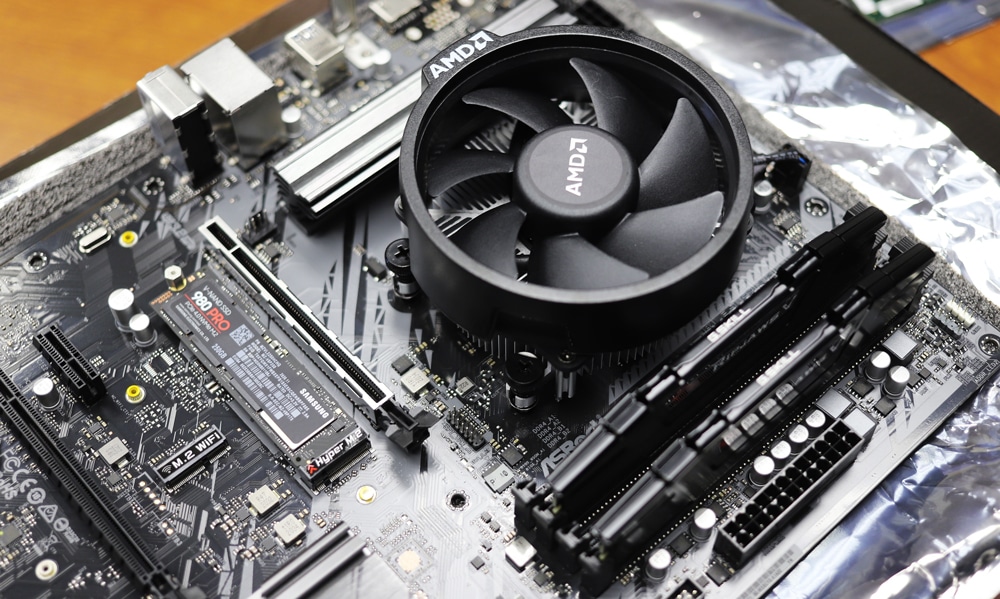
For the CPU, I choose a Ryzen 5 3600 due to its PCIe 4.0 support. The processor was new and was available for $199.99, with an included Wraith Stealth CPU Cooler.
 Next, I began searching for a case to house all this gear. I found a Lian Li Liancool 205 PC case, which has abundant space for drives and cable management, new, for $69.99. To make sure the network connection wasn’t a major bottleneck, I found a used Chelsio 111-00603+A0 on eBay for $30 with two SFP+ ports rated at 10GbE each. It should provide more than enough bandwidth.
To accessorize my NAS, I picked up 2 new Excellux LED strips on eBay for $7.06. (The ASRock B550 motherboard has 2 onboard 4 pin RGB LED controllers that they’ll plug into.) Now, on to the build!
DIY NAS Assembly
If you have some experience building a PC, this should come pretty naturally. If not, don’t worry; it’s pretty simple and we’ll walk you through it, step by step in our video! To start, unbox your motherboard and install the CPU, followed by the CPU cooler.
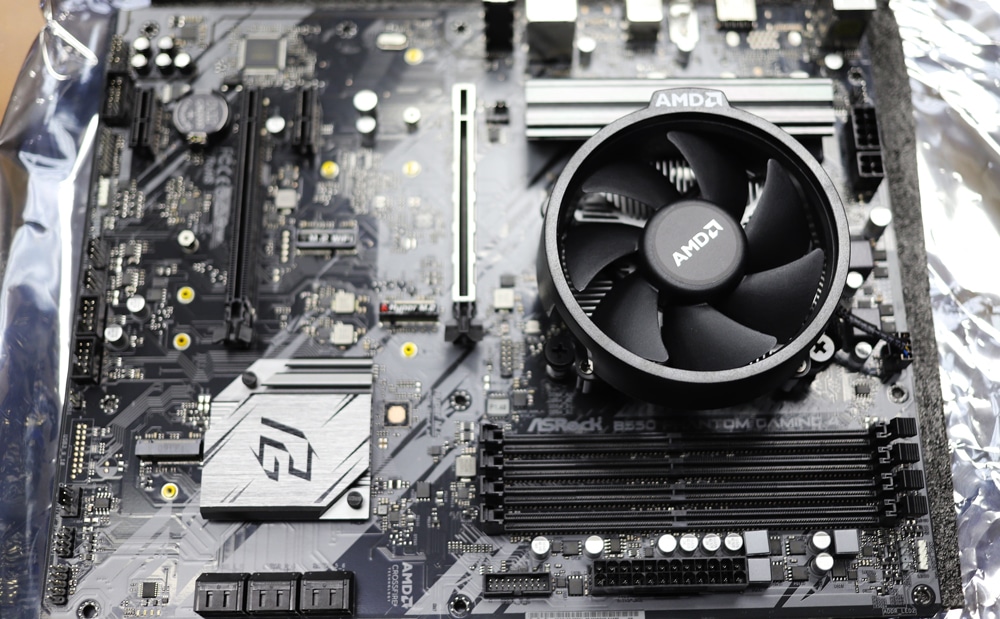 Next up is the RAM. Note: it’s important to check the manual to see which slots the RAM should be installed into when using a dual-channel RAM setup.
 Once your RAM is installed, you can move on to installing the M.2 SSD, if your build includes one.
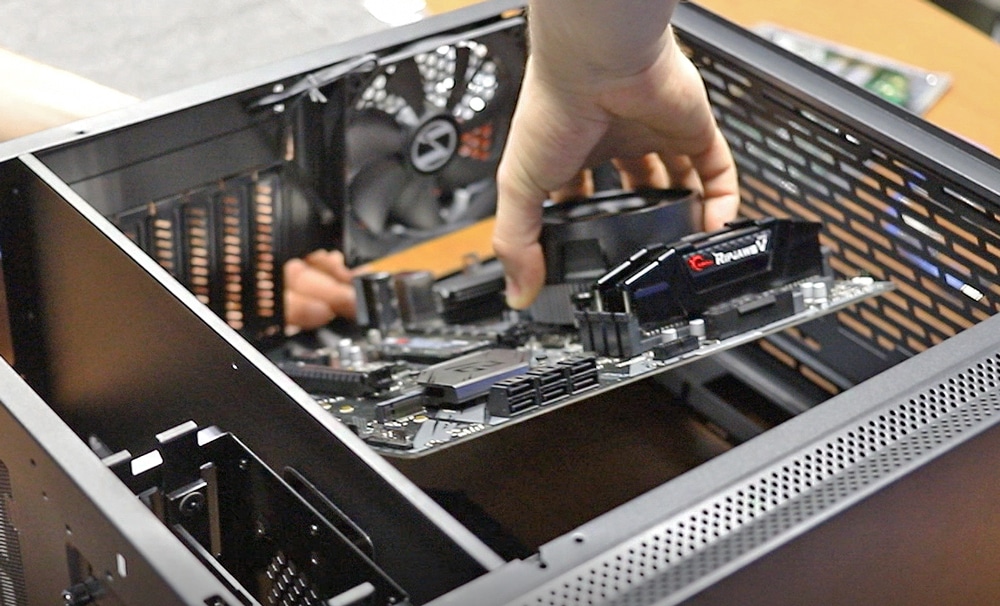
 With that, the motherboard is complete. Not too bad, right? Now it needs to be put into the case. Make sure you get all the screws in! This step is very dependent on the case you choose, some cases and designs being easier or more complex than others. In this particular build, there were a few items missing as it was an open-box deal.

Wrapping up the build stage, you’ll hook up the power cables to the motherboard, main power, and auxiliary CPU power. After the power cables are hooked up to the motherboard, the front IO of the case and case fans can be plugged in, and… you’re ready to get operational!
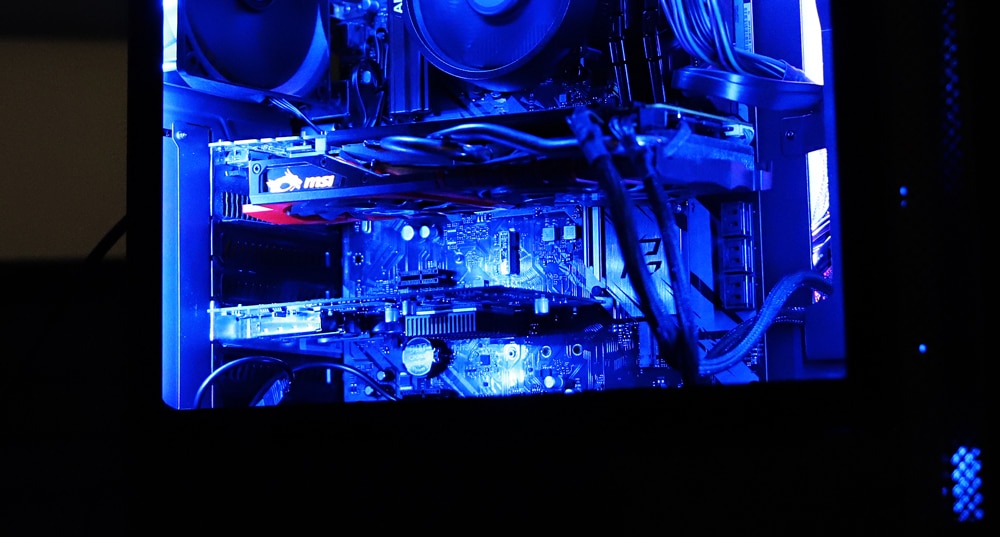
In my case, I did end up adding an MSI GeForce GTX 970 GPU. I used the MSI GTX 970 for the initial install and decided to keep it in, as it can be used for video encoding with Plex. Once it was added to the build, everything else went pretty smoothly!
TrueNAS CORE
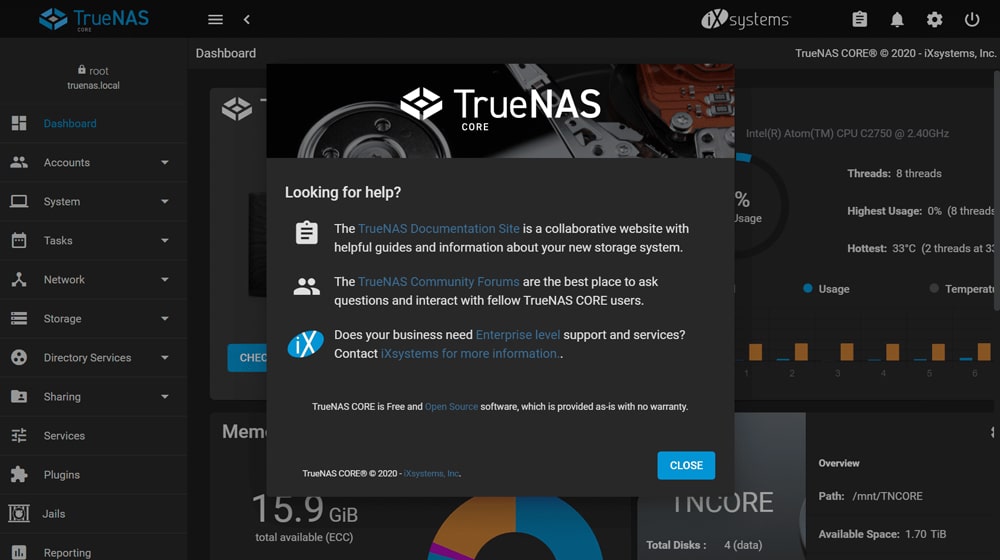
TrueNAS CORE is the world’s most popular software-defined storage. Free to use, it is built on the OpenZFS file system. It’s popular with many due to its ability to keep data secure while providing block, file, and object storage! To download the software, visit https://www.truenas.com/ and click “Download TrueNAS CORE.” You will see 4 files – you will want to select the file with the .iso extension that is NOT the debug version.
Since we’re running the installer on our own hardware, we will download the ISO and use Rufus – https://rufus.ie/– with a USB stick to boot from. For an in-depth walkthrough on the TrueNAS CORE installation process, check out our guide! Once the installation is finished, you’ve got your very own DIY NAS ready to go!
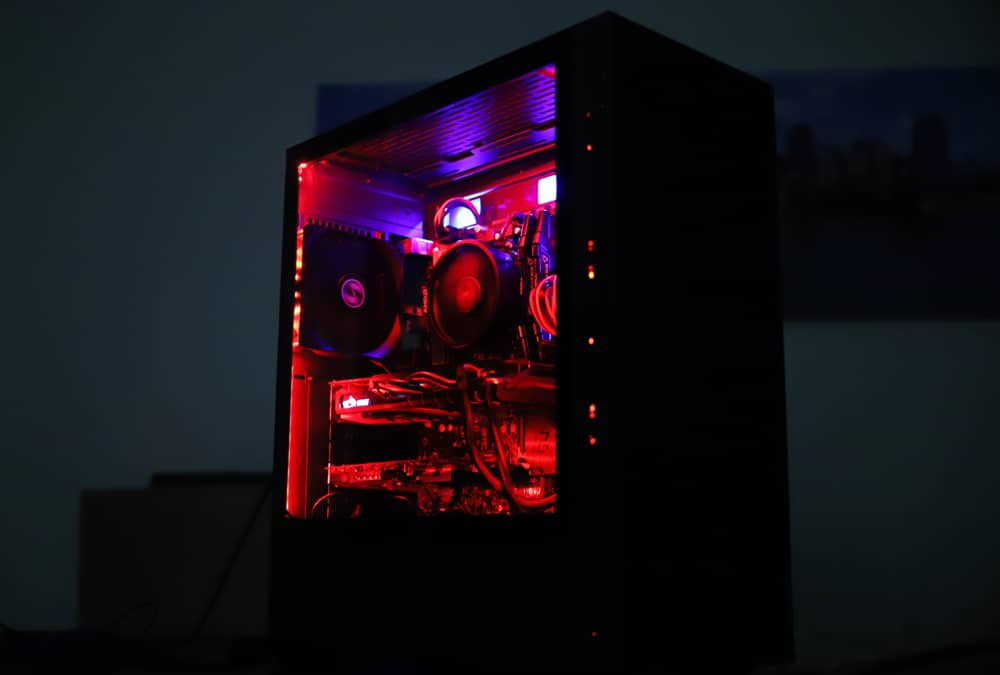
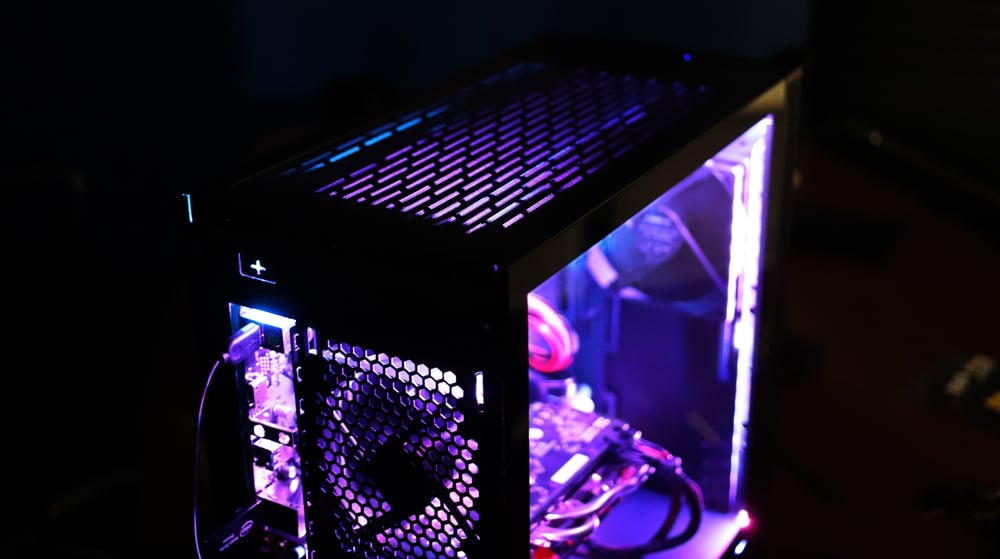
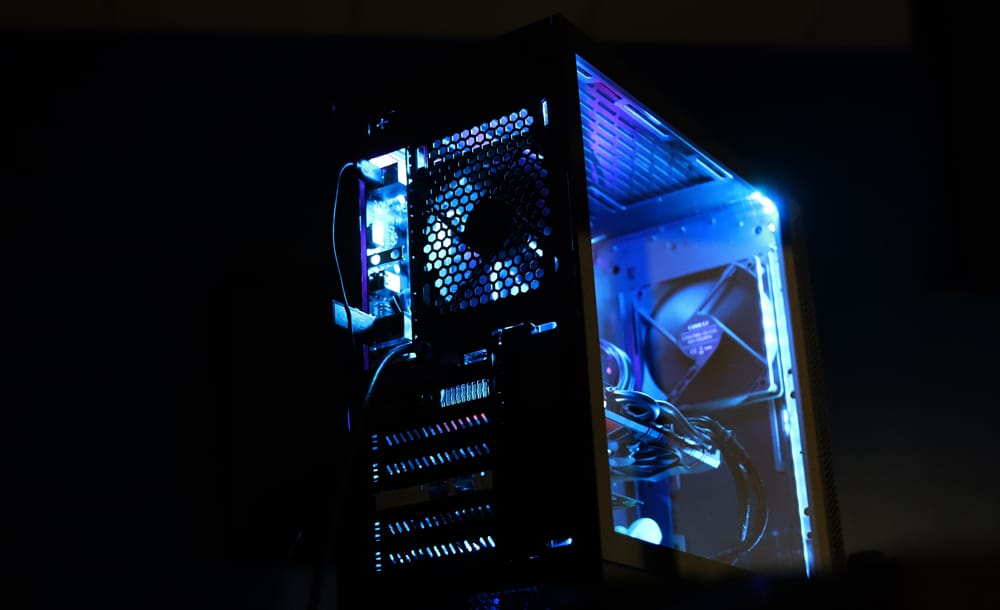
The Finished DIY Build
Overall, I ended up with a highly customized build featuring some best-in-class products. I really enjoyed the individualized aspects of creating it and was happy to find the setup wasn’t very time-consuming and could even be done on a tight budget (depending on how open you are to some used/older products).
I completed the build at just under $800 ($799) and appreciate the performance so far. It could have definitely been done cheaper, but I think the PCIe 4.0 support and high-capacity storage was worth it. We’ll be running benchmarks soon as part of our 3-way contest, so stay tuned!
Finished Parts List and Pricing
| Component | Product | Status | Price | |||
| Case | Lian Li Lancool 205 | New | $69.99 | |||
| Motherboard | ASRock B550 | Open Box | $68.96 | |||
| CPU | Ryzen 5 3600 | New | $199.99 | |||
| CPU Cooler | Wraith Stealth Cooler | New | Included with CPU | |||
| M.2 SSD | Samsung 980 Pro (250GB) | New | $63.96 | |||
| RAM | G.SKILL Ripjaws V Series 64GB (2 x 32GB) | Open Box | $288.96 | |||
| GPU | MSI GeForce GTX 970 | Used | $87.00 | |||
| Power Supply | OCZ GSX600 PSU | (Very) Used | $5 | |||
| RGB | Excellux | New | $7.06 | |||
Total: 790.92


 Amazon