

Last week we started a new configuration in our lab using a 3-nodes vSAN cluster. You can check the introduction of this configuration here, and for more details, take a look and explore the video (and more to come) in our revitalized YouTube channel.
So, in our cluster, we have three Dell EMC PowerEdge R730 servers to play around with some of the VMware features and settings. But what if we to change this configuration? Like expanding the cluster by adding new hosts or even removing current ones? This setting is going to be short and straight forward; nevertheless, because we want (and we can), let’s see how it’s going to be this process of adding a new host/server to our current vSAN cluster.
Adding a new host to the vSAN cluster
One of the distinguishing things about VMware is that we can add ESXi hosts to a running vSAN cluster without disrupting any ongoing operations. And as the new host’s resources are going to become associated with the cluster, the first thing we should do, it’s to verify that these resources are compatible with VMware. Also, to associate the host with the same vSphere configured network.
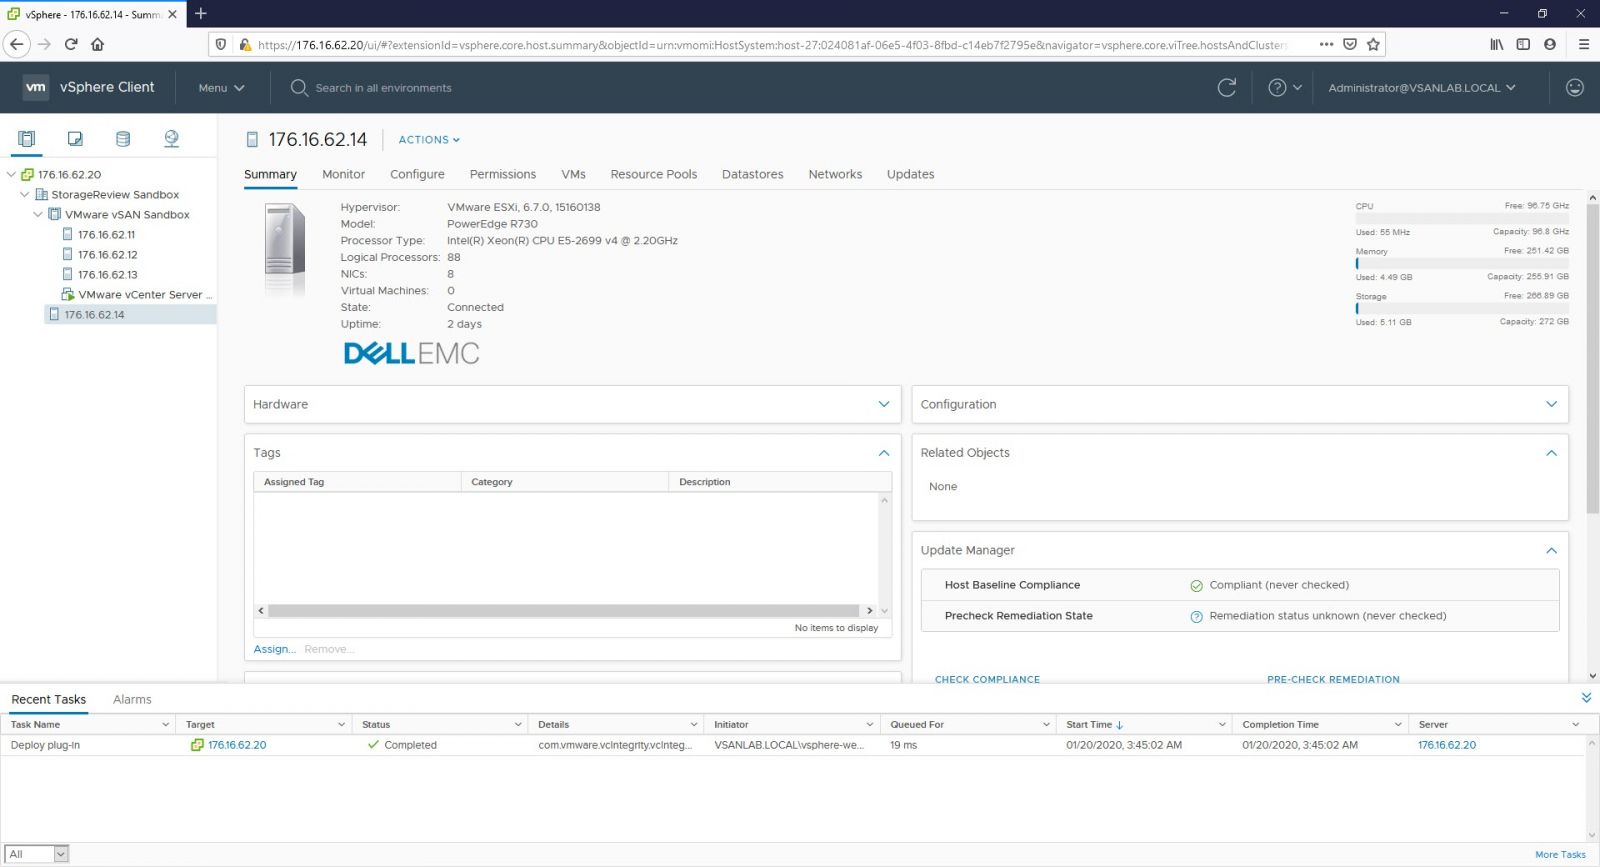
When adding a new host, multiple options are available. The common one is adding a host from the “Add Hosts” option while right-clicking on the cluster or using the vSAN quickstart (Maybe we can overview these options in upcoming articles). As our host has already been added into vCenter, the easiest way here is just to move it into the vSAN cluster. The image below shows the new available host ready to be added to the cluster.
We should put our host into Maintenance Modefirst. After the host in Maintenance Mode, right-click into the host and select Move To. Select the vSAN cluster and click OK. Another quick option is to directly drag and drop the host and move it into the cluster.

But adding a new host is the first step when expanding the vSAN cluster. Besides, we need to include the disks into the cluster configuration.
Managing newly added disks
Since it’s a new host, the local storage of it is not going to be added to the VSAN datastore at once. So, the next step is to claim the disks of our newly added host.
We have two options to manage these new disks. We can create a new disk group, or we can claim disks. Continuing with the basic configuration and steps done when we created the original 3-nodes cluster, let’s go with the claim disk method.
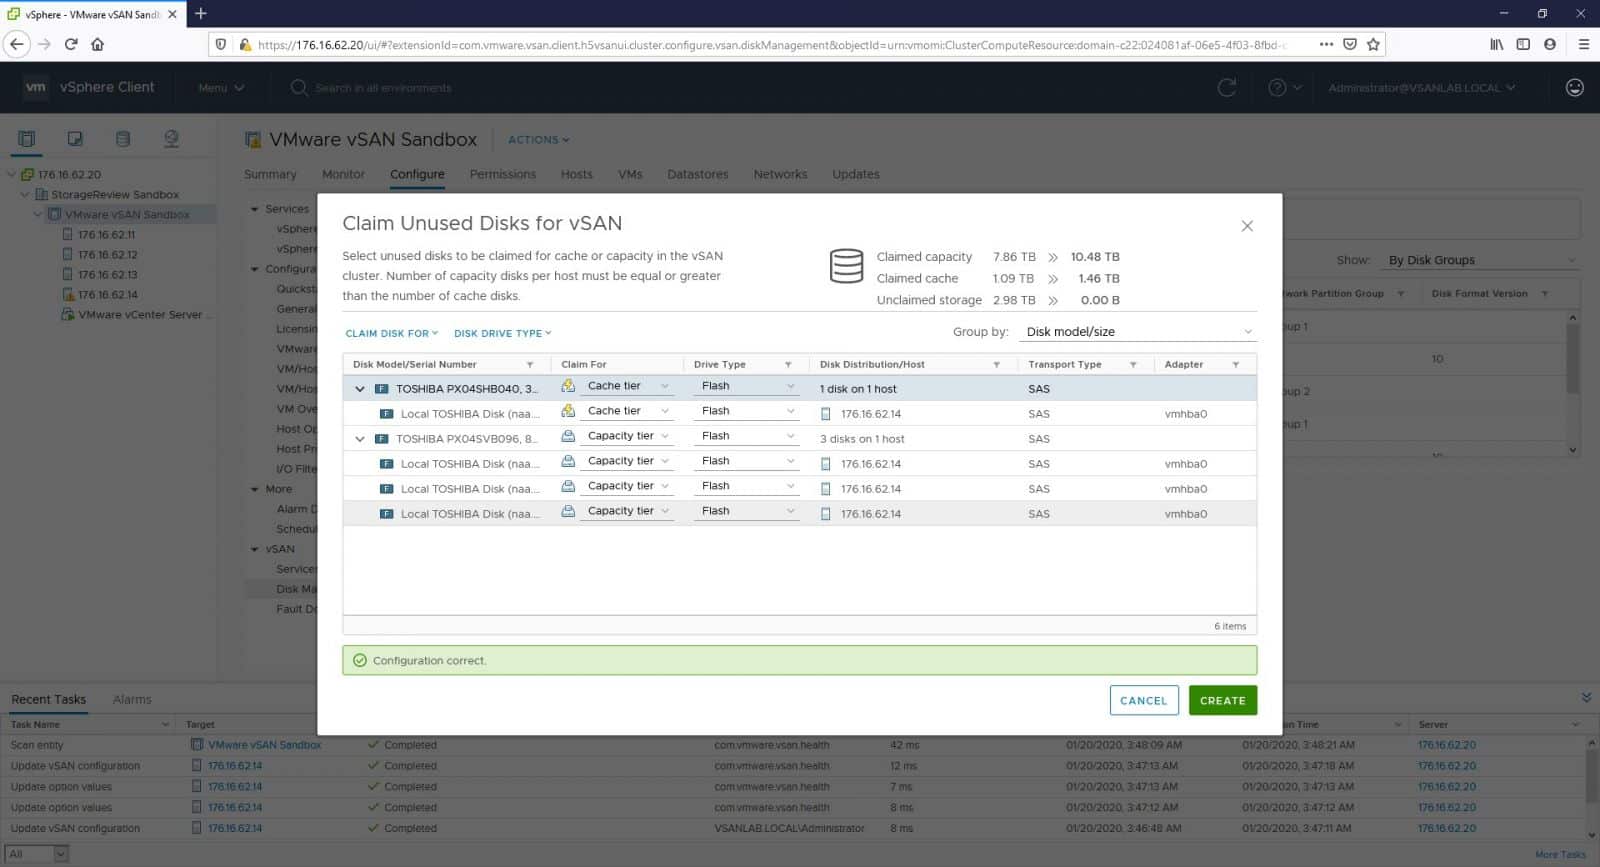
For this option, select the vSAN cluster and go to Configure > vSAN > Disk Management > Claim Unused Disks. On the new window, based on the device type, quantity, and size, vSAN will make a prediction for the creation of the cache and the capacity tiers. Same as the initial 3-nodes configuration, here we just accept the suggested configuration and click Create.
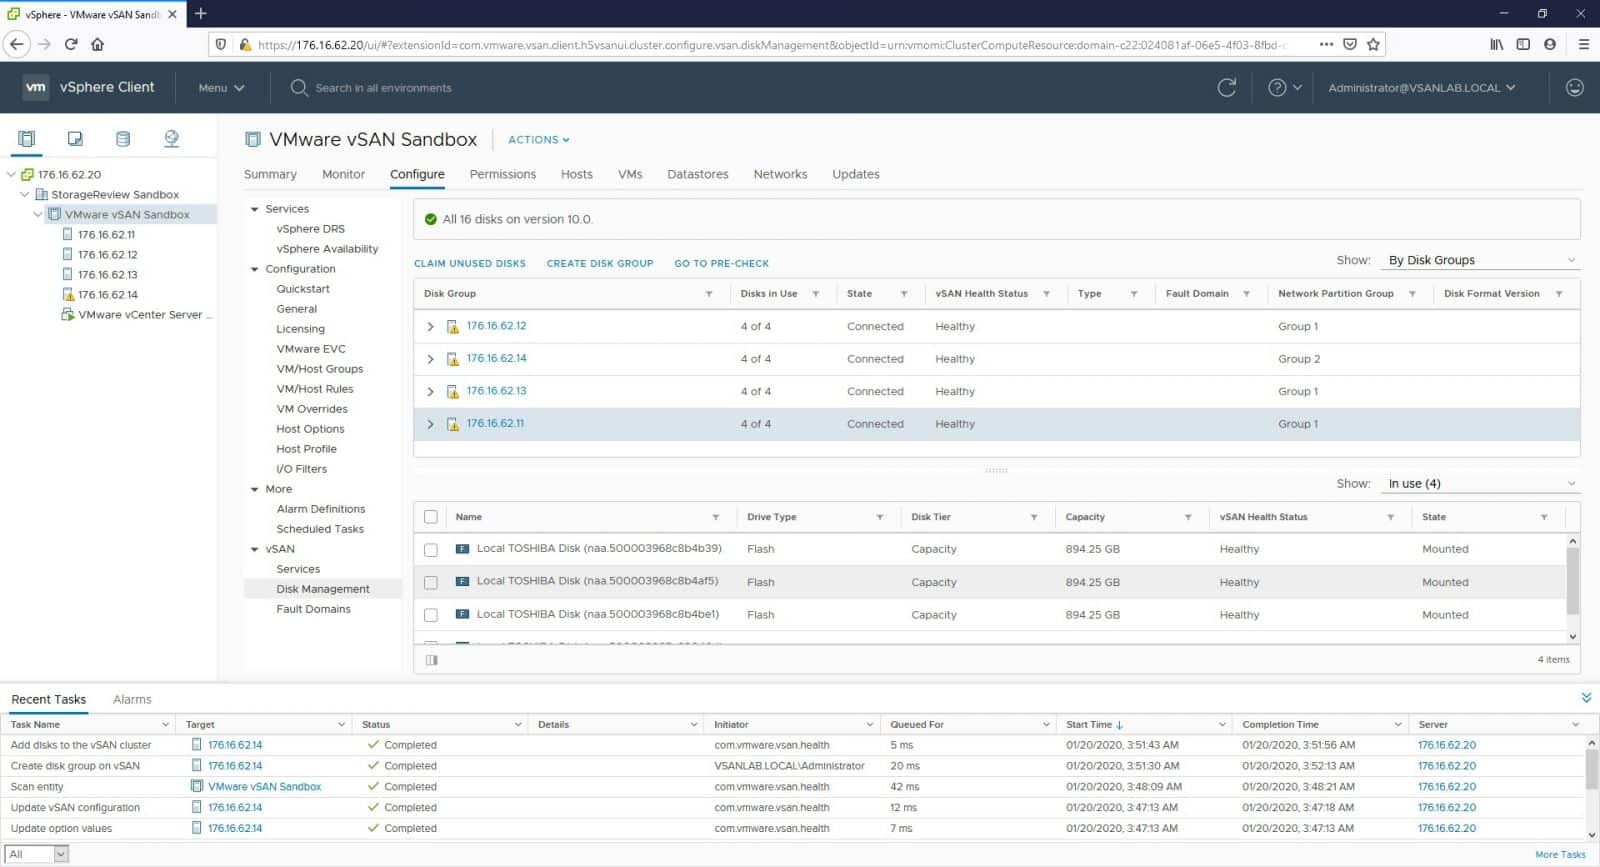
After a few seconds, we should be able to see the newly added host with all its disks in use under the Disk Management area.
Conclusion
This time, we have expanded our vSAN cluster with a fourth host by moving it to the original 3-node cluster. The new ESXi host was configured using the supported cache and capacity devices. This process is relatively easy and took only a few minutes to accomplish, but is something vSAN users may need to cope with regularly as their clusters expand.


 Amazon