

Behind the scenes at StorageReview, we go to great lengths to offer detail-oriented photography you see published in reviews. To make this possible, we have an on-site studio where we can shoot devices as small as micro-SD cards and as large multi-shelf storage arrays. This setup includes three main components; a large light tent, a dSLR camera and a ton of continuous lighting… 1000 watts of CFLs or roughly 65,000 lumens. Those components along with some heavy lifting make our images possible.
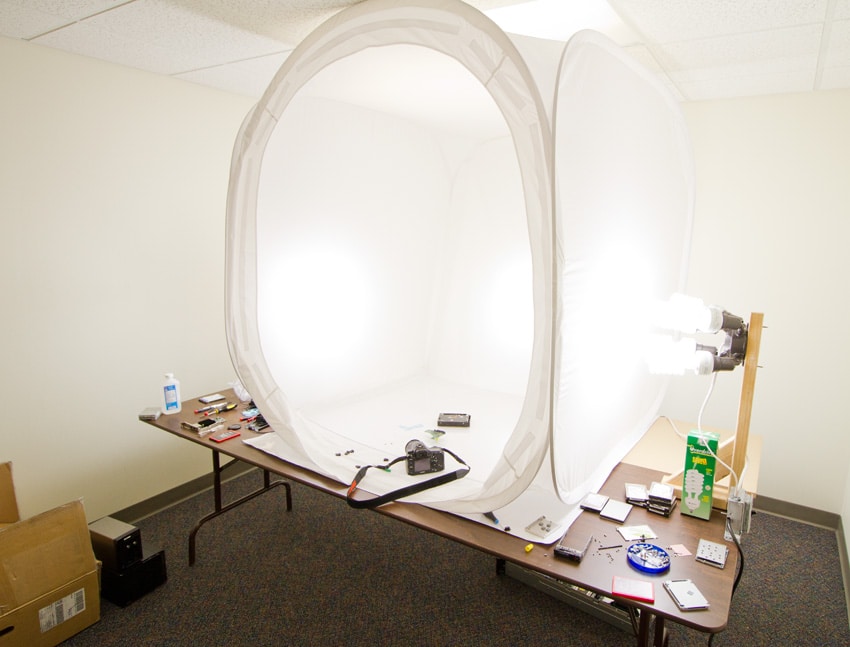
The light tent itself is a 60″ x 60″ x 60″ cube which we mounted on a modified table to support the size and weight of larger devices we need to photograph. While an off the shelf light tent will work for most cases, we added a large sheet of plexiglass to the bottom surface of the tent to assist with providing a clean surface to place products on. We’ve also added print-quality paper on top of the table, to help give the shooting surface an off-white appearance.
Originally when we built the light tent setup, we were maximizing our budget and decided to build the three light pods ourselves, each holding six 250w-equivilent CFL bulbs. Mounted on the sides and rear, these provide a ton of light to remove shadows from around devices and give a clear view of all detail on complex devices. While not the most refined look, they easily get the job done and are flexible enough to reposition if we ever change the light tent.
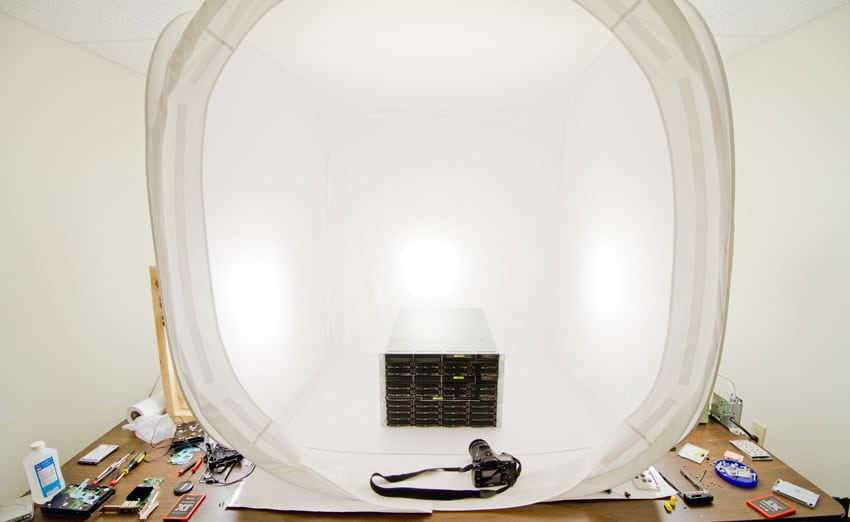
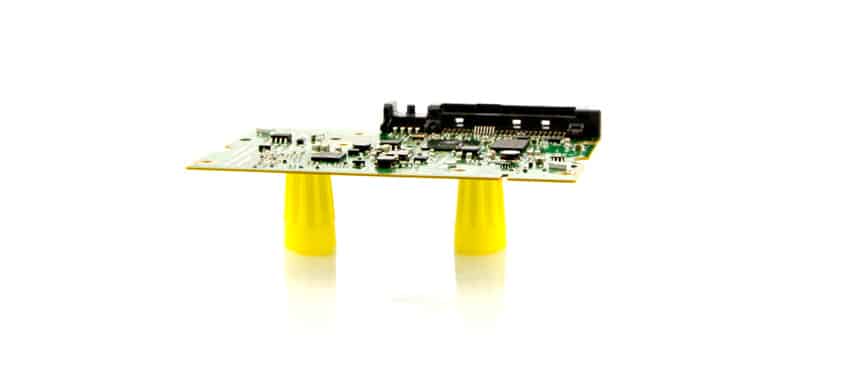
When shooting photos of large equipment, we put the device directly onto the plexiglass surface and take photos from the common angles you see published in our reviews. Before those photos hit the site, we run them through Photoshop to clean up the background and remove any visible scratches you might see from that plexiglass surface. For circuit board shots we include in our SSD and HDD reviews we lift the product off the surface so the camera doesn’t capture the background in the shot. The creative approach we found leverages wire nuts acting as stable lifting objects.
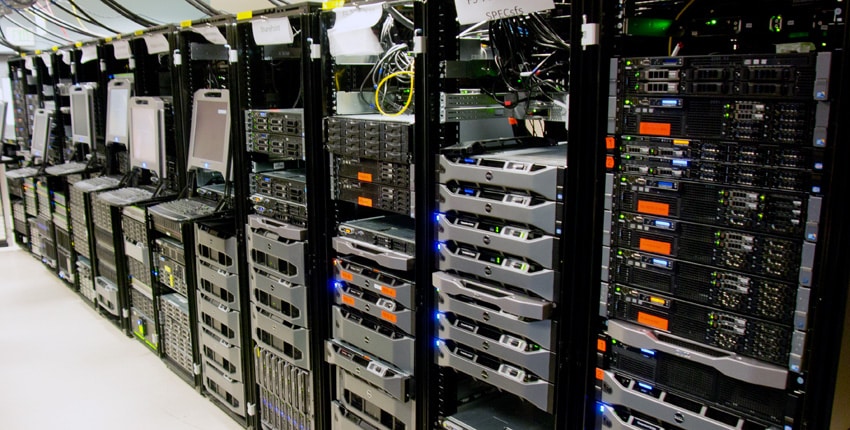
Of course not all photos you see on the site flow through our primary test lab… such is the case for many of our on-site visits. In these scenarios we bring a smaller subset of our photography kit with us in a travel friendly size. This was the case for our recent trips to Dell’s Compellent and EqualLogic performance testing lab.


 Amazon