
TrueNAS CORE is the evolution of the code base of FreeNAS. We had a great live stream with Brian Beeler and Kris Moore from iXsystems that demos the new capabilities TrueNAS CORE has to offer. The video embedded below is a great starting point to get up to speed on what’s new in TrueNAS CORE. But, that’s not enough. By popular request, we wanted to show how to install TrueNAS CORE. In this how to guide, we will be using an HPE ProLiant Micro Server Gen 10 Plus paired with some Seagate IronWolf HDDs and an SSD we had lying about to create an impressive NAS in a tiny footprint.
TrueNAS CORE is the evolution of the code base of FreeNAS. We had a great live stream with Brian Beeler and Kris Moore from iXsystems that demos the new capabilities TrueNAS CORE has to offer. The video embedded below is a great starting point to get up to speed on what’s new in TrueNAS CORE. However, that’s not enough. By popular request, we wanted to show how to install TrueNAS CORE. In this will how to guide, we will be using an HPE ProLiant Micro Server Gen 10 Plus paired with some Seagate IronWolf HDDs and an SSD we had lying about to create an impressive NAS in a tiny footprint.
Read More – TrueNAS CORE 12 Review on HPE MicroServer
Download TrueNAS CORE
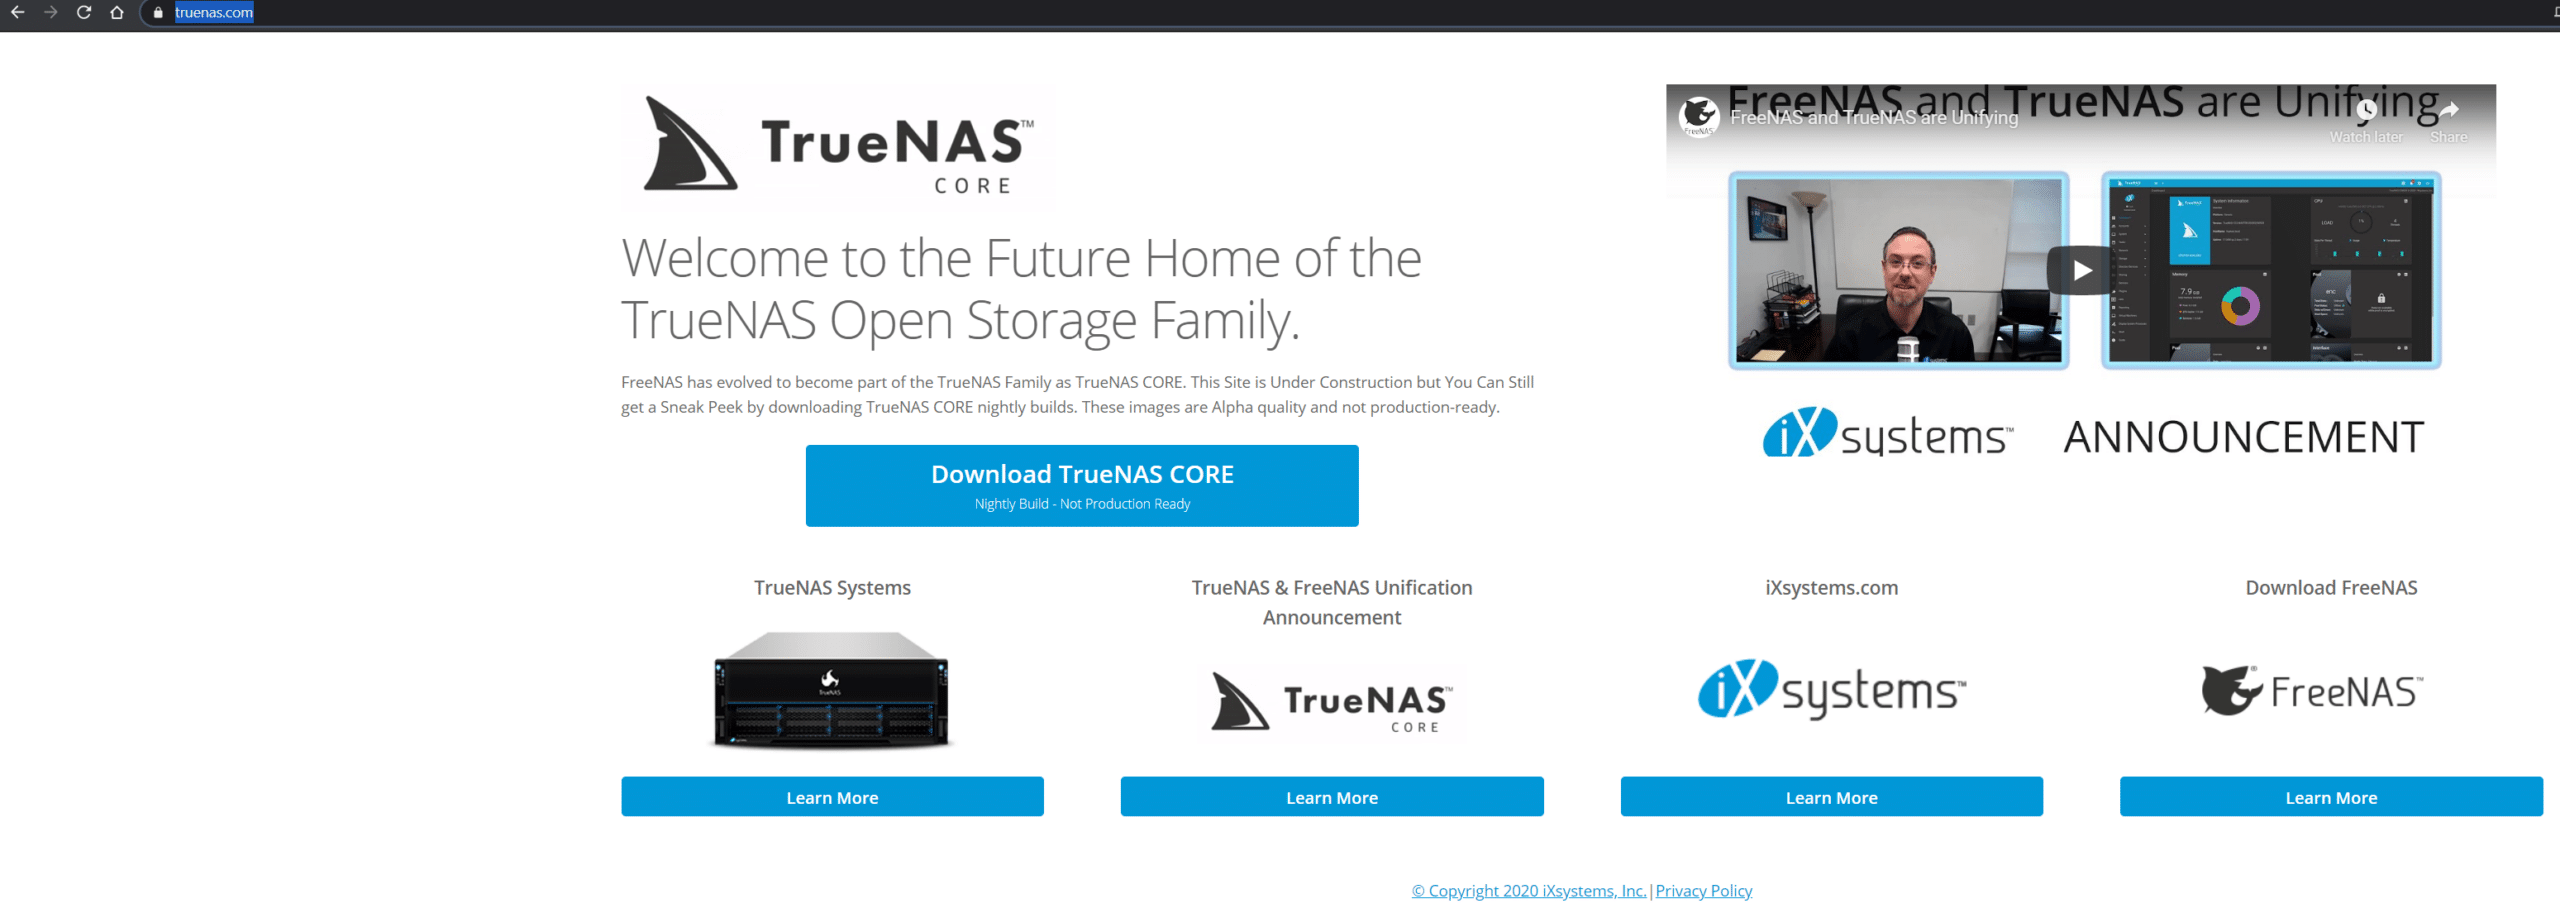
Now, here is how you can get started with TrueNAS CORE. Head over to https://www.truenas.com/ And you will see “Download TrueNAS CORE”
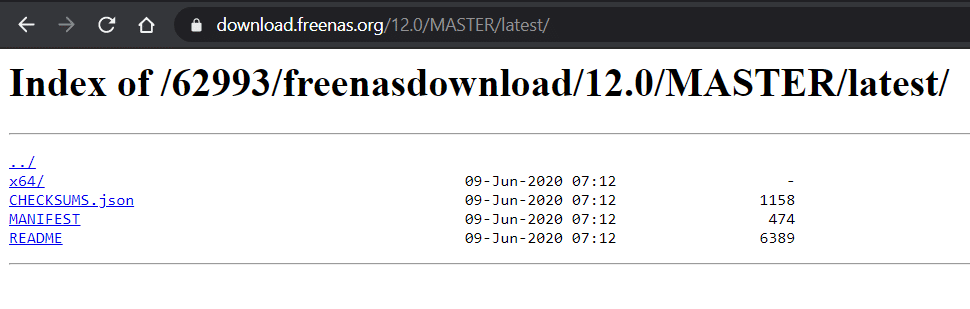 As this is a nightly build and PRE-ALPHA – I will pass along the warning that was given to us – “This is not for production and to proceed at your own risk.” If your mouse gets pregnant don’t blame us. Select x64
 You will see 4 files – you will want to select the file with the .iso extension that is NOT the debug version.
HPE iLO 5 on the MicroServer
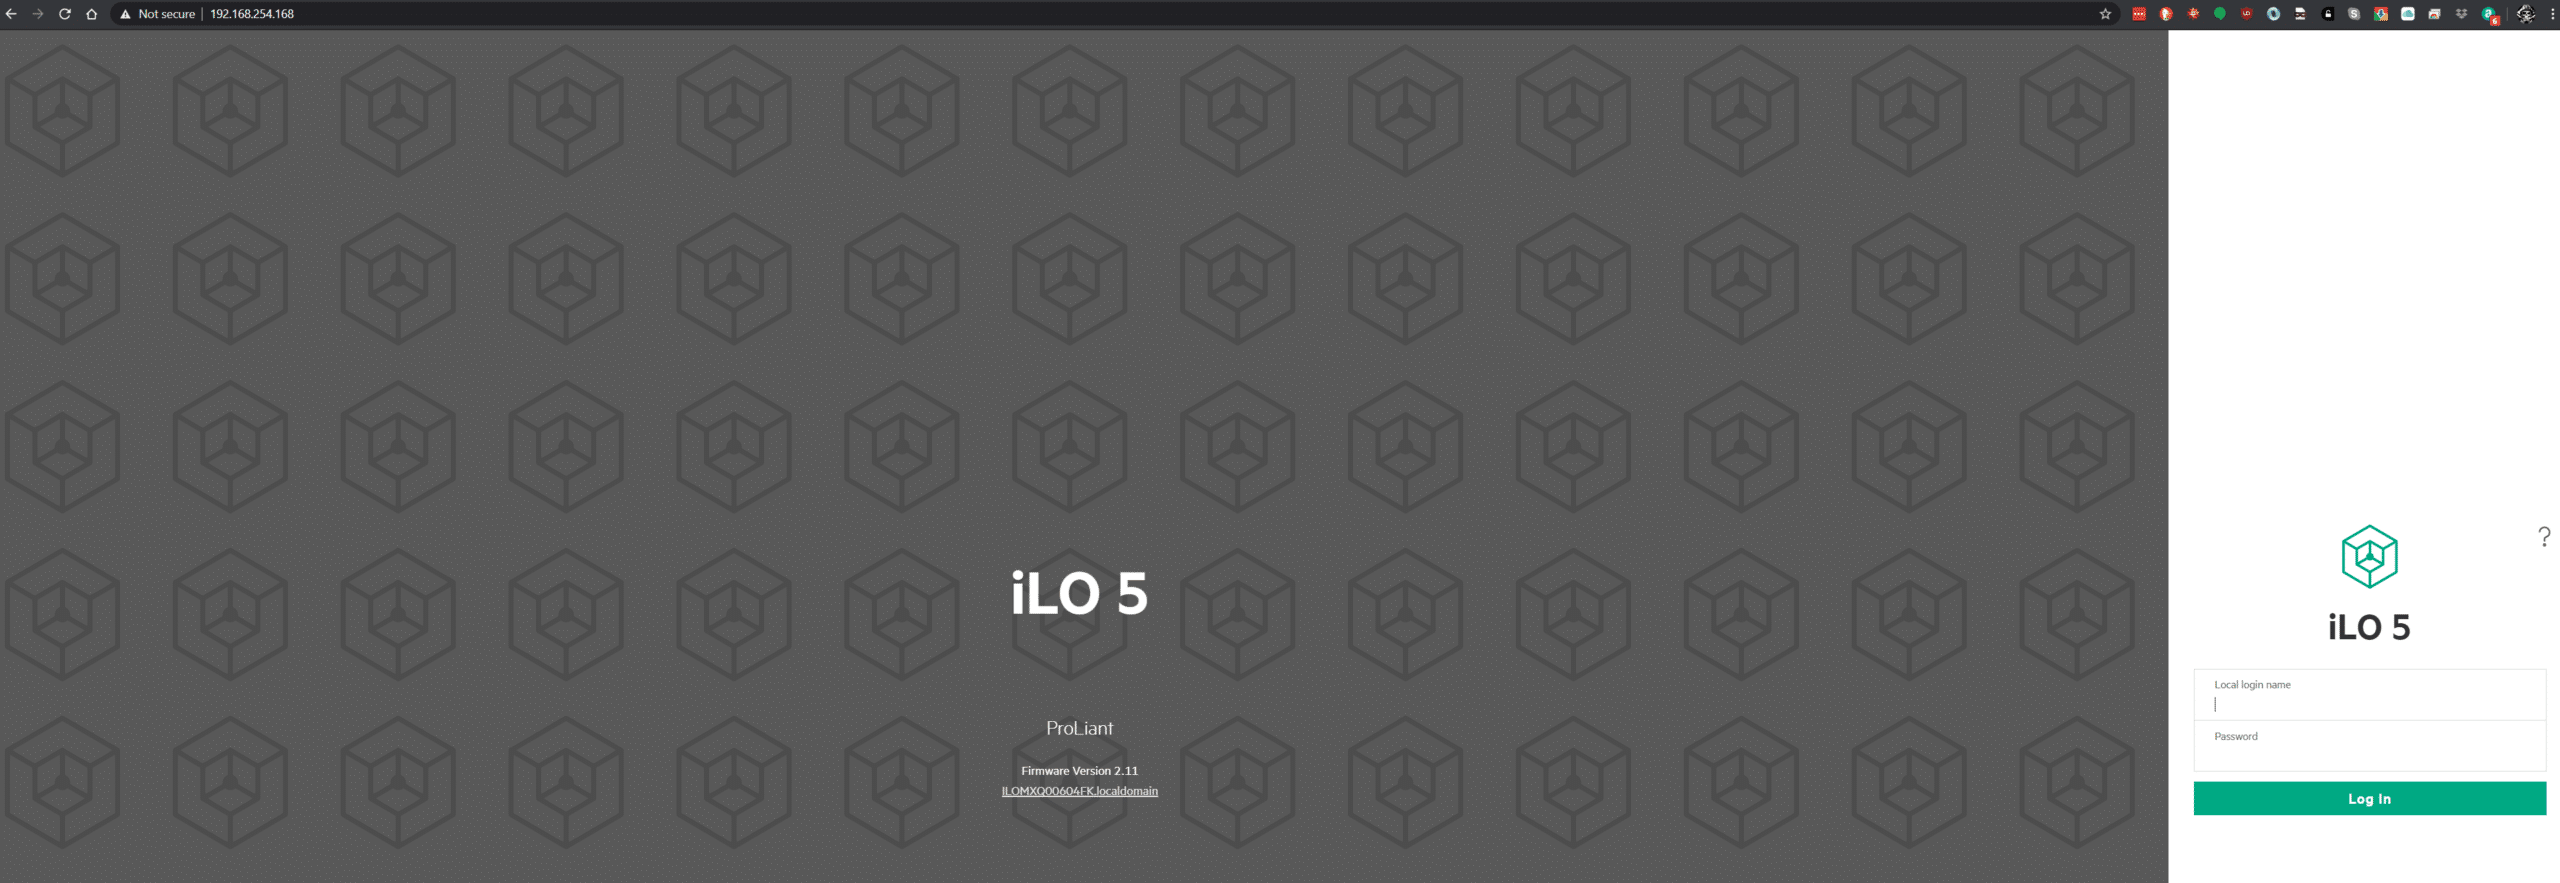
The HPE ProLiant MicroServer Gen10 Plus has built in iLO 5 that allows us to connect Virtual Media from local or remote storage. This is accomplished by logging into the iLO 5 interface – selecting Remote Console & Media and Virtual Media – loading either a local image (ISO from your local machine) or use an image URL – in this case the actual ISO path from the iXsystems server) – **If you are running the installer on your own hardware – Simply download the ISO and use Rufus – https://rufus.ie/– with a USB stick to boot from.**
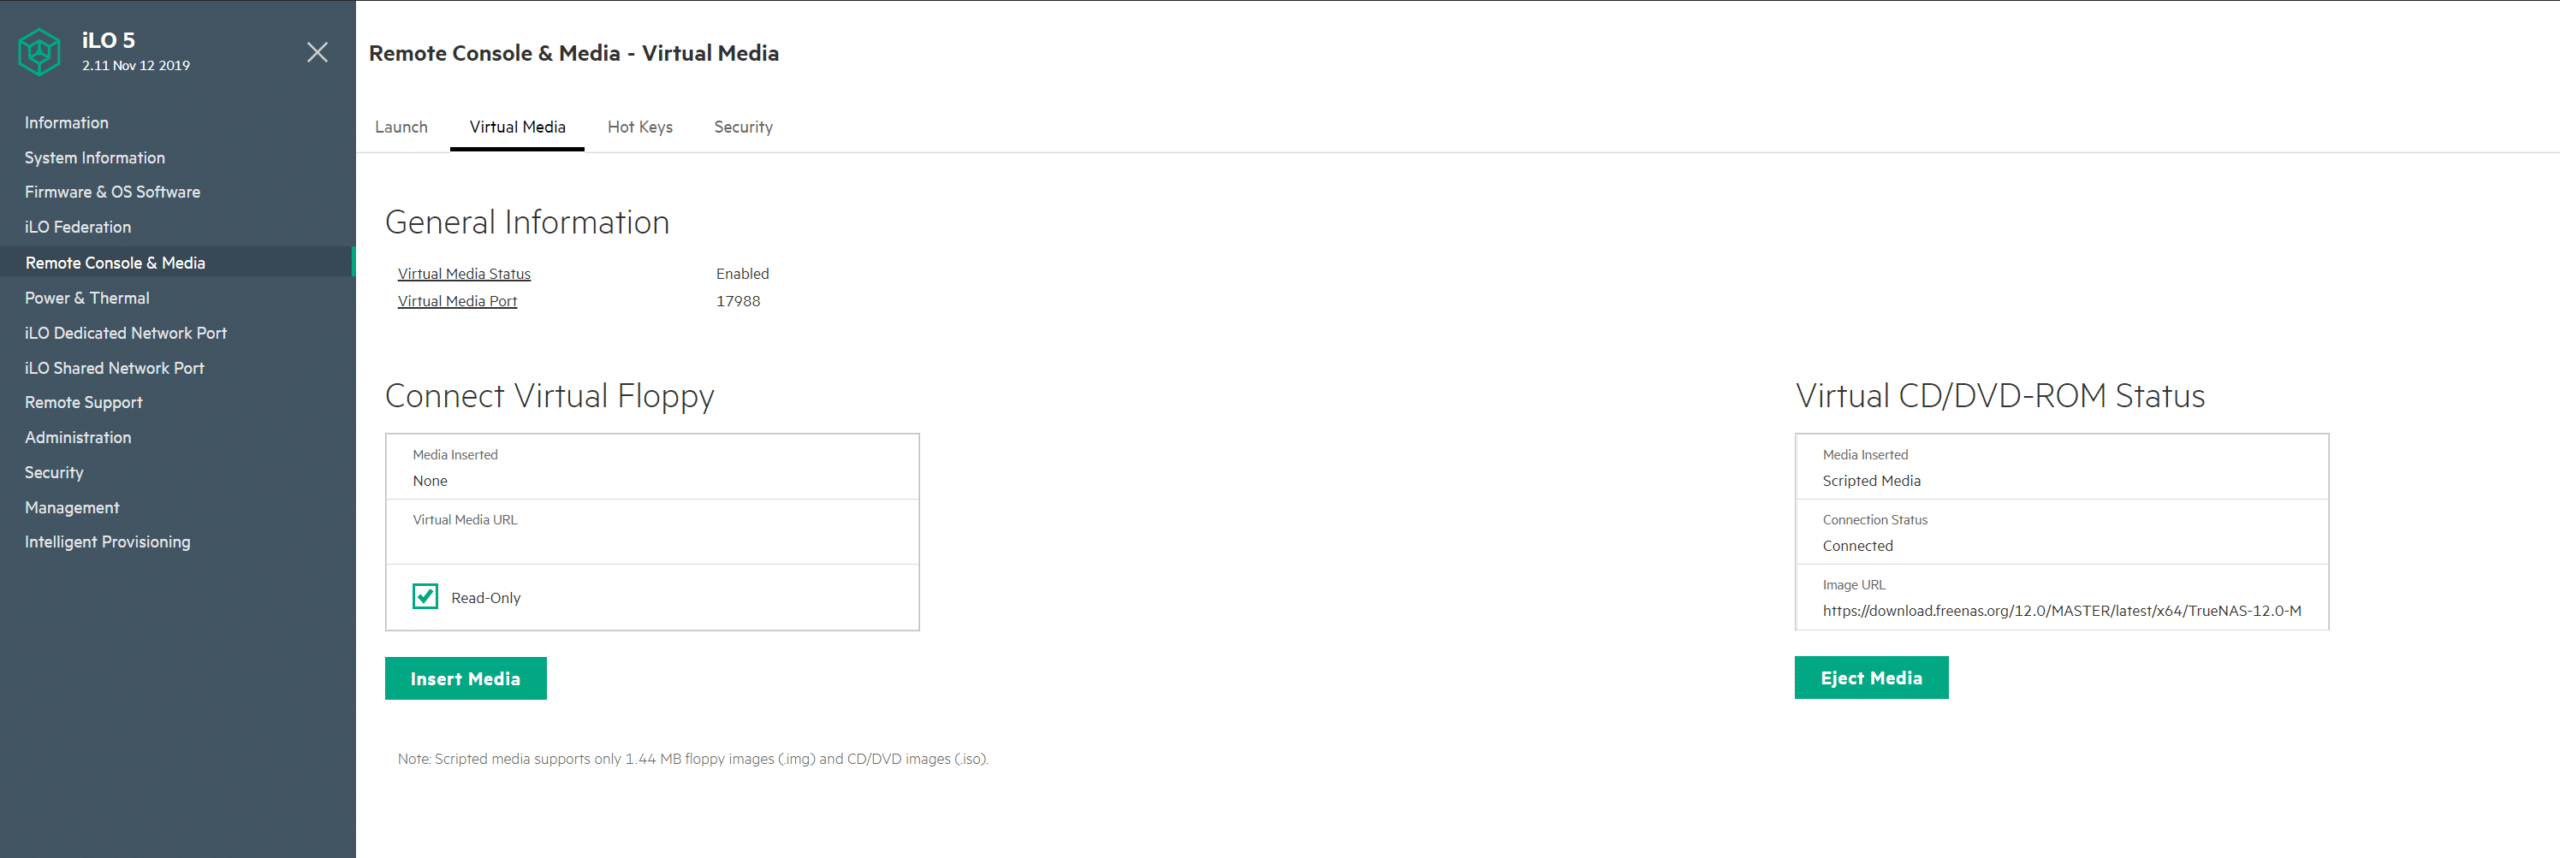
Once you have an image loaded in virtual media – move back over to Launch and open a console to the machine.
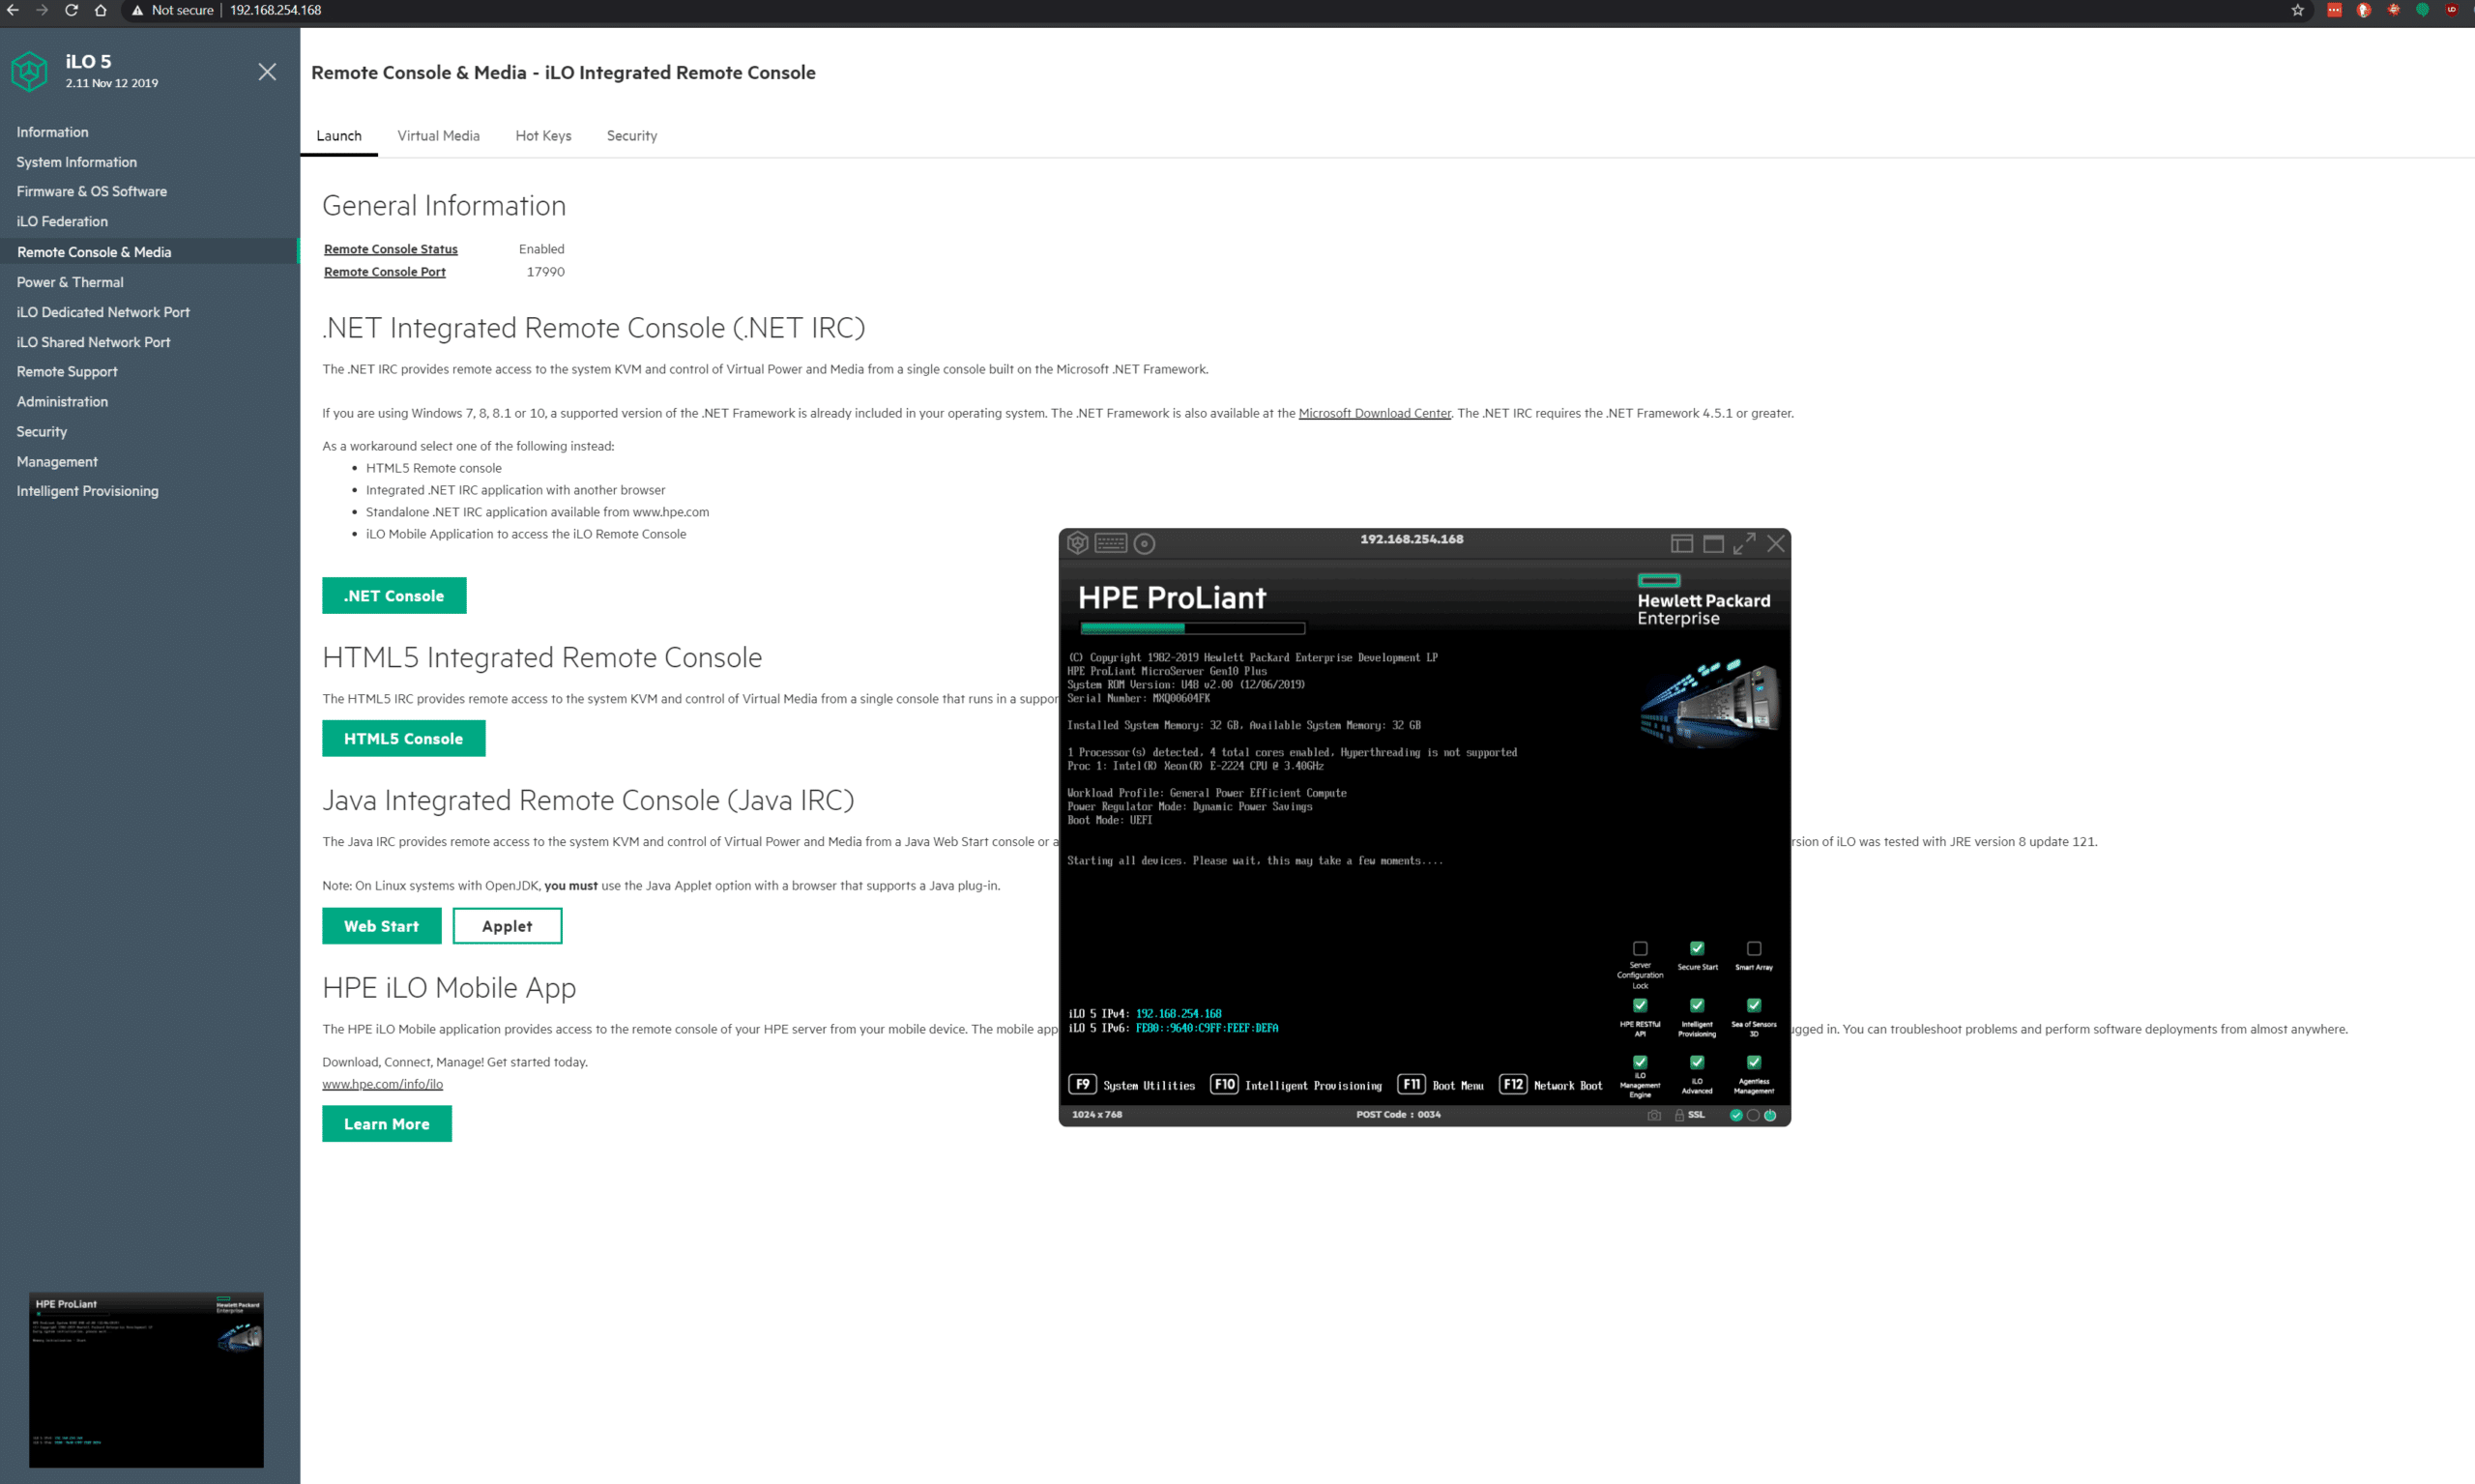
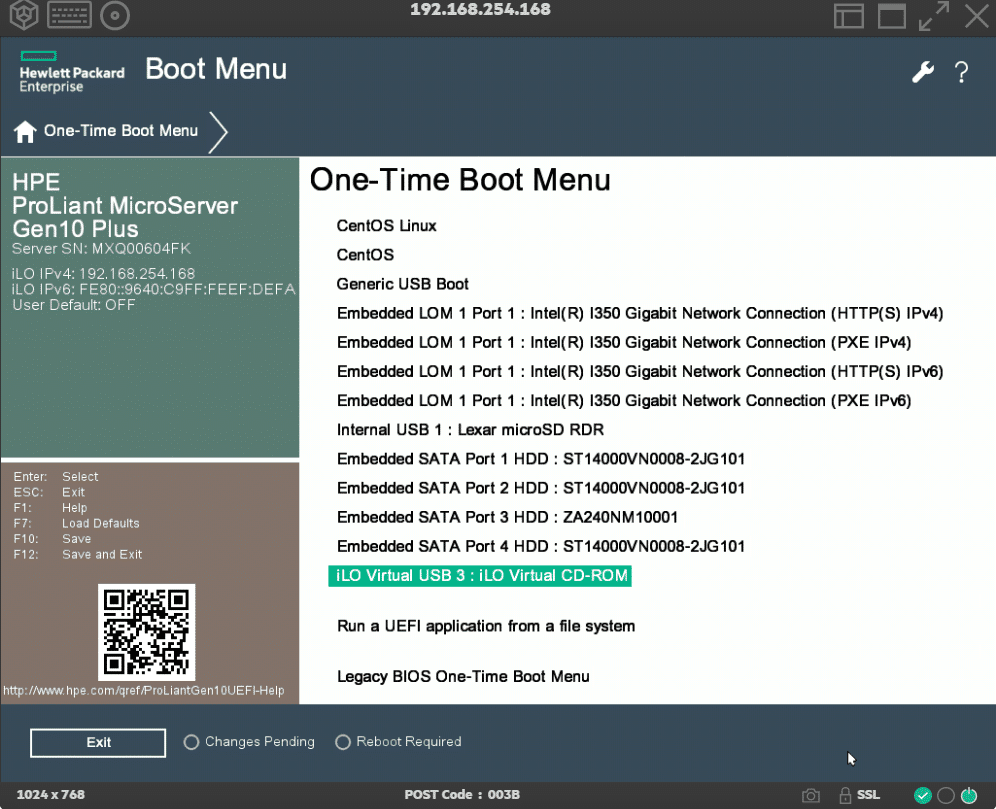
Selecting HTML5 console will allow you to open a console that will give you a live screen to work with. Select F-11 to open a boot menu and boot the iLO virtual CD-ROM.
Install TrueNAS CORE
This will bring up the TrueNAS installer, where the shark fin remains.
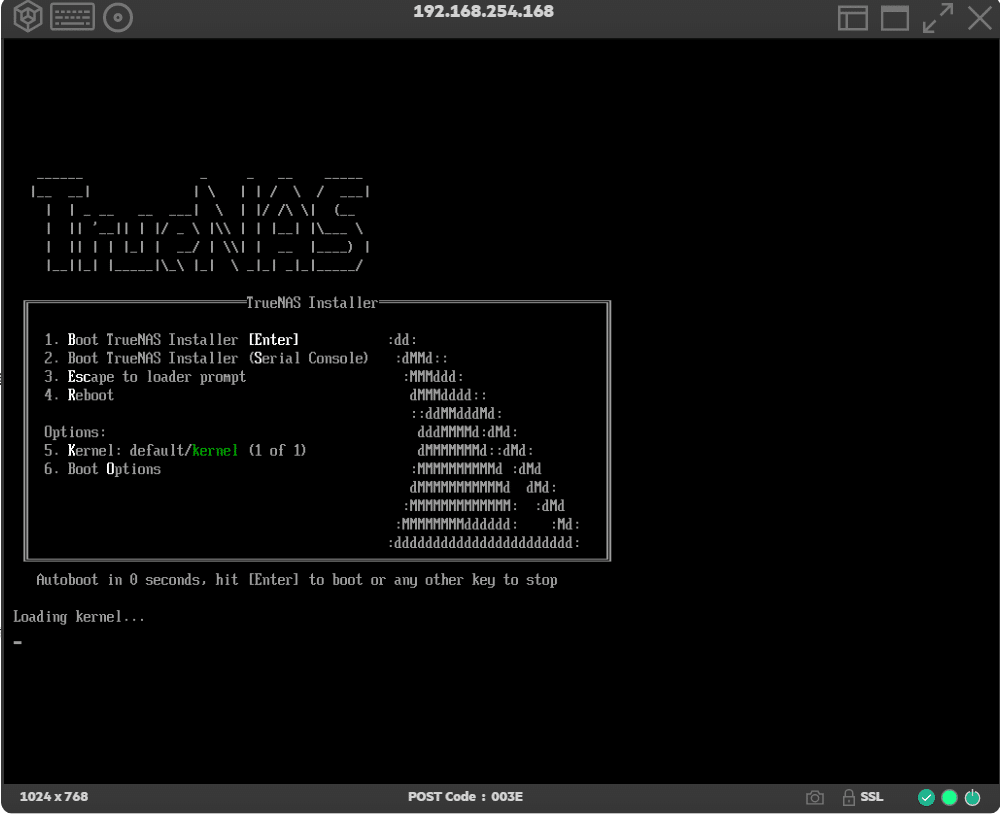
Either select option 1 or just leave the autoboot to select it for you.
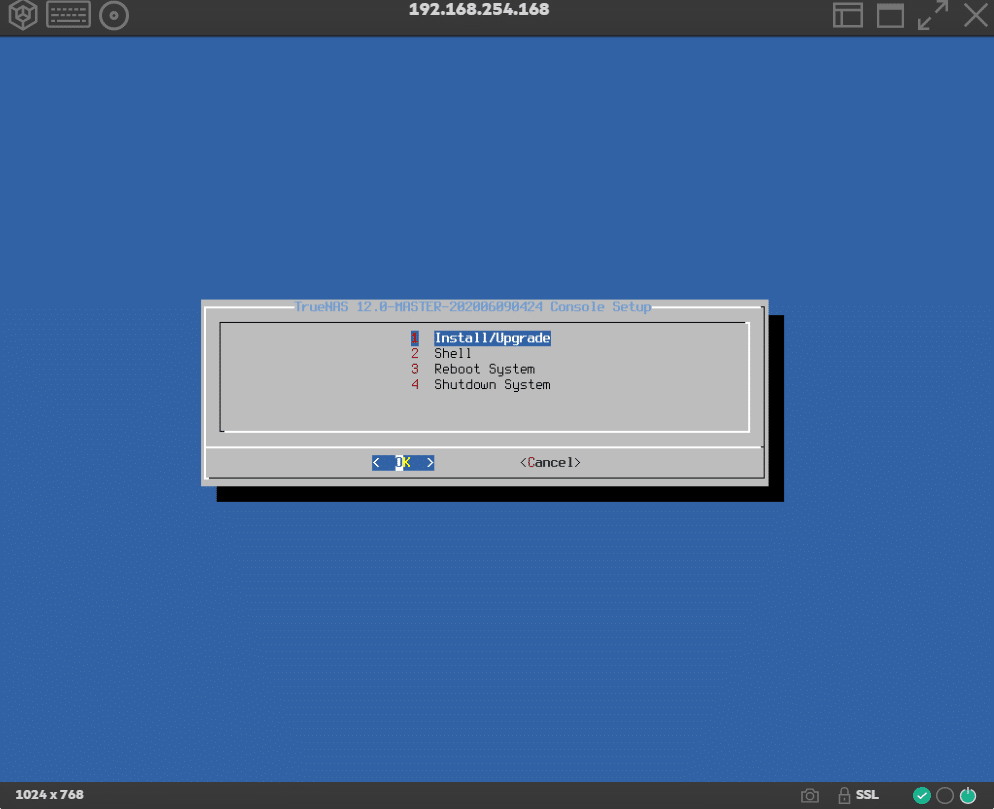
TrueNAS 12 will install by selecting option 1 (Install).
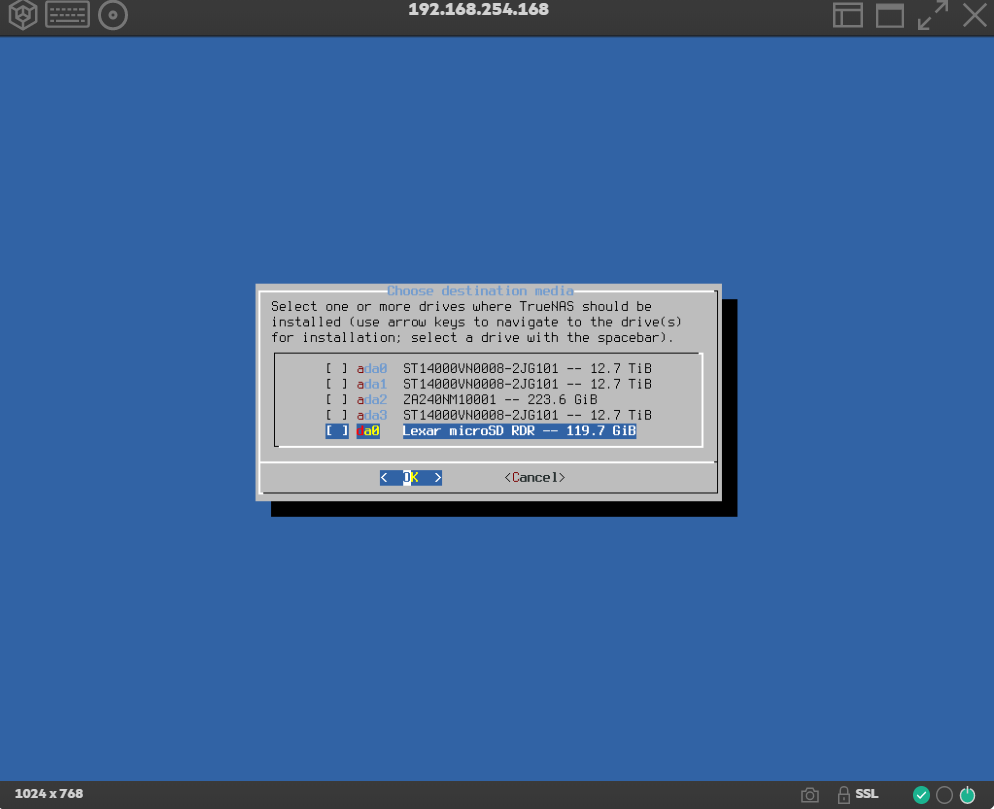
Selecting the install destination – In this case we installed a 128GB Lexar microSD card for our boot media on the internal USB 2.0 port on the board. Select the volume, press space and select OK.
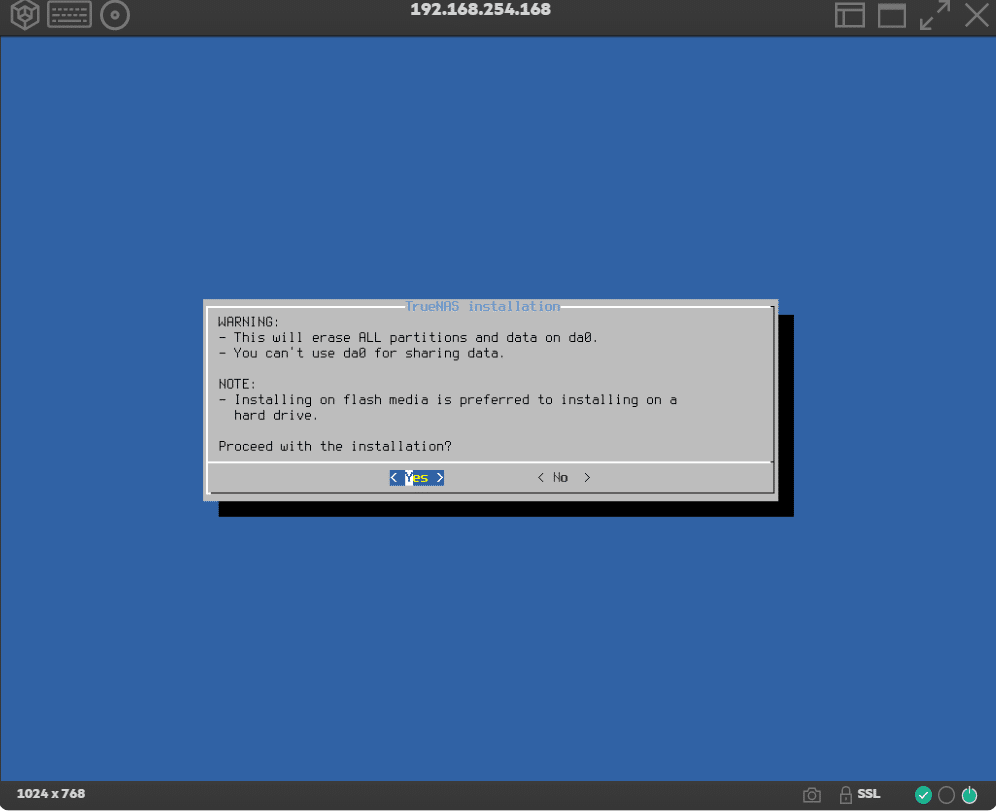
You will be given a warning that all data will be erased (Protecting us from ourselves). Select YES.
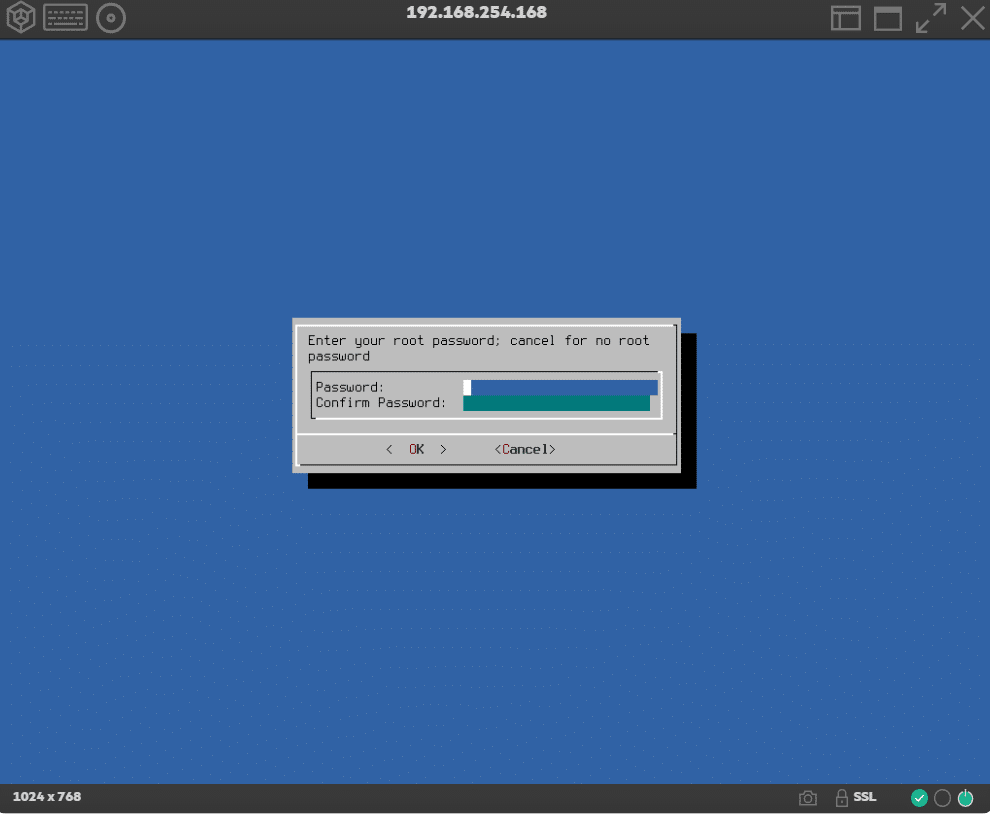
This will now prompt you for the root password on the box. It is strongly advisable to use a password but not required. Simply click cancel if you don’t want to have a root password.
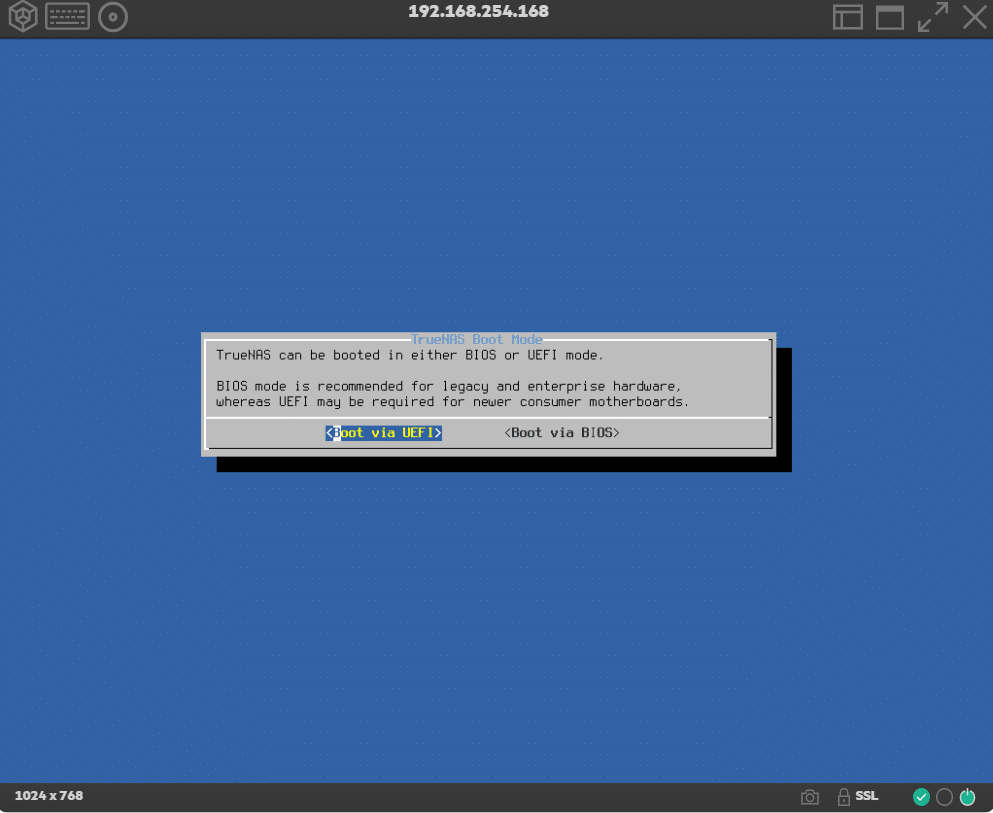
On the MicroServer, both BIOS and UEFI are supported – If the hardware you are using is newer try UEFI first as BIOS may require you to disable secure boot, enable legacy boot or any number of other steps that are not required in this guide.
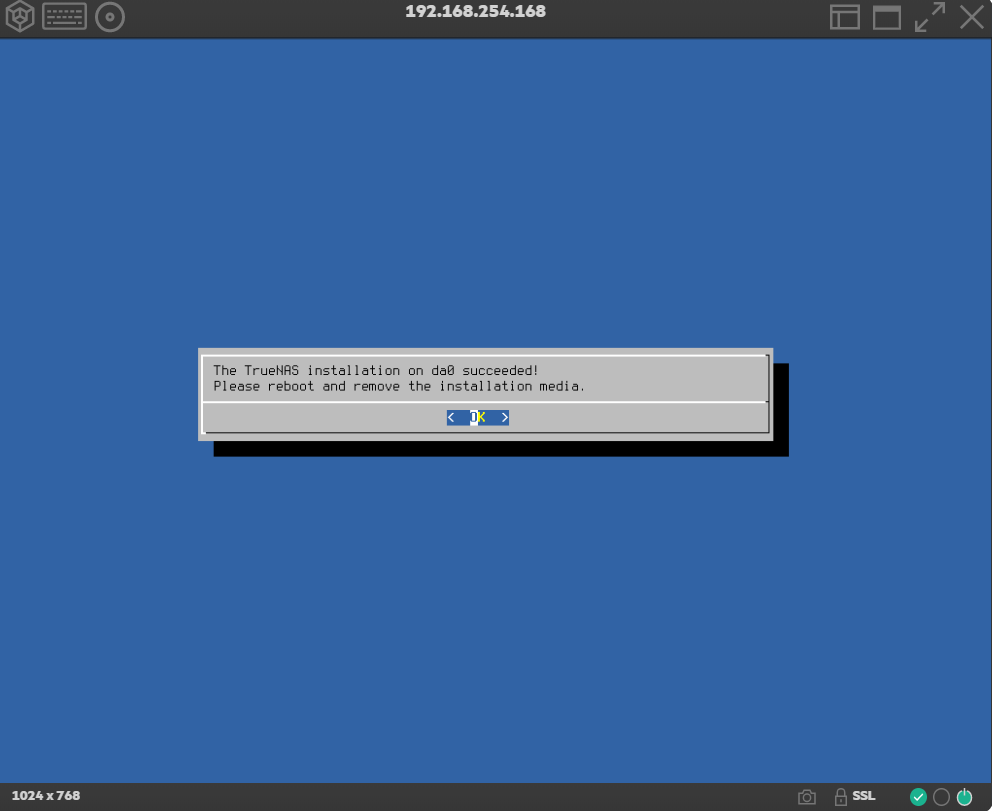
The install didn’t take too long to accomplish and once completed you will get this completion notification.
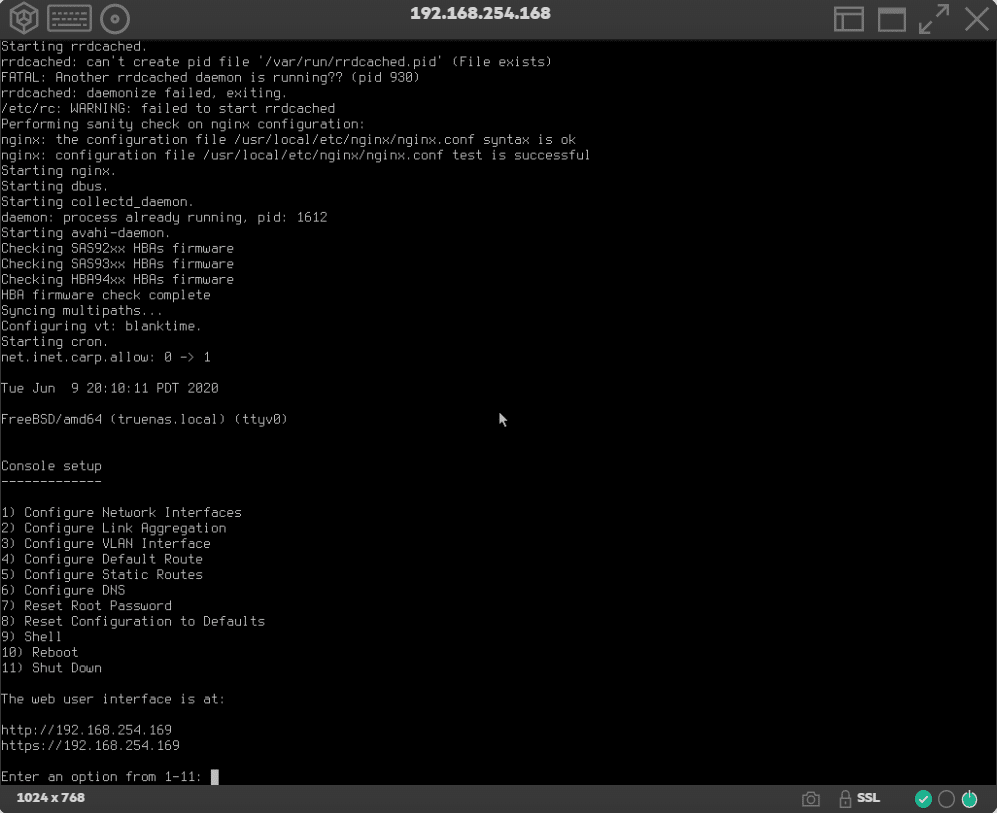
This is the default console you will be greeted to upon first boot in the console. Now you can move over to a web browser and complete the setup. The URL is listed under web user interface.
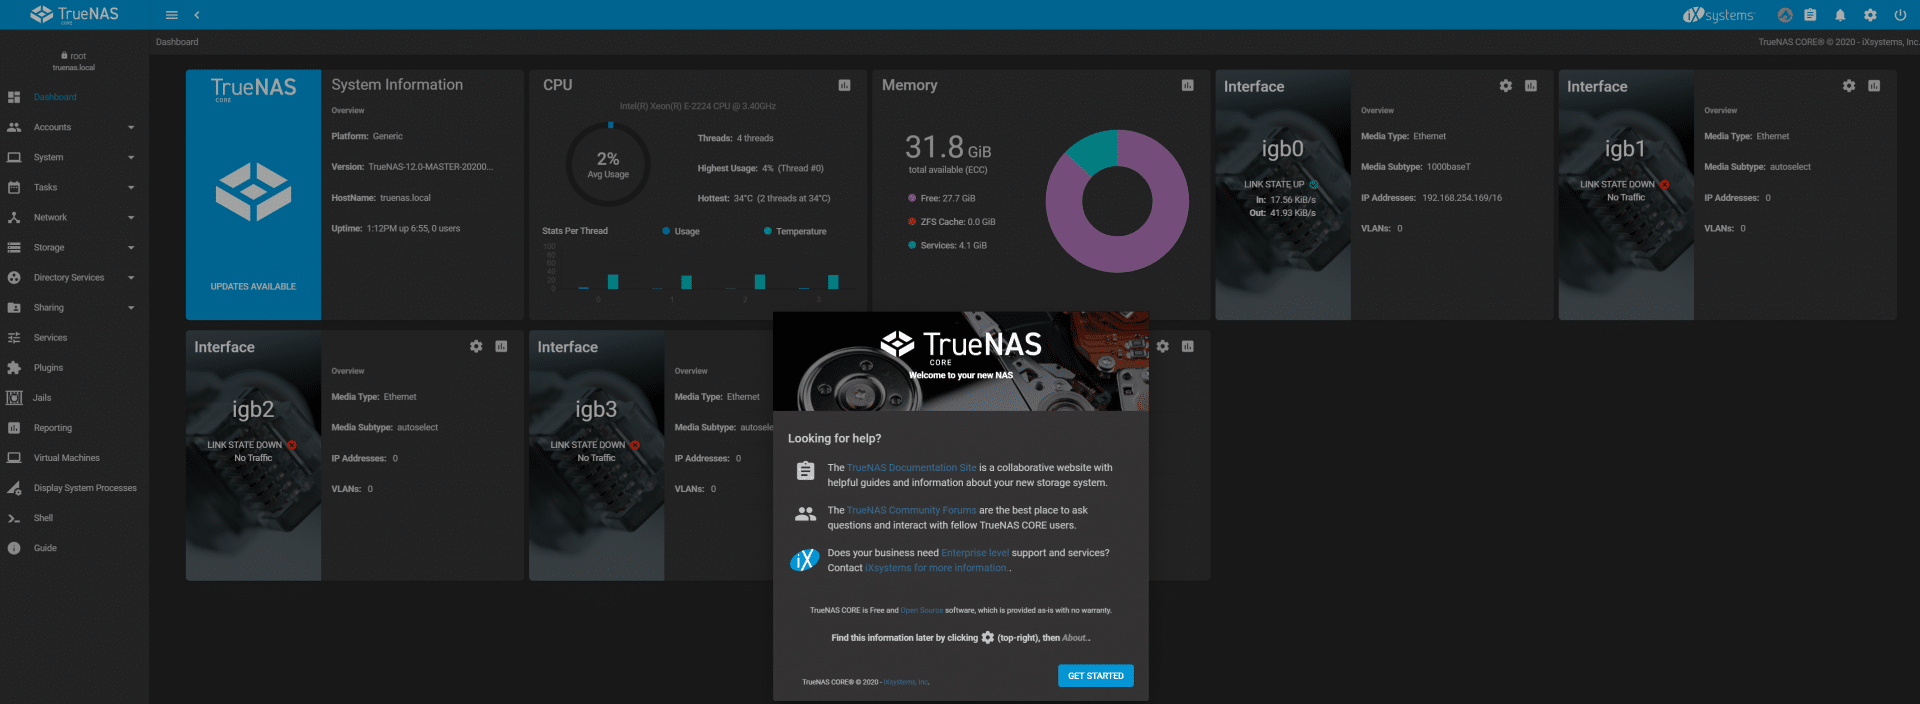
The dashboard is reminiscent of FreeNAS 11.3 – with key details laid out on the dashboard.
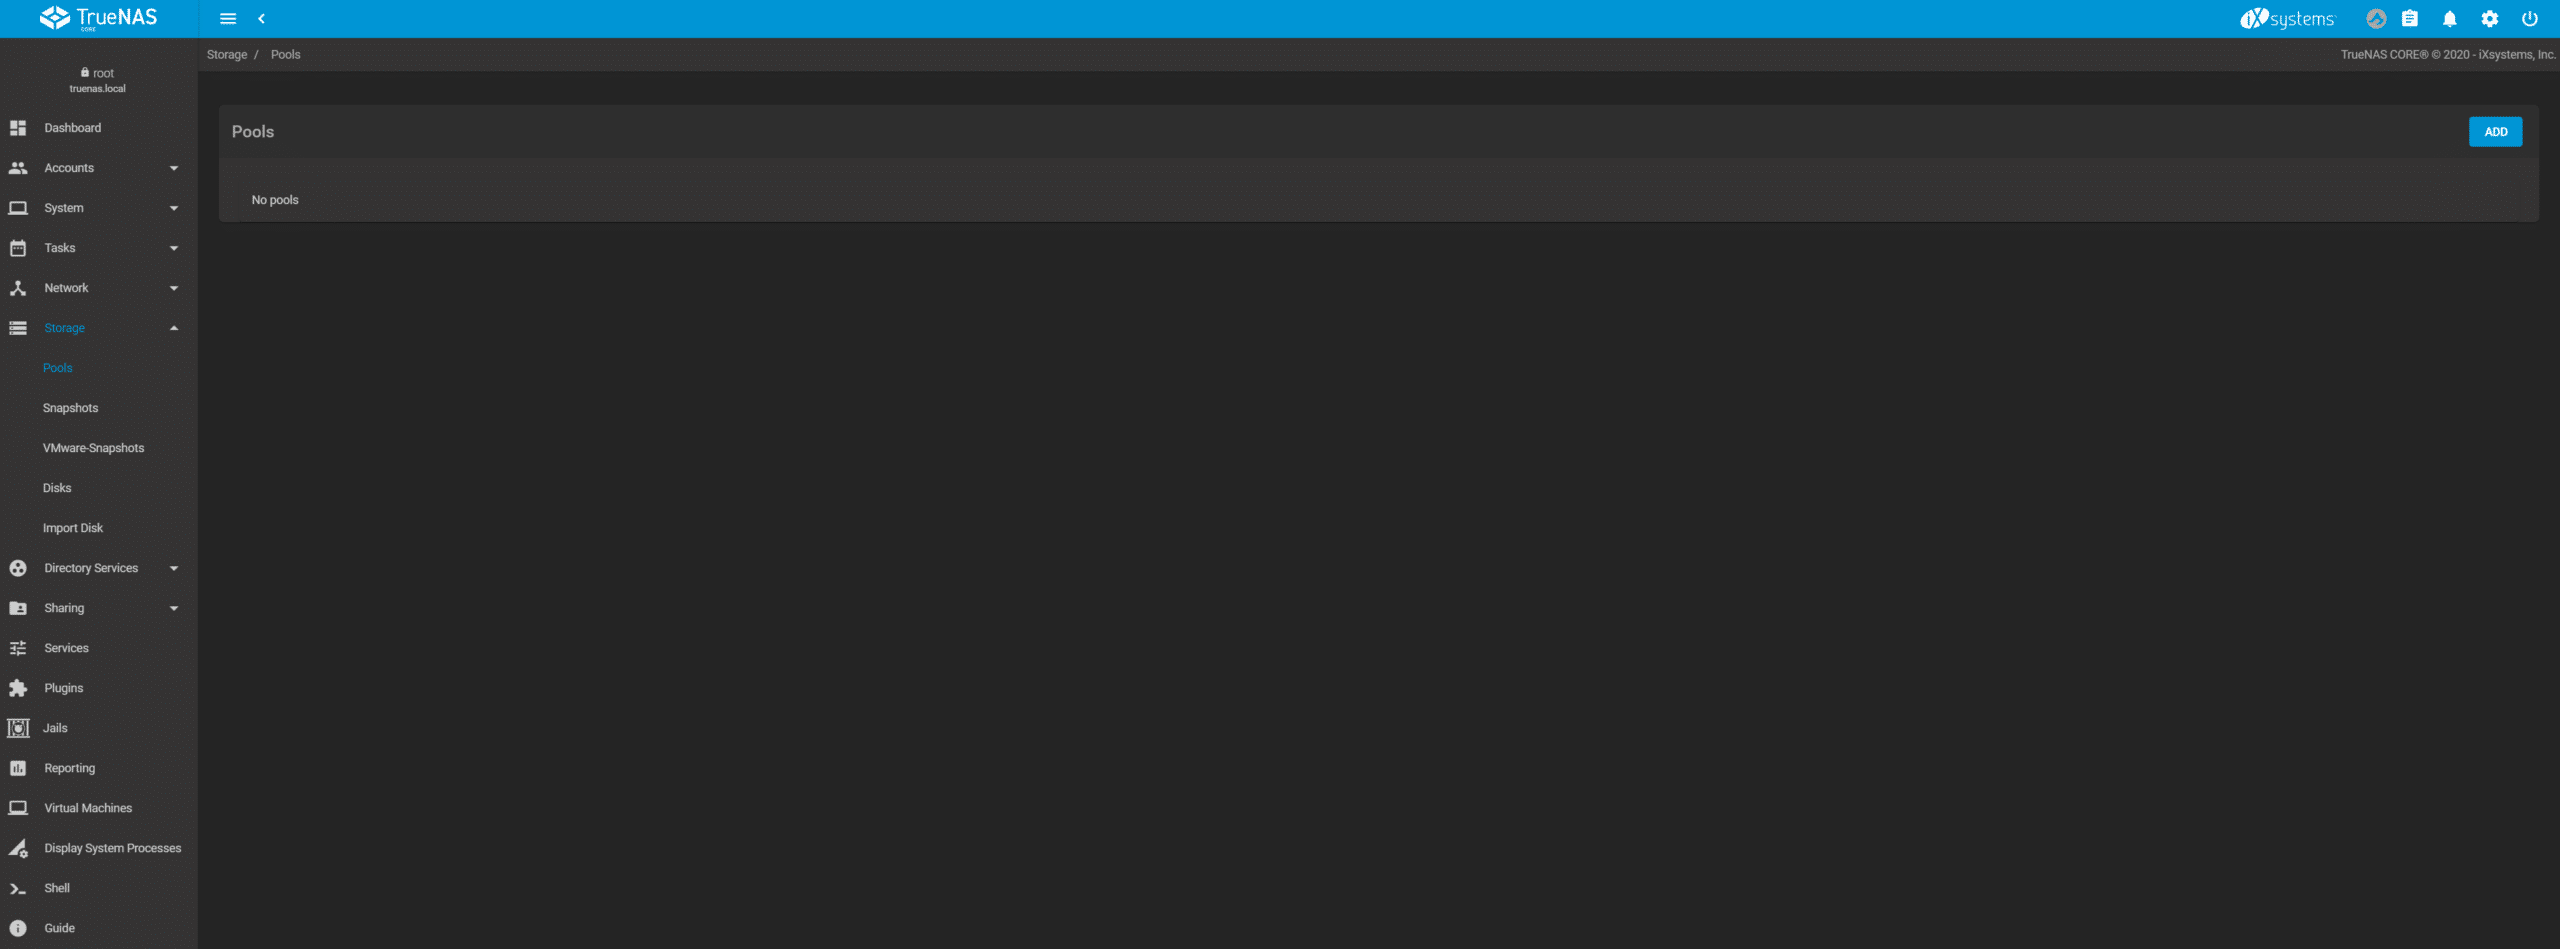
To create a storage pool – select Storage – Pools – ADD.
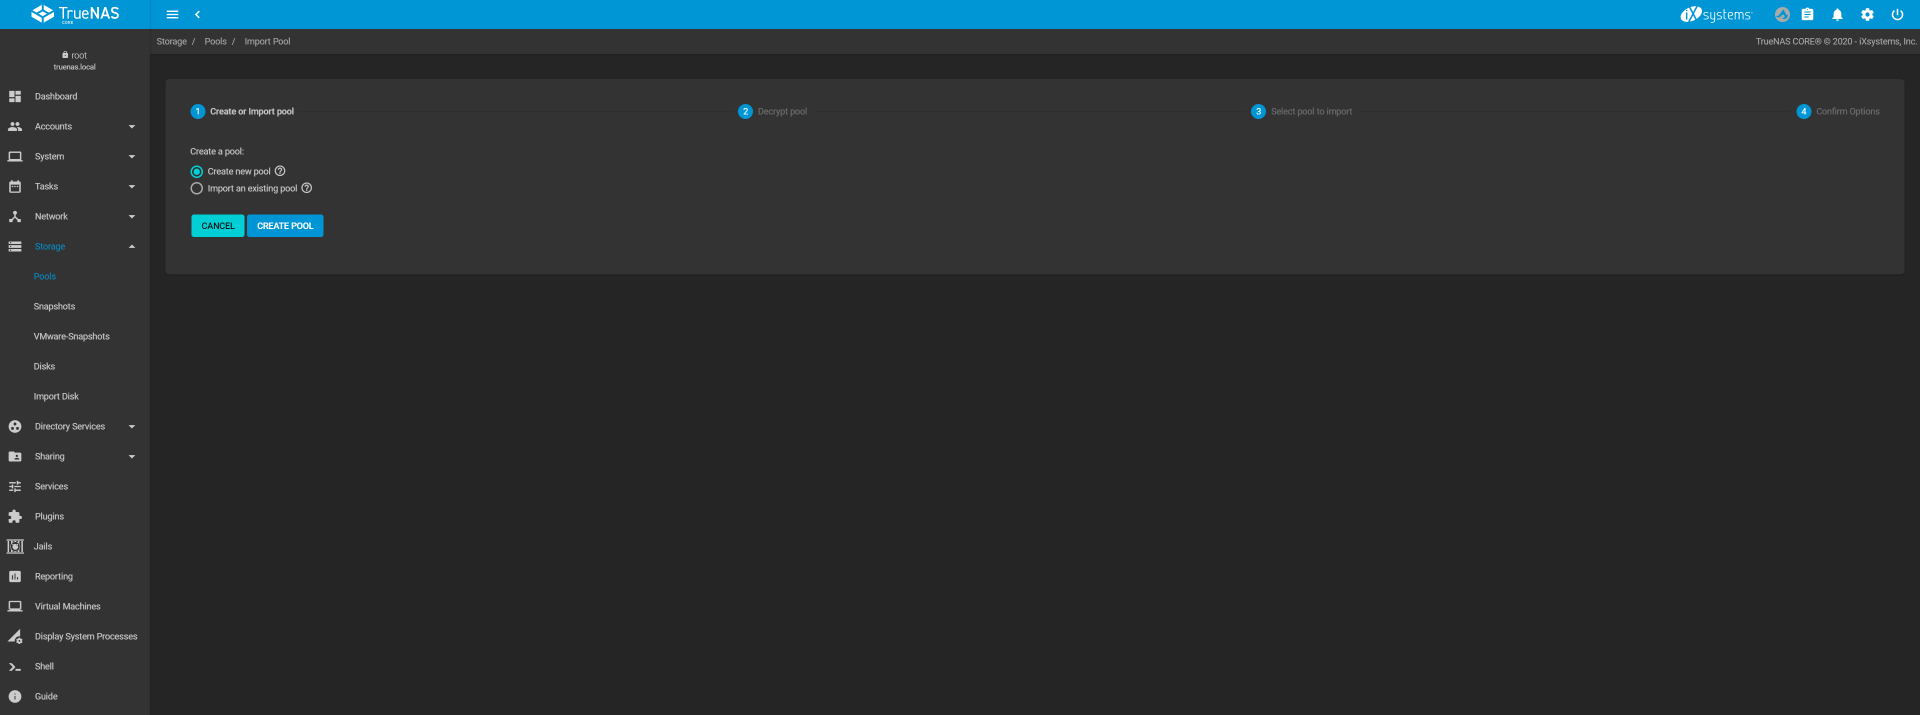
Select Create New Pool – Create Pool
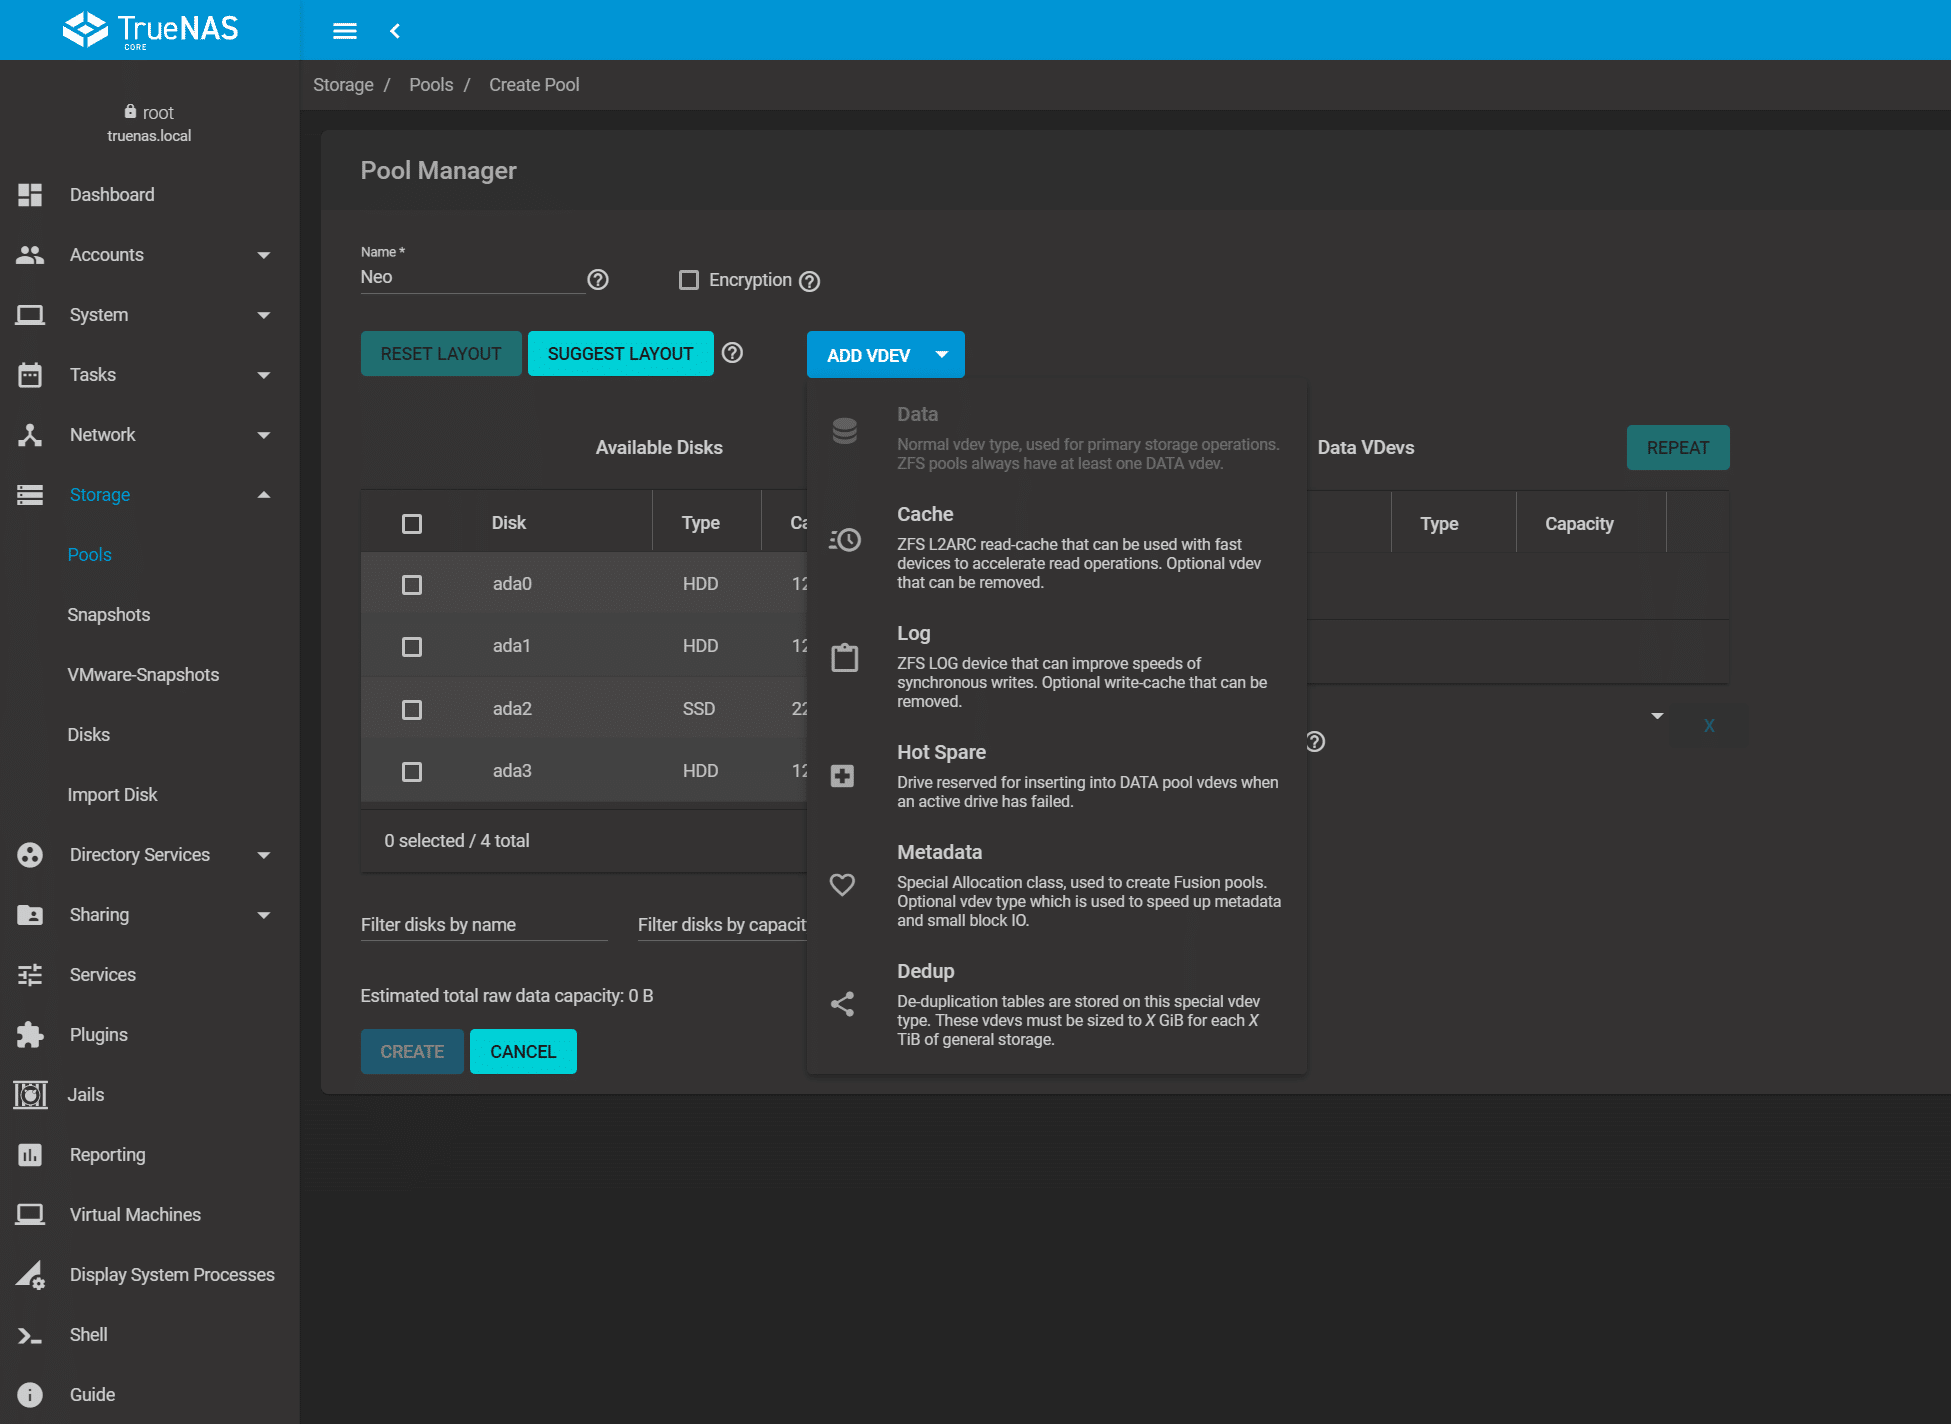 Once you Name the Pool – you can select the drives that you would like to have in the pool. If the setup is simple you can even select Suggest Layout and that will take like sized disks and types and use them in the pool. We selected the 3 Seagate IronWolf hard drives for DATA and assigned the SSD to a VDEV for CACHE by selecting ADD VDEV – CACHE.
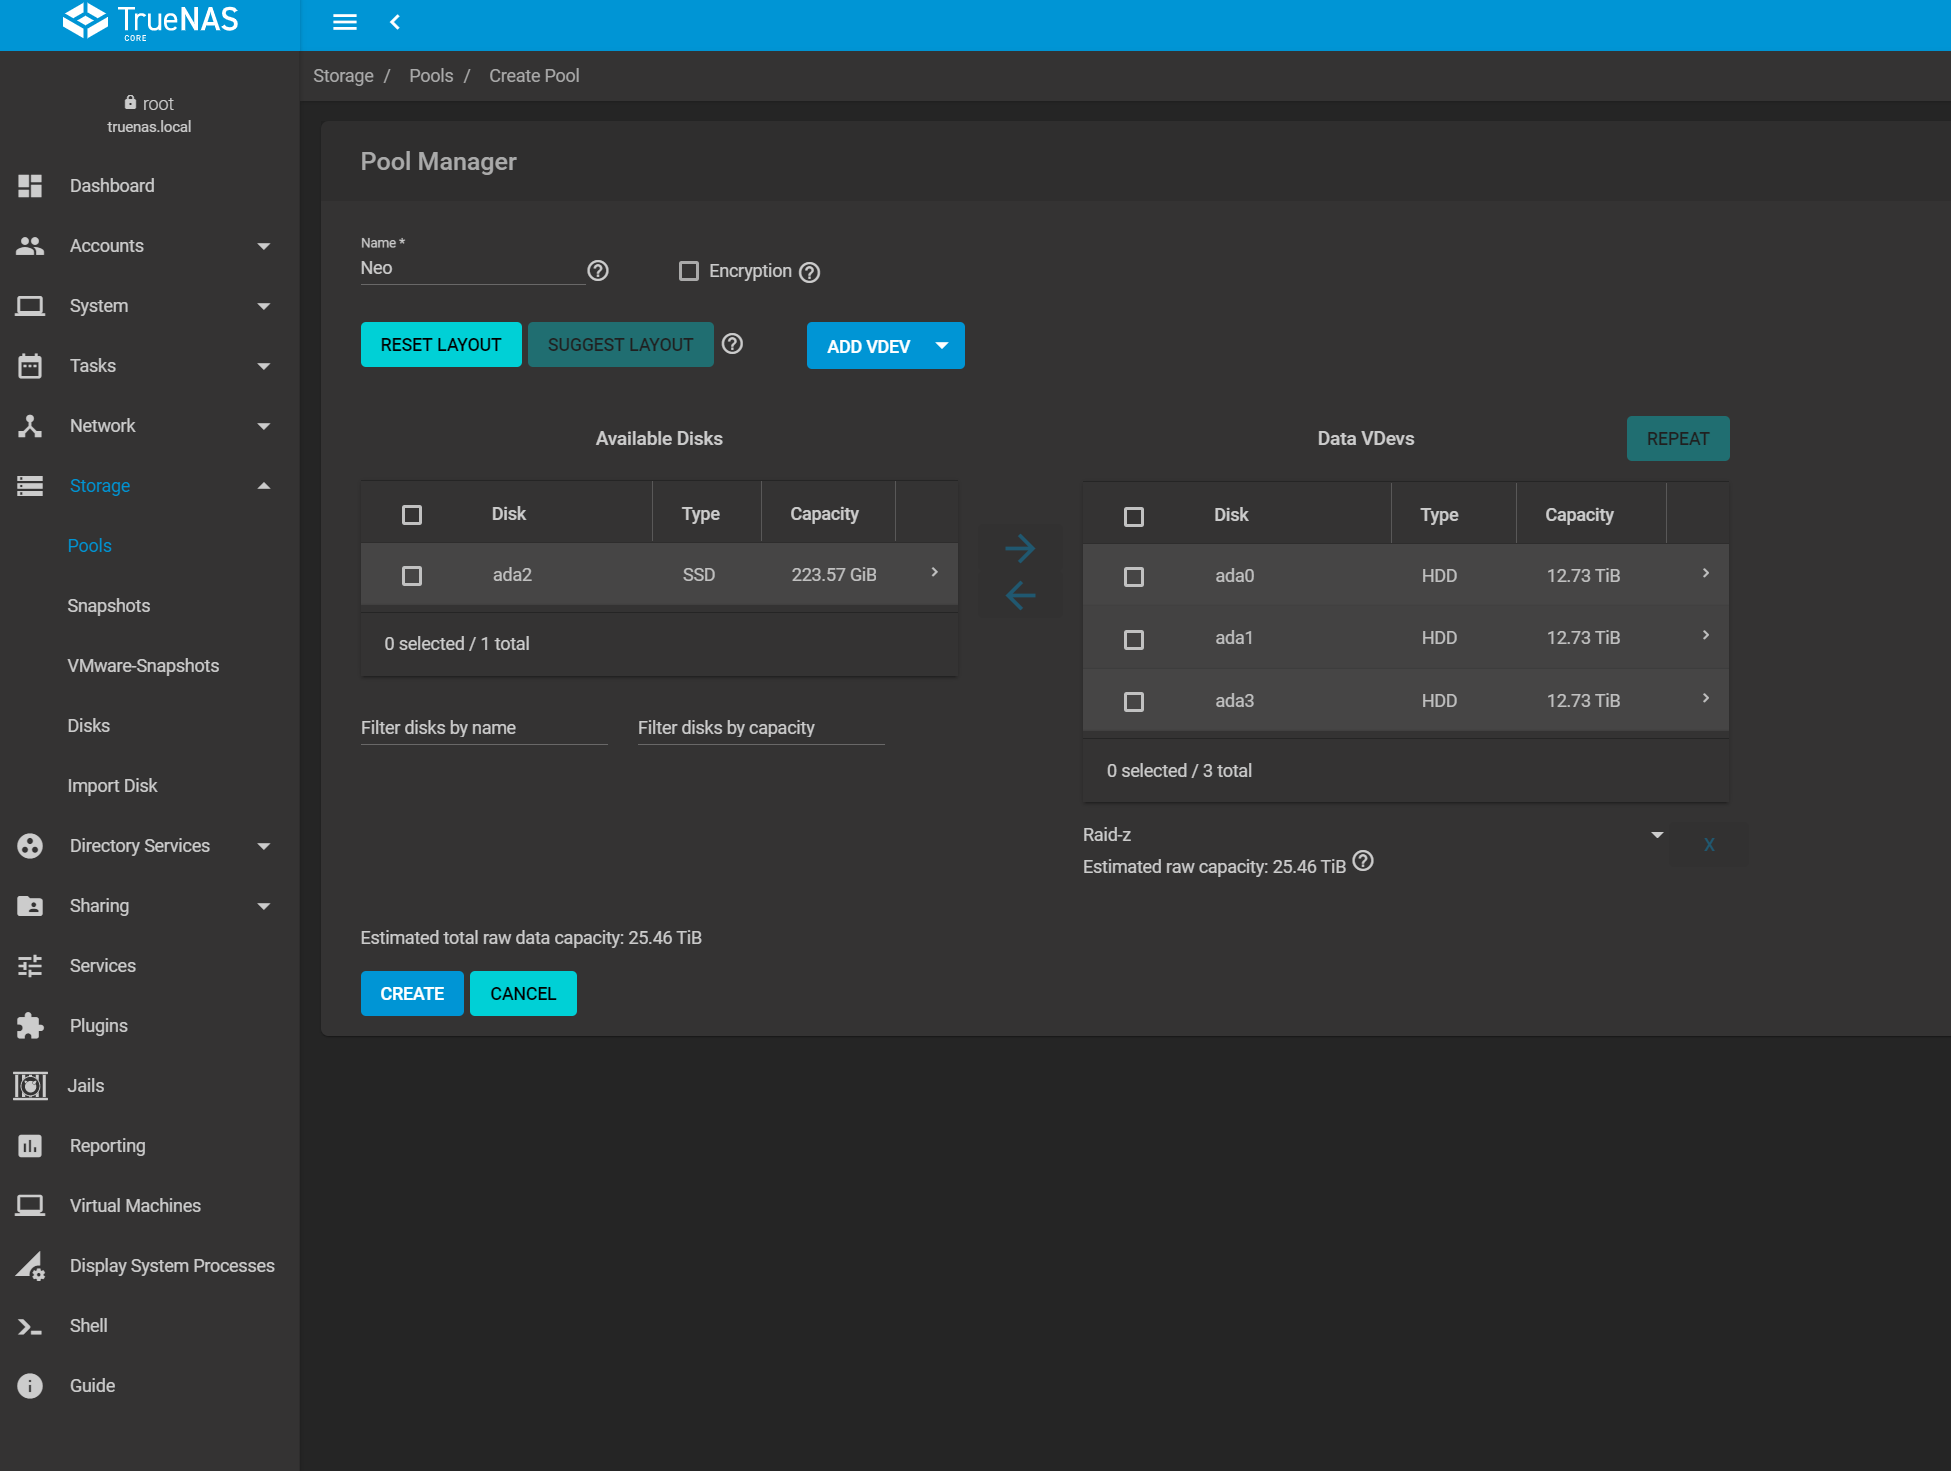 When you select CACHE – you will be asked what SSD you would like to assign.
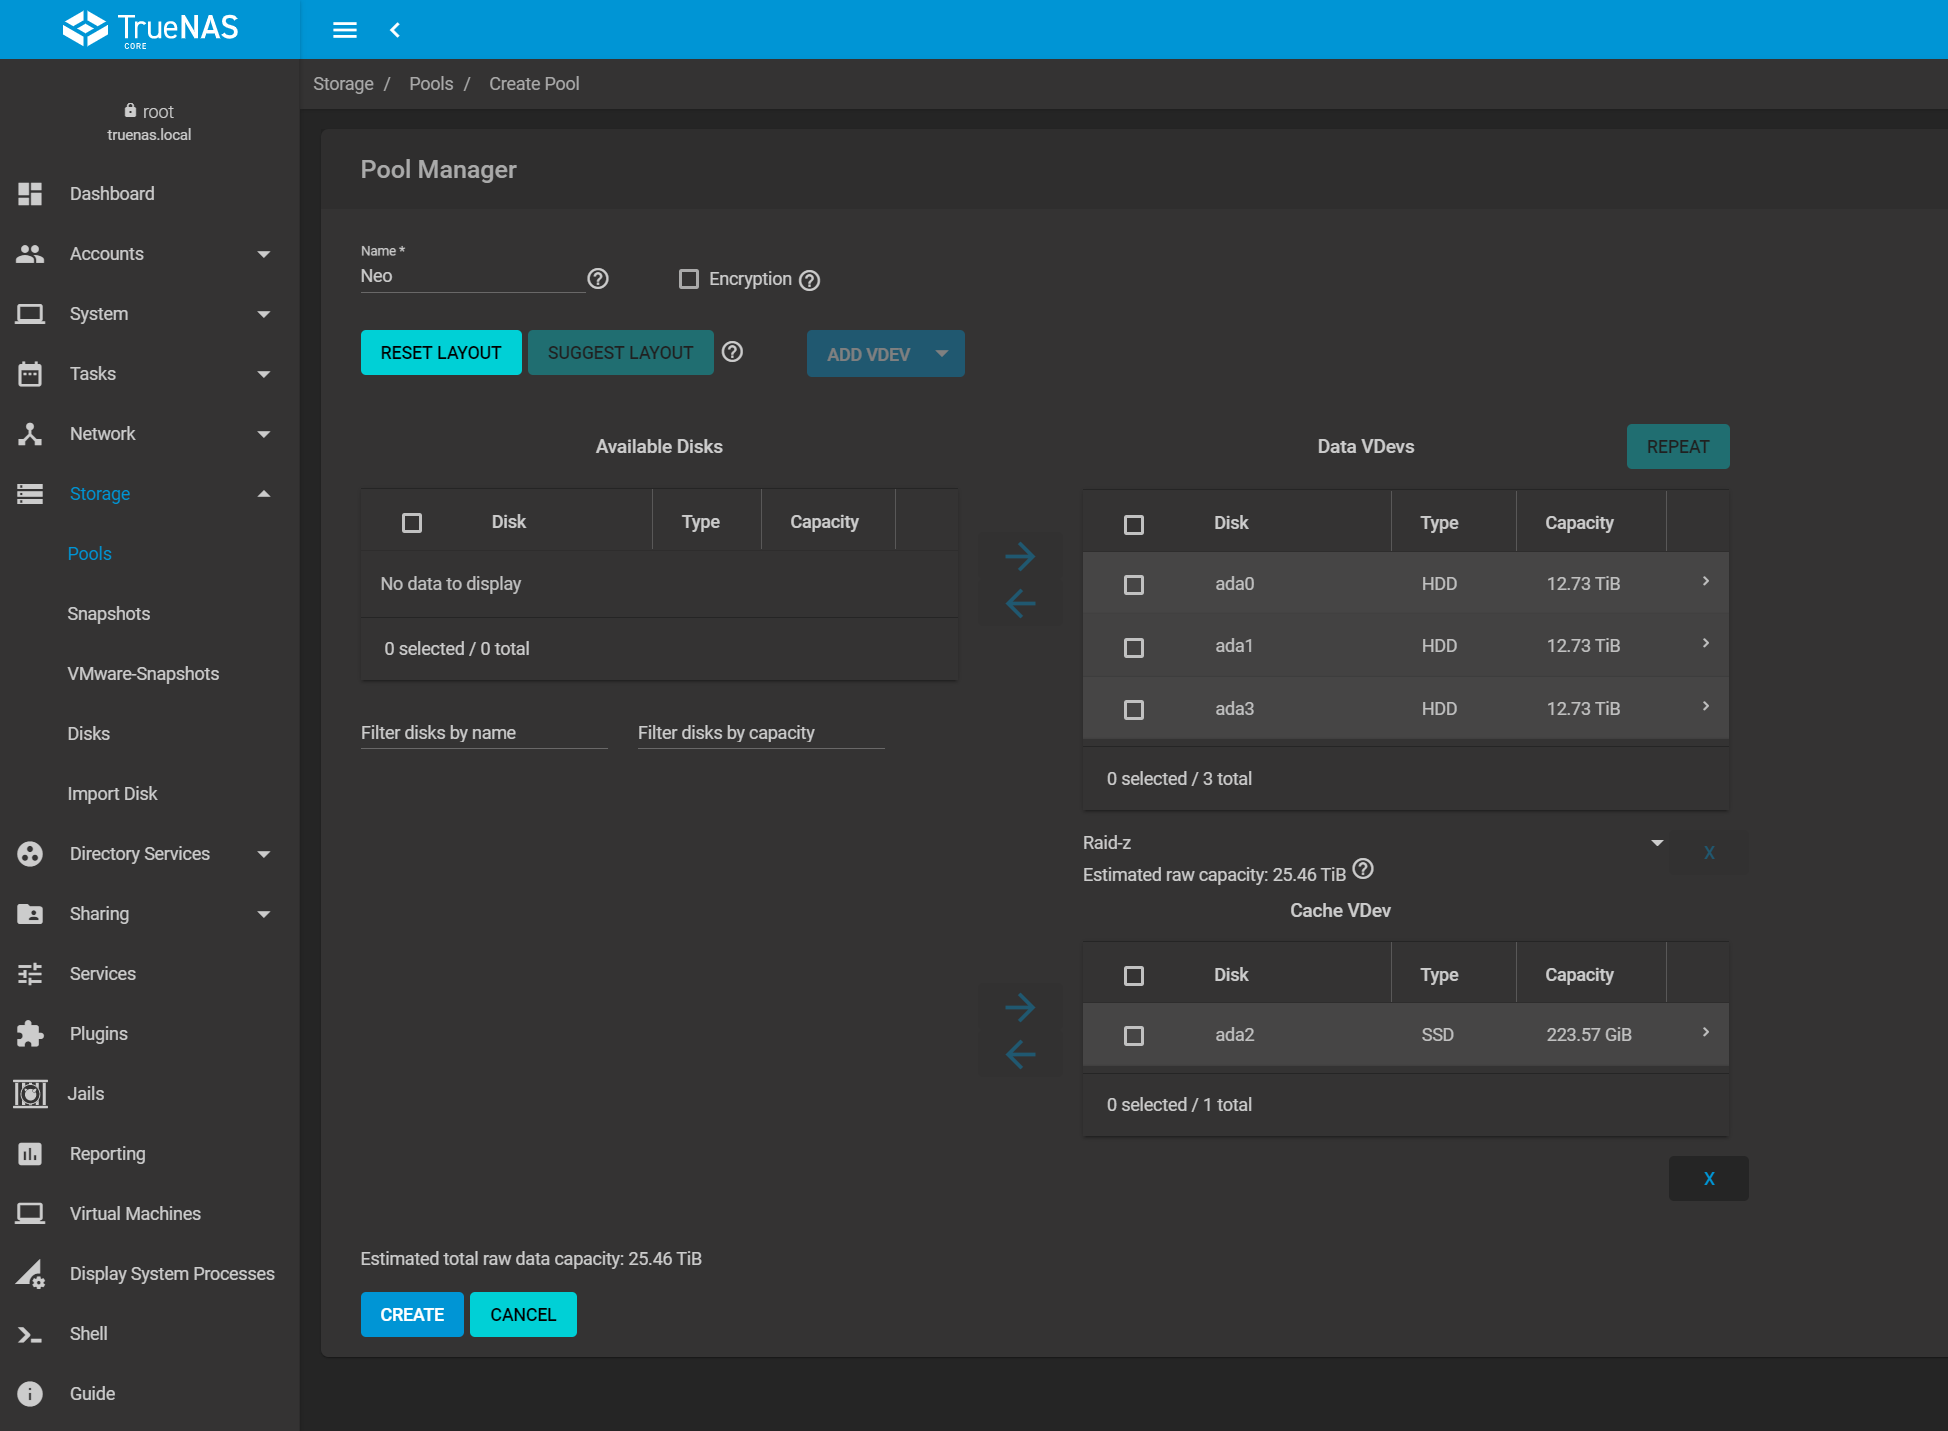 This will now show you the VDev Cache and the Data VDevs – Check your raw data capacity and click CREATE.
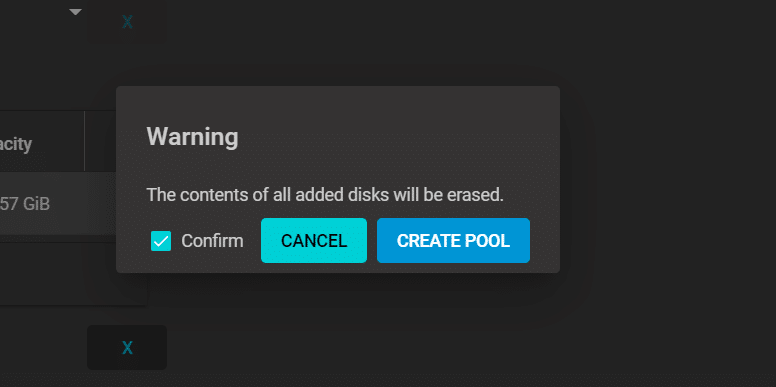
I love how TrueNAS protects me from myself – this operation will erase ALL data on the disks. Click Confirm and create the pool.
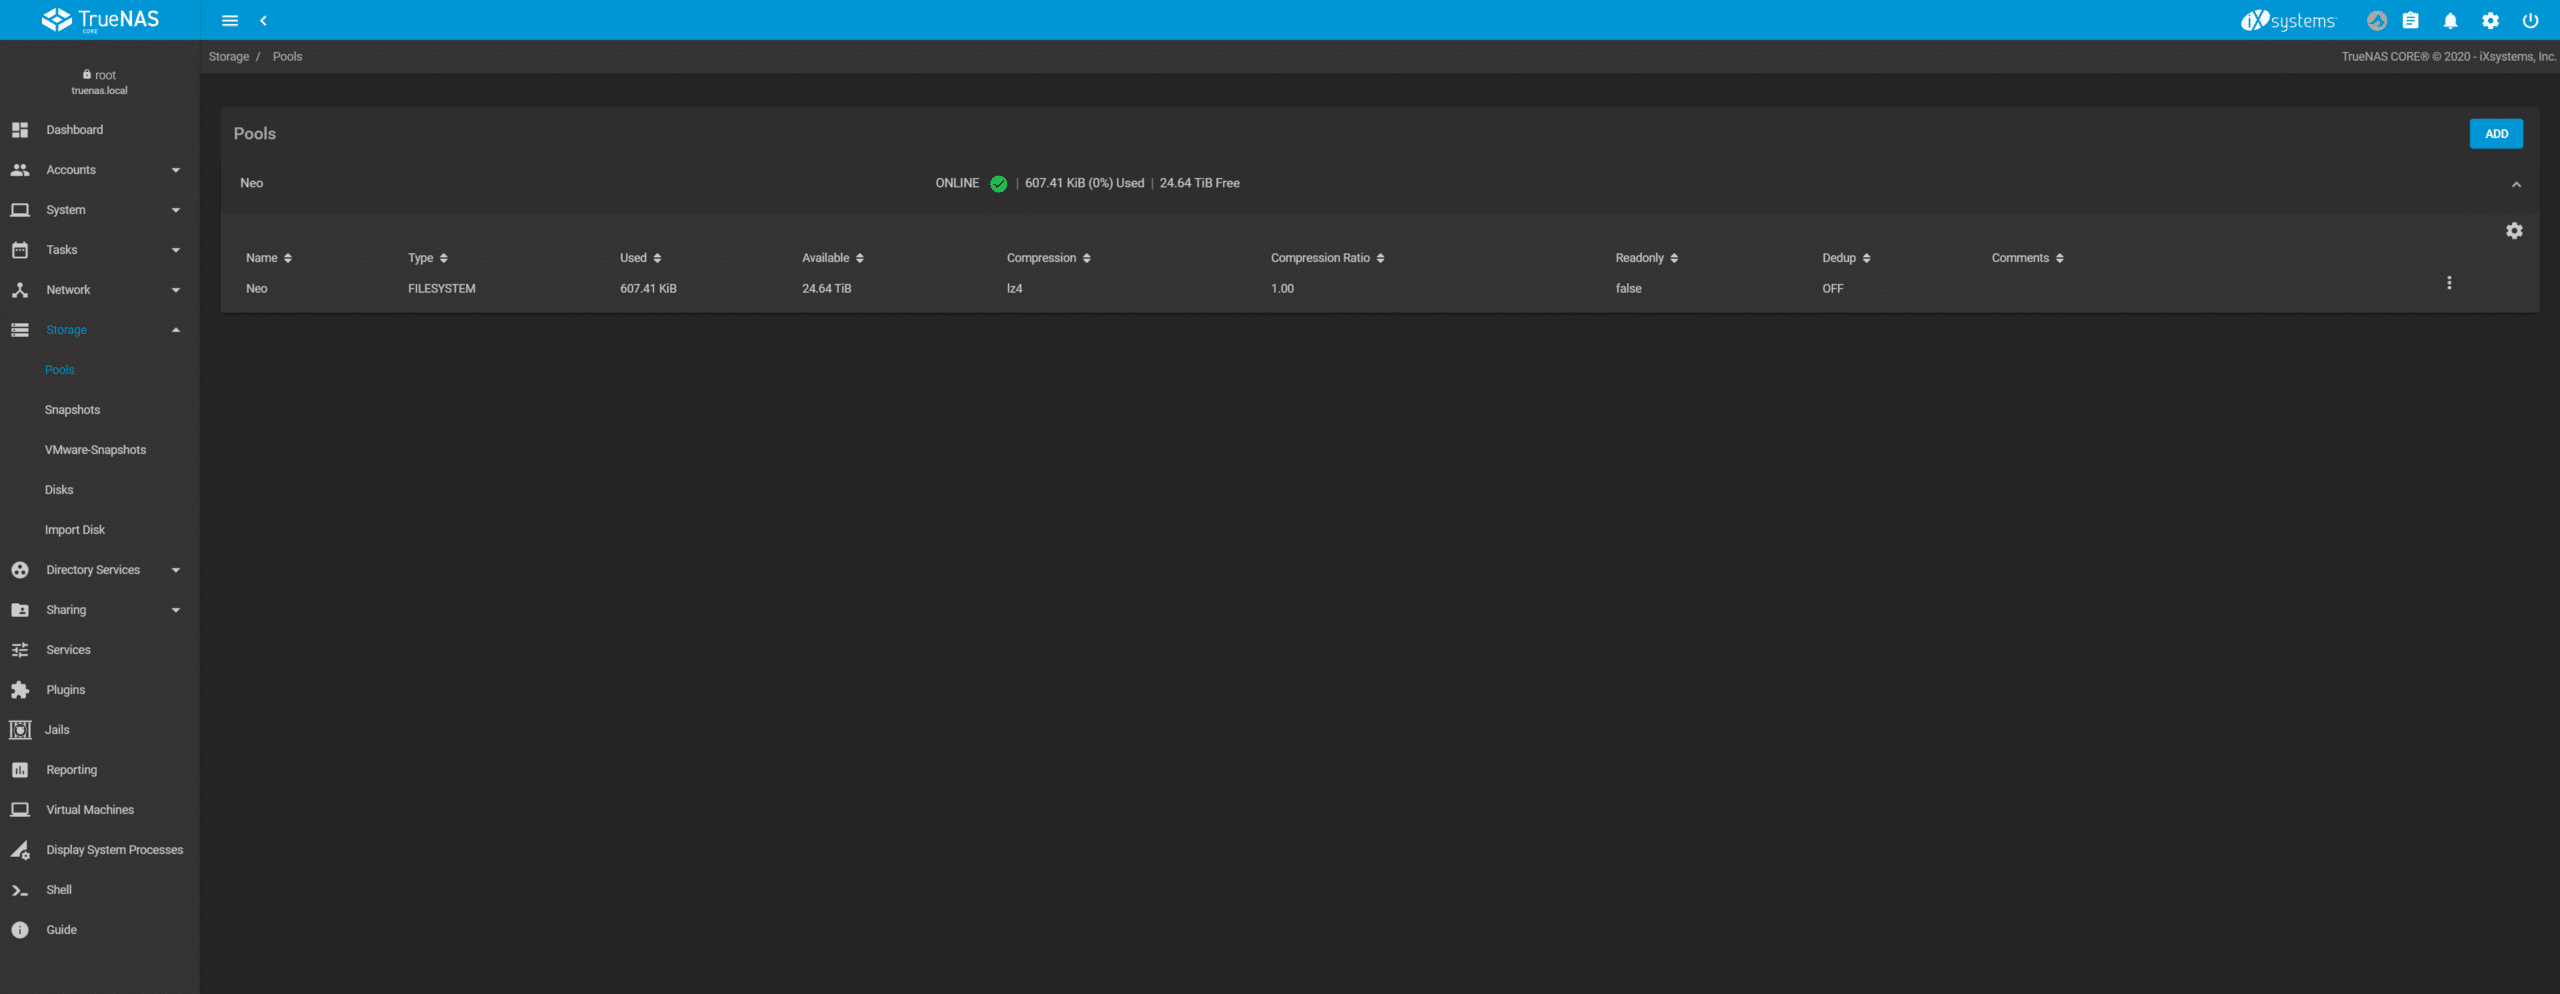 Now the pool is created you will see the status.
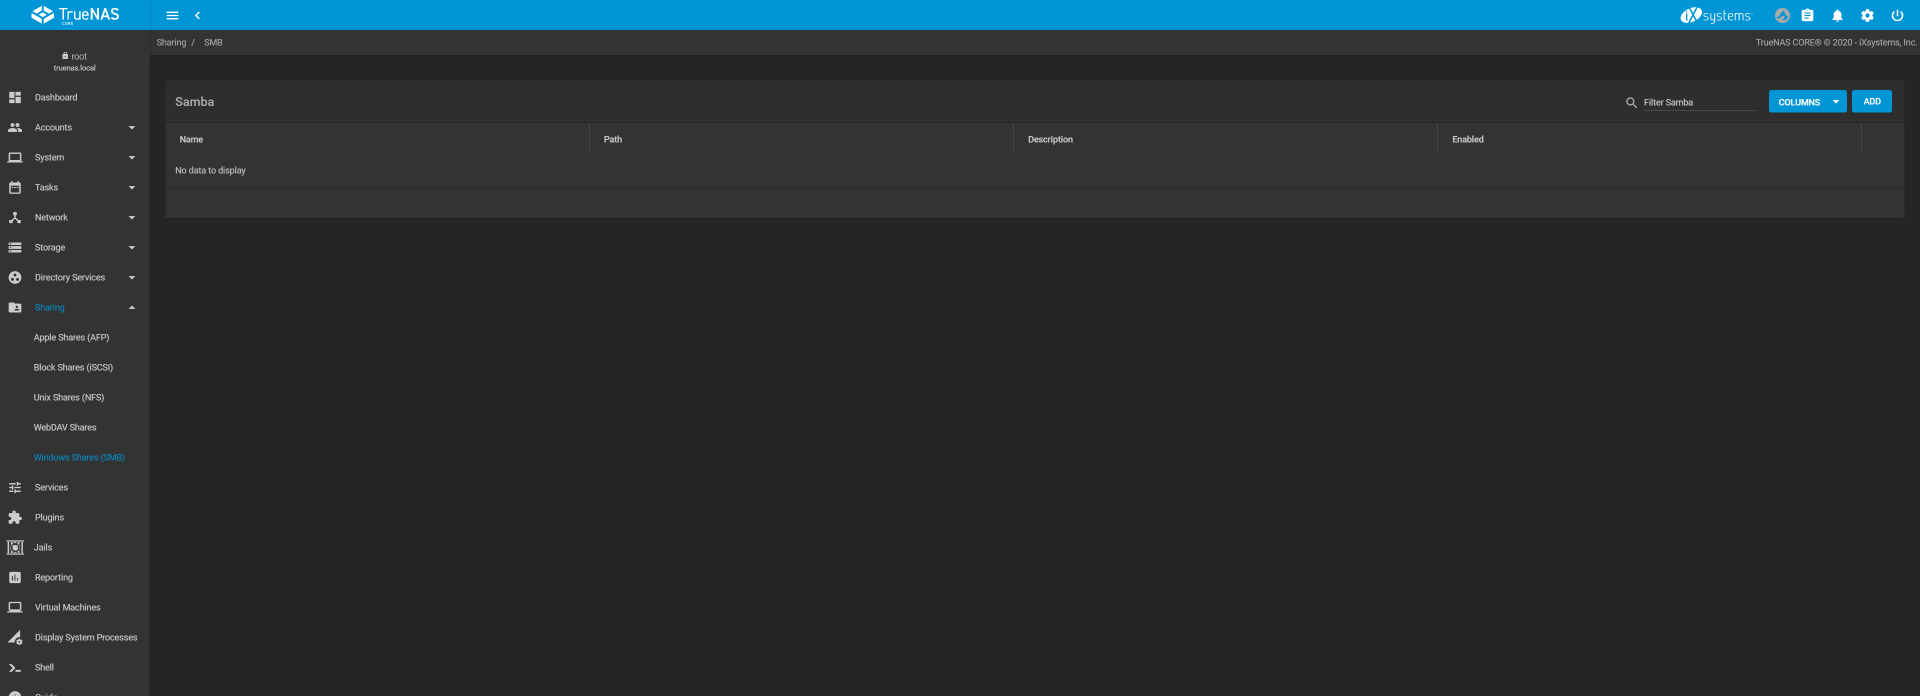
To get files in and out – you need to create a share – TrueNAS supports AFP, iSCSI, NFS, WebDAV, SMB – just select Sharing and the type of share that you want to create – in this case SMB – and click ADD in the upper right corner.
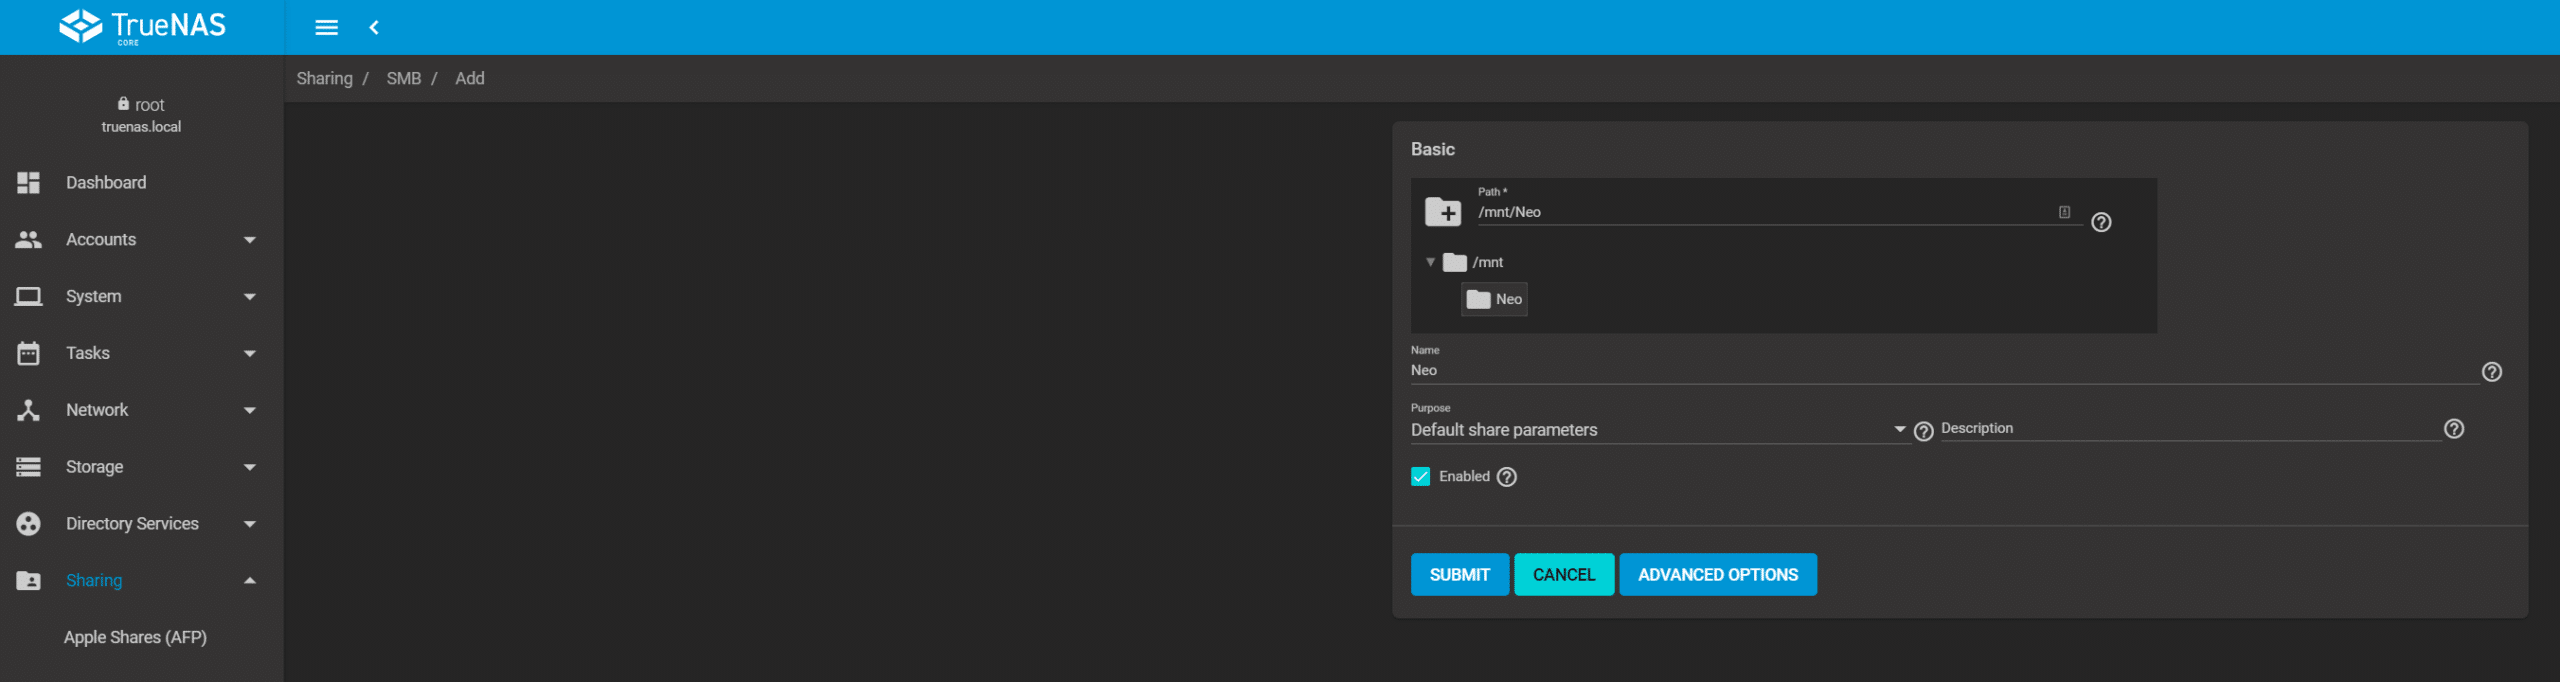 You will be prompted to select the mount location – in this case on the pool that we just created and click submit.
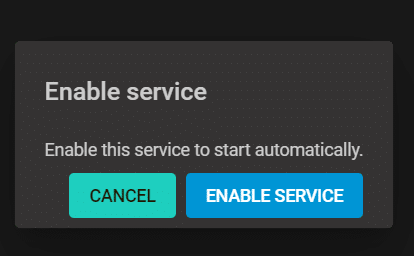
TrueNAS runs lean – so it doesn’t run all services until it needs them – you will be prompted to enable the SMB service automatically – Click enable service and your share is now live.
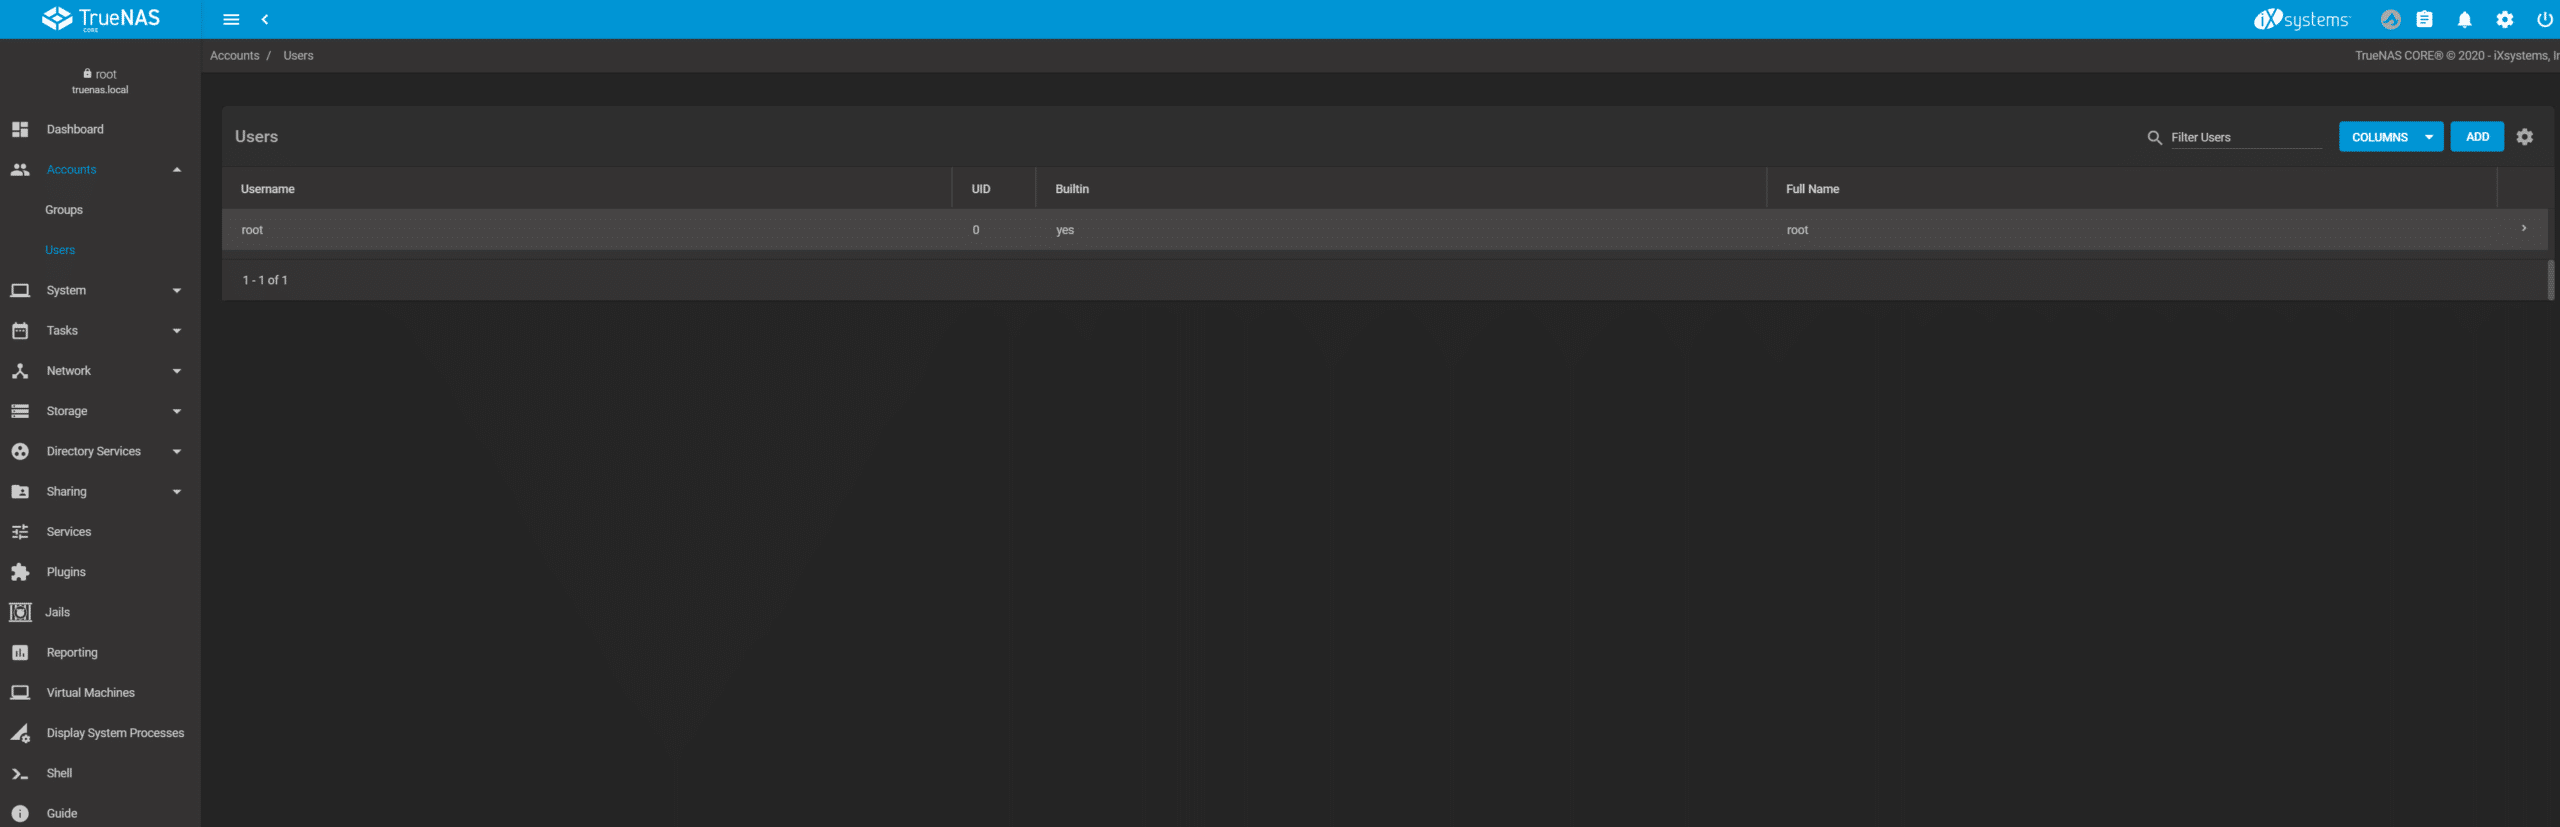
Before you can start filling up your new share with *Cough* Linux ISOs – you need to create a user to access the shares. This can be done easily by selecting Accounts – Users – Select ADD in the top right.
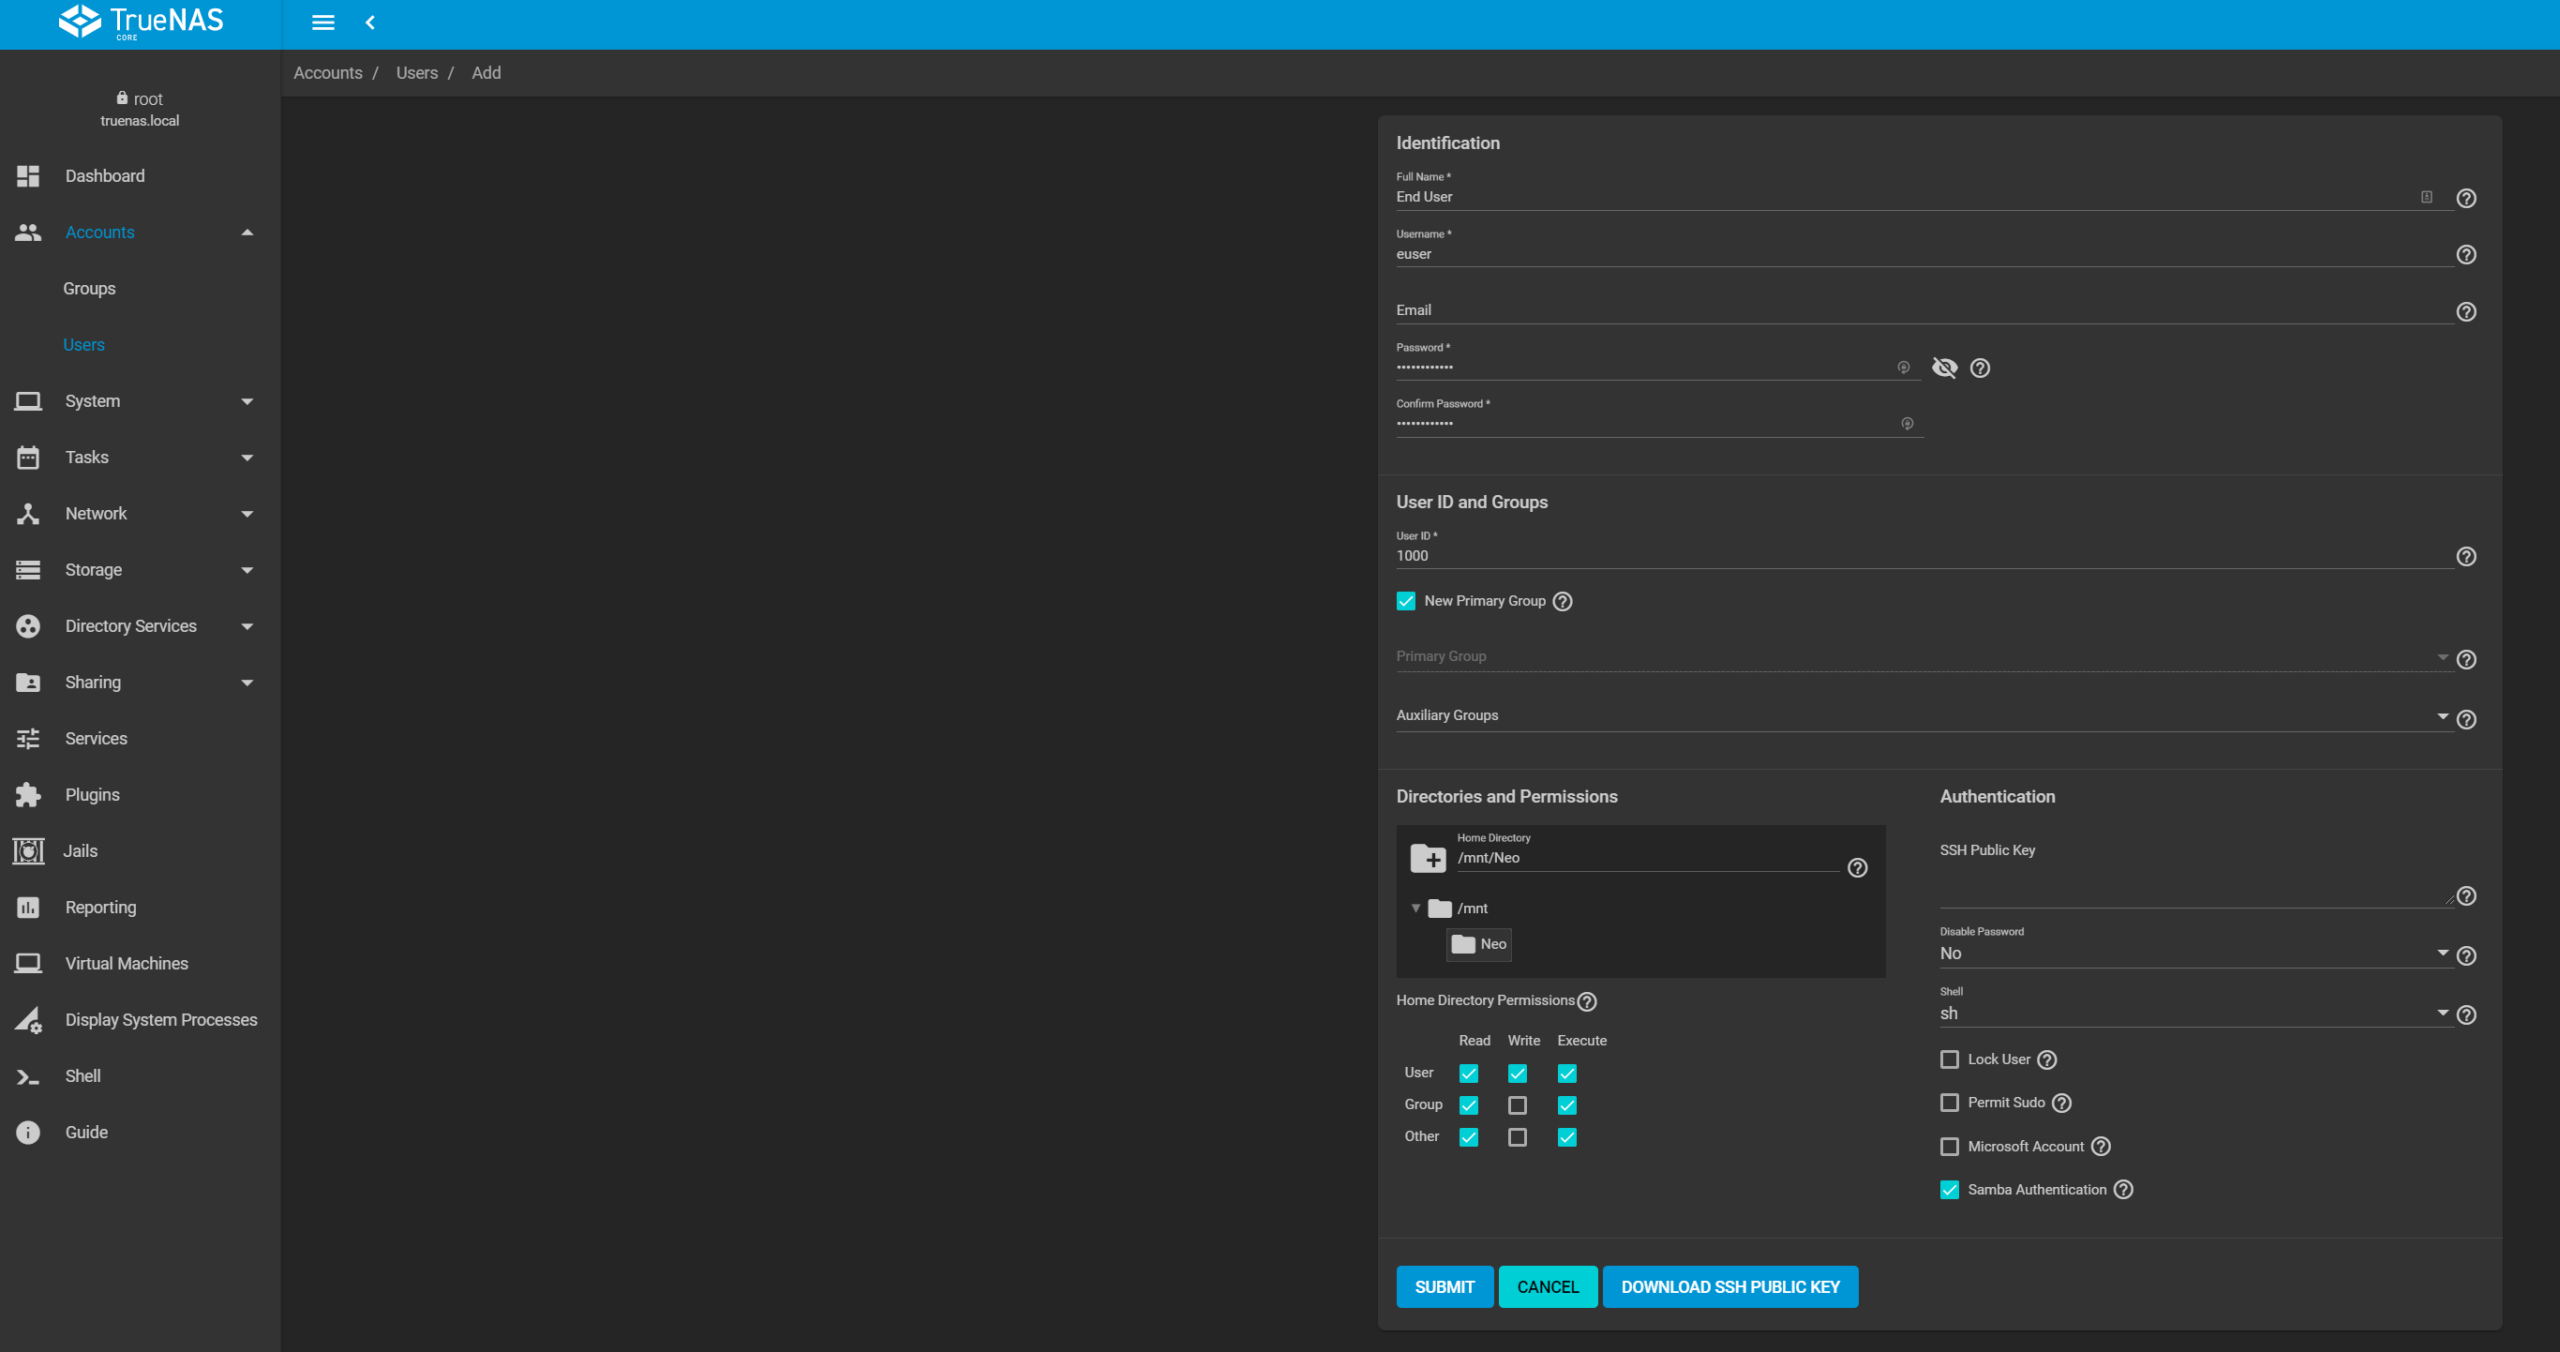
Populate the user details – At the very least user name and password – Set a home directory and permissions and click submit.
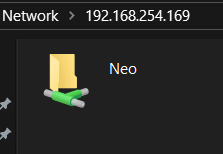
You can now access the share as that user on an SMB share.
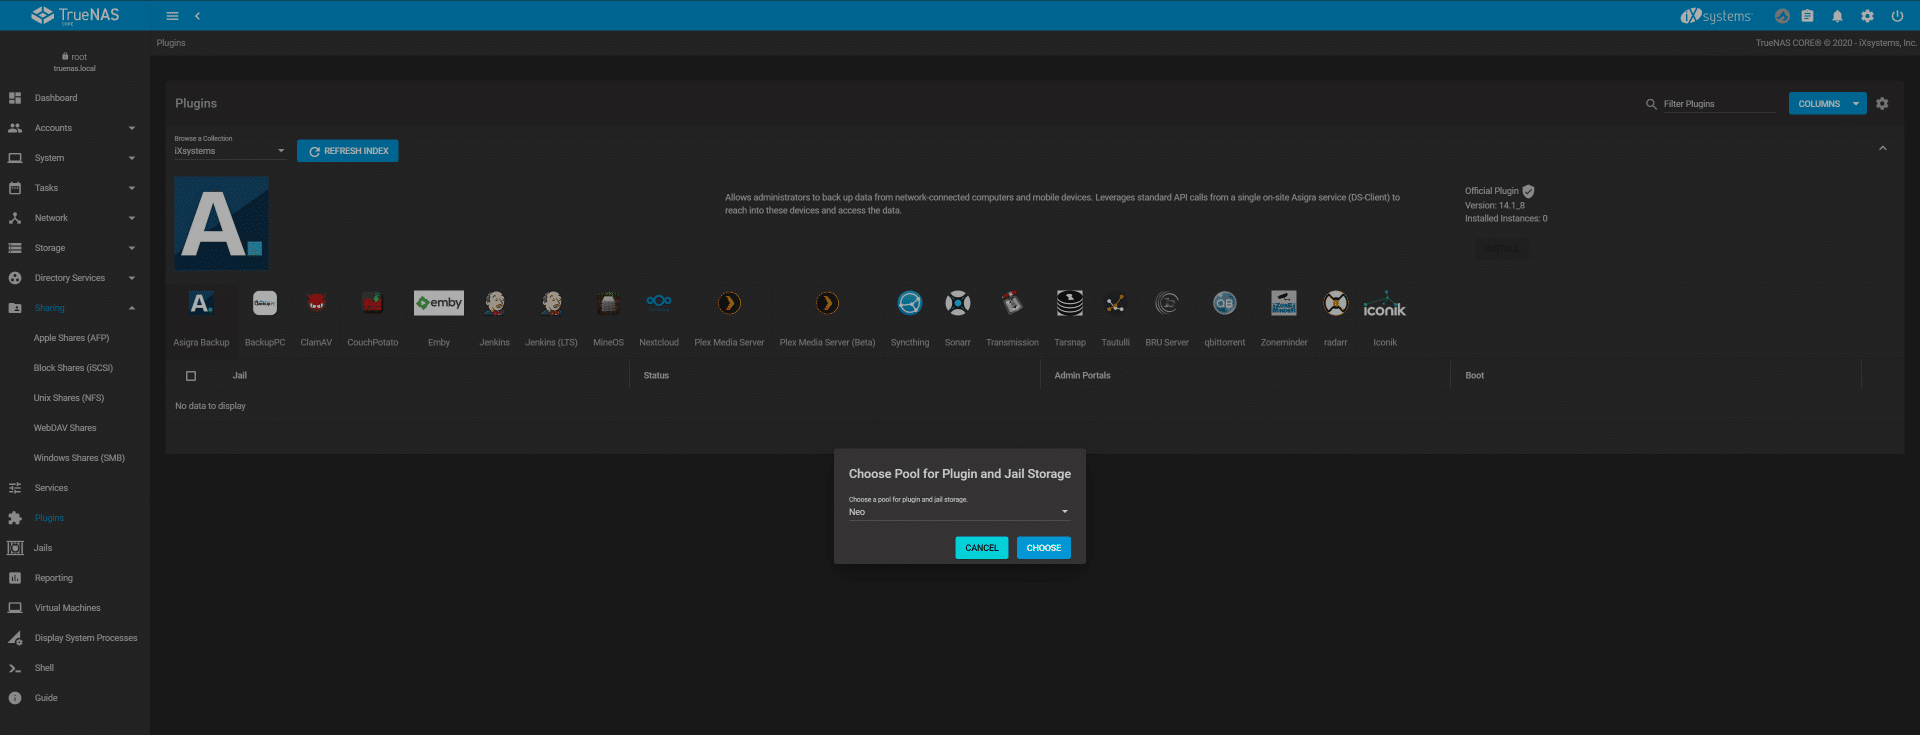
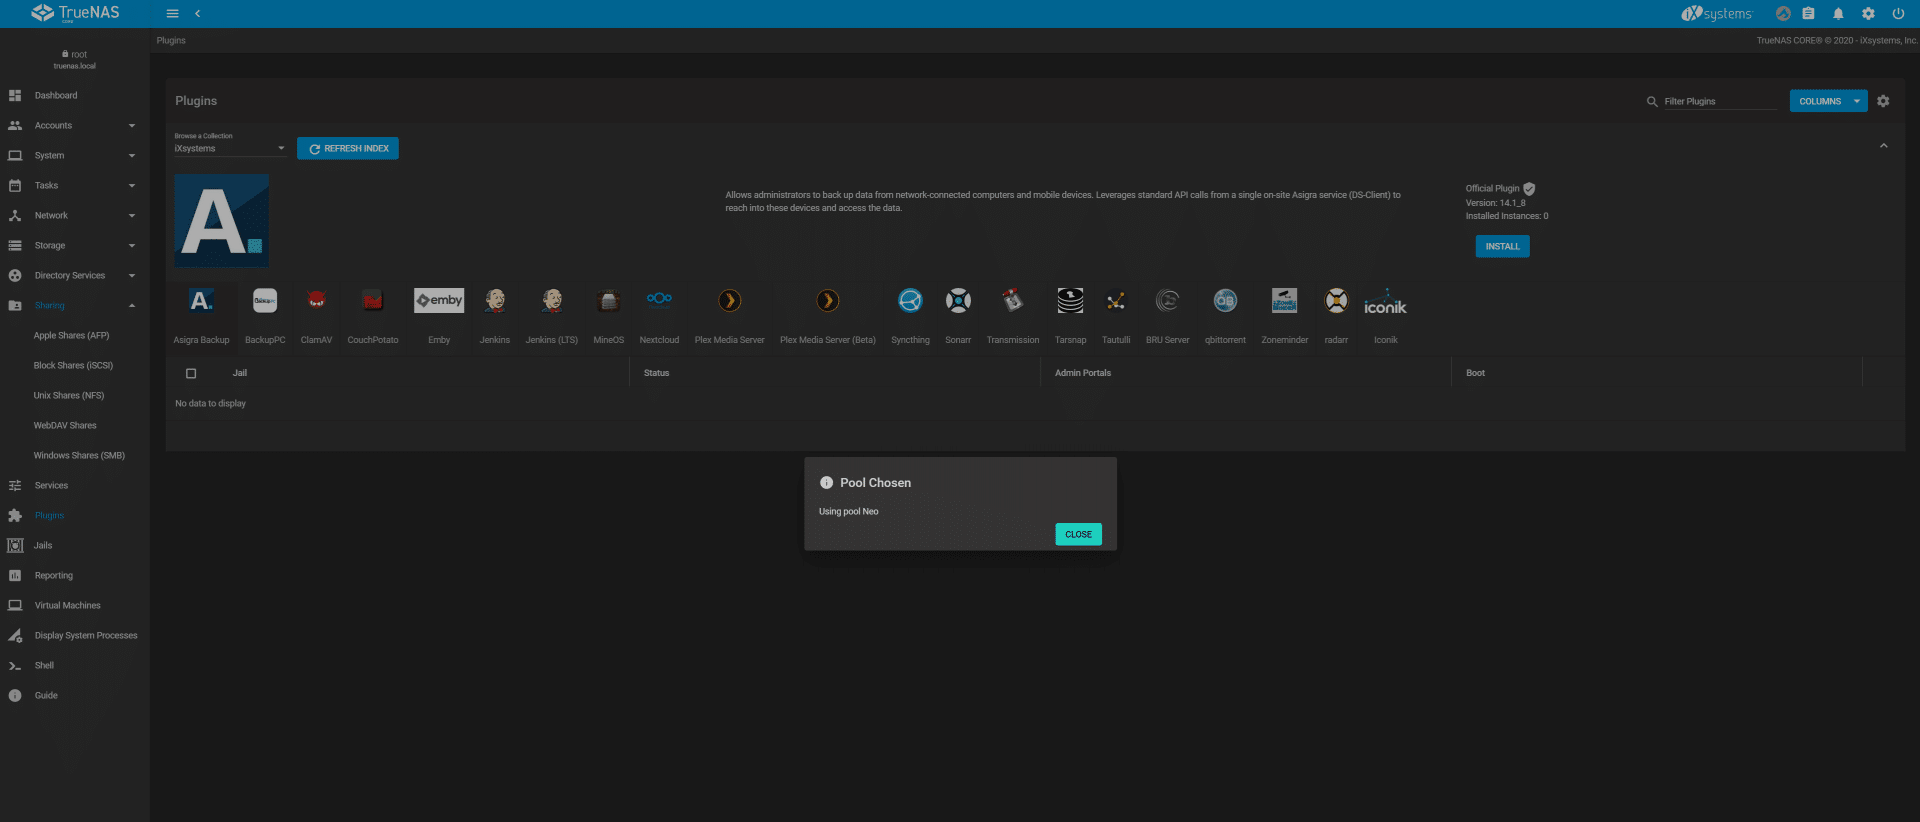
Now that we have shares up and running – we can explore plugins (Not in scope of this guide) but I assure you that setting up a Plex server, or a Minecraft server is as easy as a few clicks. First time you will be asked where to store plugins and Jails – just select a pool and click CHOOSE.
I am looking forward to upgrading my FreeNAS servers to TrueNAS CORE soon. This will let me play around with some of the new features – like dedicated metadata VDev.
Concluding Thoughts
For now, hopefully this guide is useful in your journey to set up and configure TrueNAS CORE. In this case we used an HPE MicroServer Gen10 Plus that had been lazing about the lab, along with Seagate IronWolf 14TB HDDs and an IronWolf NAS SSD. In total the process of setup was simple, and in this tiny box we have a highly capable box that could quite honestly go into production today at a small business, remote office or homelab scenario. Okay, so alpha nightly builds might not be the best idea for production; point being, the evolution from FreeNAS to TrueNAS is exciting and getting up and running with TrueNAS CORE is painless. When the GA code build comes out later this year, there’s every reason to believe that TrueNAS CORE is ready for prime time.
Read More – TrueNAS CORE 12 Review on HPE MicroServer
Engage with StorageReview
Newsletter | YouTube | Podcast iTunes/Spotify | Instagram | Twitter | Facebook | RSS Feed