

In October of this year, VMware announced the ability to run ESXi on 64-bit Arm processors. This was further enabled through VMware’s Project Monterey and Arm’s Project Cassini. Arm-based devices include SmartNICs and Raspberry Pi devices. Now through a VMware Fling (a VMware program sponsored through the Office of the CTO designed to offer early-stage software to the VMware community) users can leverage ESXi on a Raspberry Pi. Here, we give the user an easy step by step guide on how to get started.

Installing ESXi on Raspberry Pi
- Installing and getting the ESXi arm fling to run on a Raspberry Pi is a program that presents a few challenging areas that deserve highlighting. ESXi 7 will only boot from UEFI and requires a dedicated microSD to boot into the UEFI. From the UEFI a USB device to boot the ESXi installer. ESXi cannot be installed on the USB device it is booting from so another USB storage device is required. USB 3.0/1 HDDs can draw too much power from the Raspberry Pi causing issues so make sure you have a good power supply.
- Following the VMWare guide included with the ESXi-ARM fling will get your Raspberry Pi up and running. After following the installation guide and finishing the basic ESXi installation steps you should have access to the management interface. At this point during testing, the SSH was enabled and all the server settings were checked. Start-to-end, the installation process took a few hours, however, a majority of the time was spent finding the necessary cables and power supply needed to turn on the Pi.
- Creating a VM on the ESXi arm fling is a bit more complicated than just popping in an iso/ova/ovf/etc and there aren’t many operating systems built on the arm architecture. During testing, the Debian aarch64 arm port was used to create a VM and a Samsung T5 portable SSD as storage.
To quickly create a VM using Ubuntu for arm, download the most recent iso from the Ubuntu website and begin the setup.
- Download the Ubuntu-AArch64 ISO and upload it to your
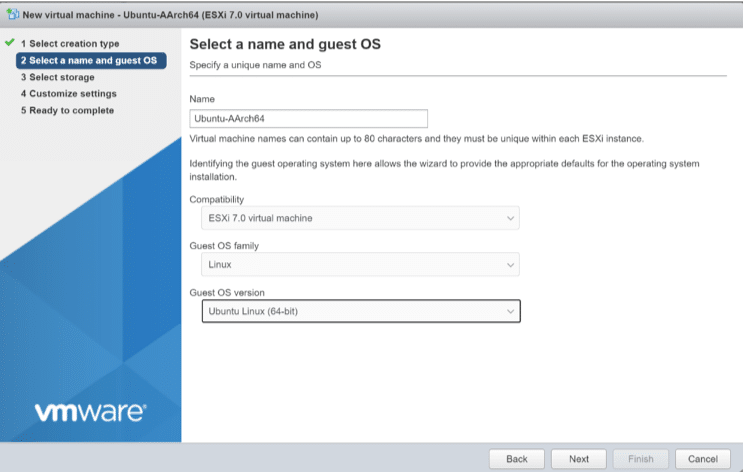
- Create a new Virtual Machine

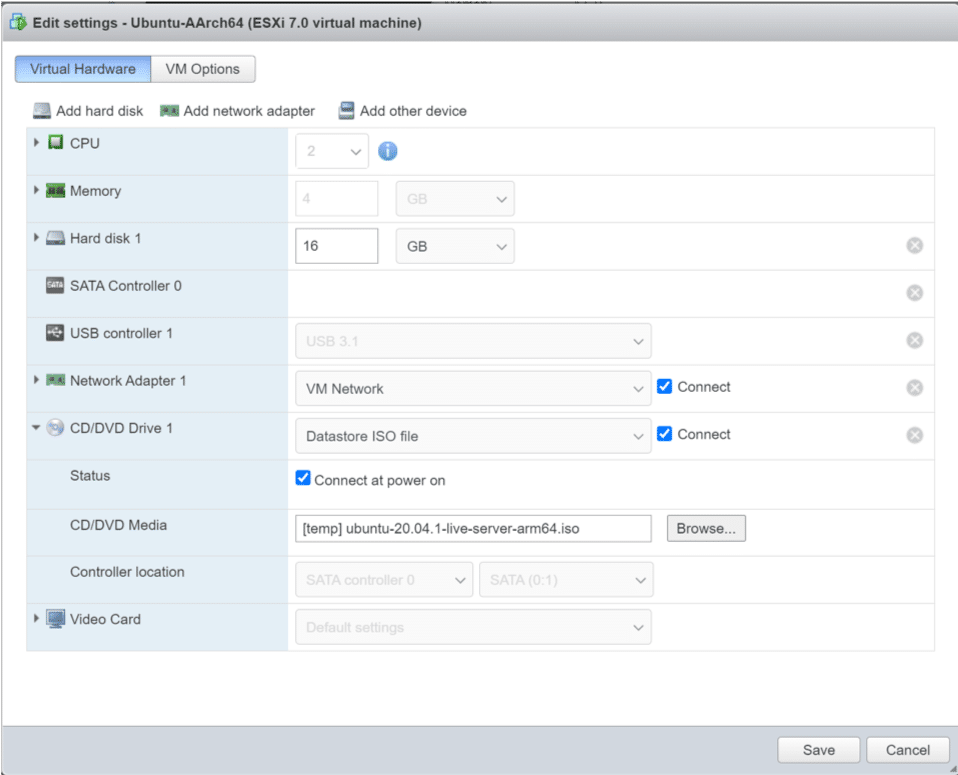
- After deciding how much of your host’s resources you want the VM to consume, finish and initiating the VM.

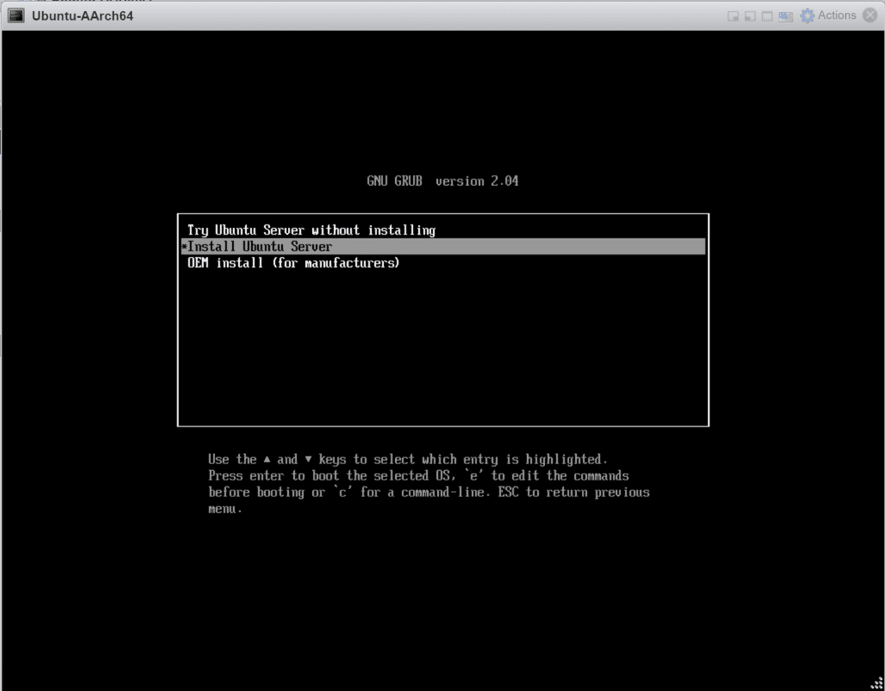
- Starting the VM will bring you to the standard GRUB page and select install Ubuntu Server

- Select the correct Language and Keyboard layout.
- The network adapter should already be configured so don’t touch anything and move on to the proxy settings, if you need an HTTP proxy this is the place to enter it.
- Click through the mirror options as well the installer should have the correct mirror links built in.
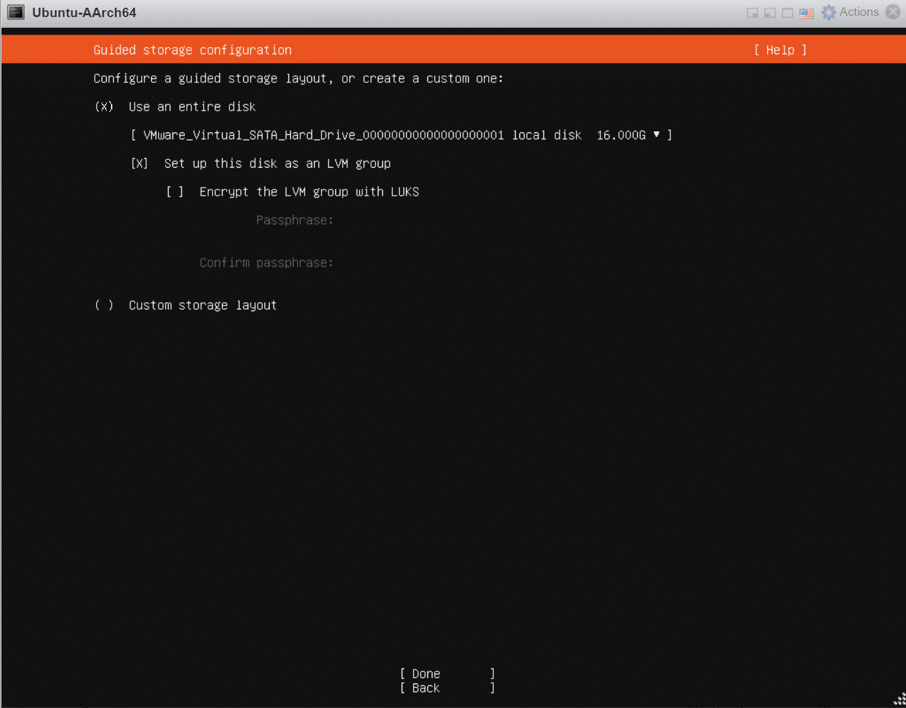
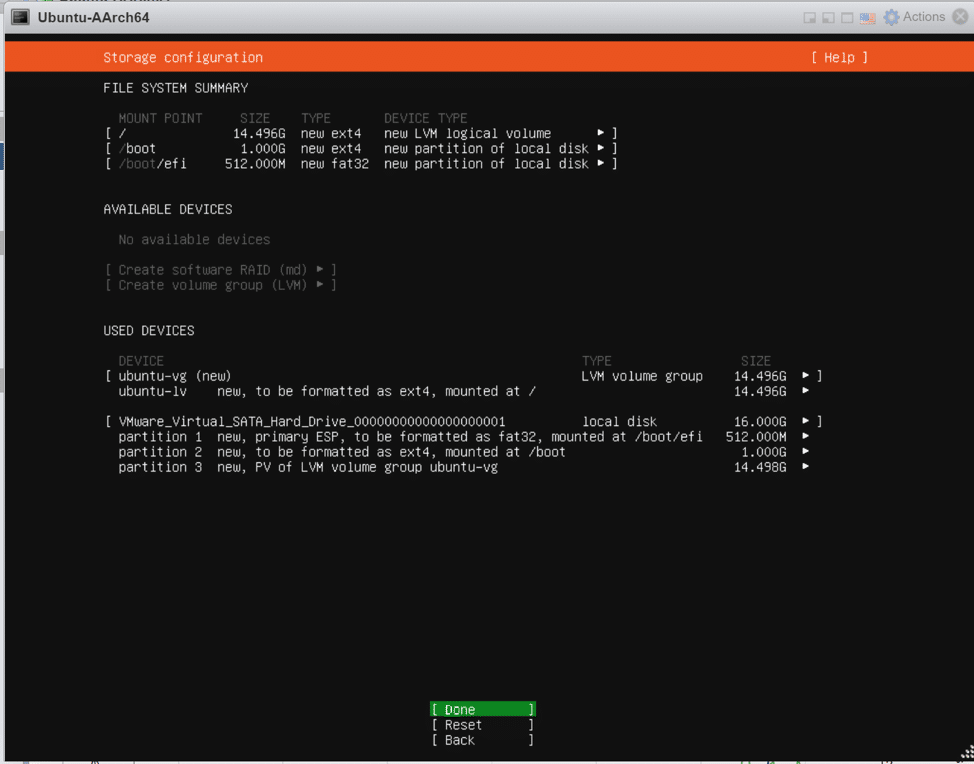
- On the storage configuration page, you will be able to decide how much of the assigned VM space you want to use.


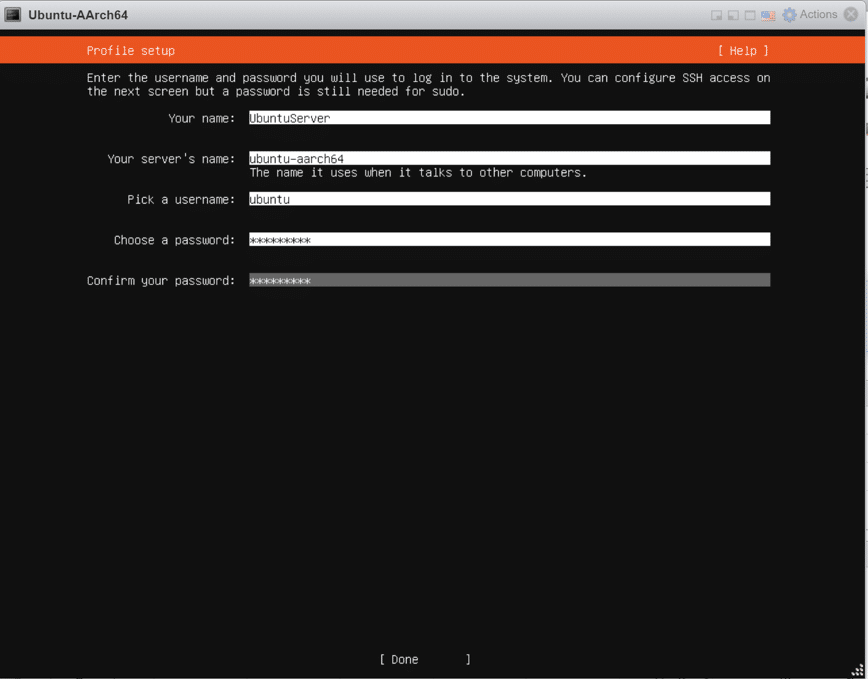
- After confirming the storage changes you will be prompted to complete the Profile setup.

- I choose to install OpenSSH from the installer so I can save a step installing it later.
- The installer will then prompt you to select snaps to add to your server environment, for this demo I will skip this.
The Ubuntu installer will install itself, select snaps, then update before re-booting. The next step is disconnecting the datastore ISO in the VM settings. This installer includes snaps for many popular home-lab applications, in the future, we may experiment with these quick deploy snaps on the Raspberry Pi ESXi fling.


 Amazon