

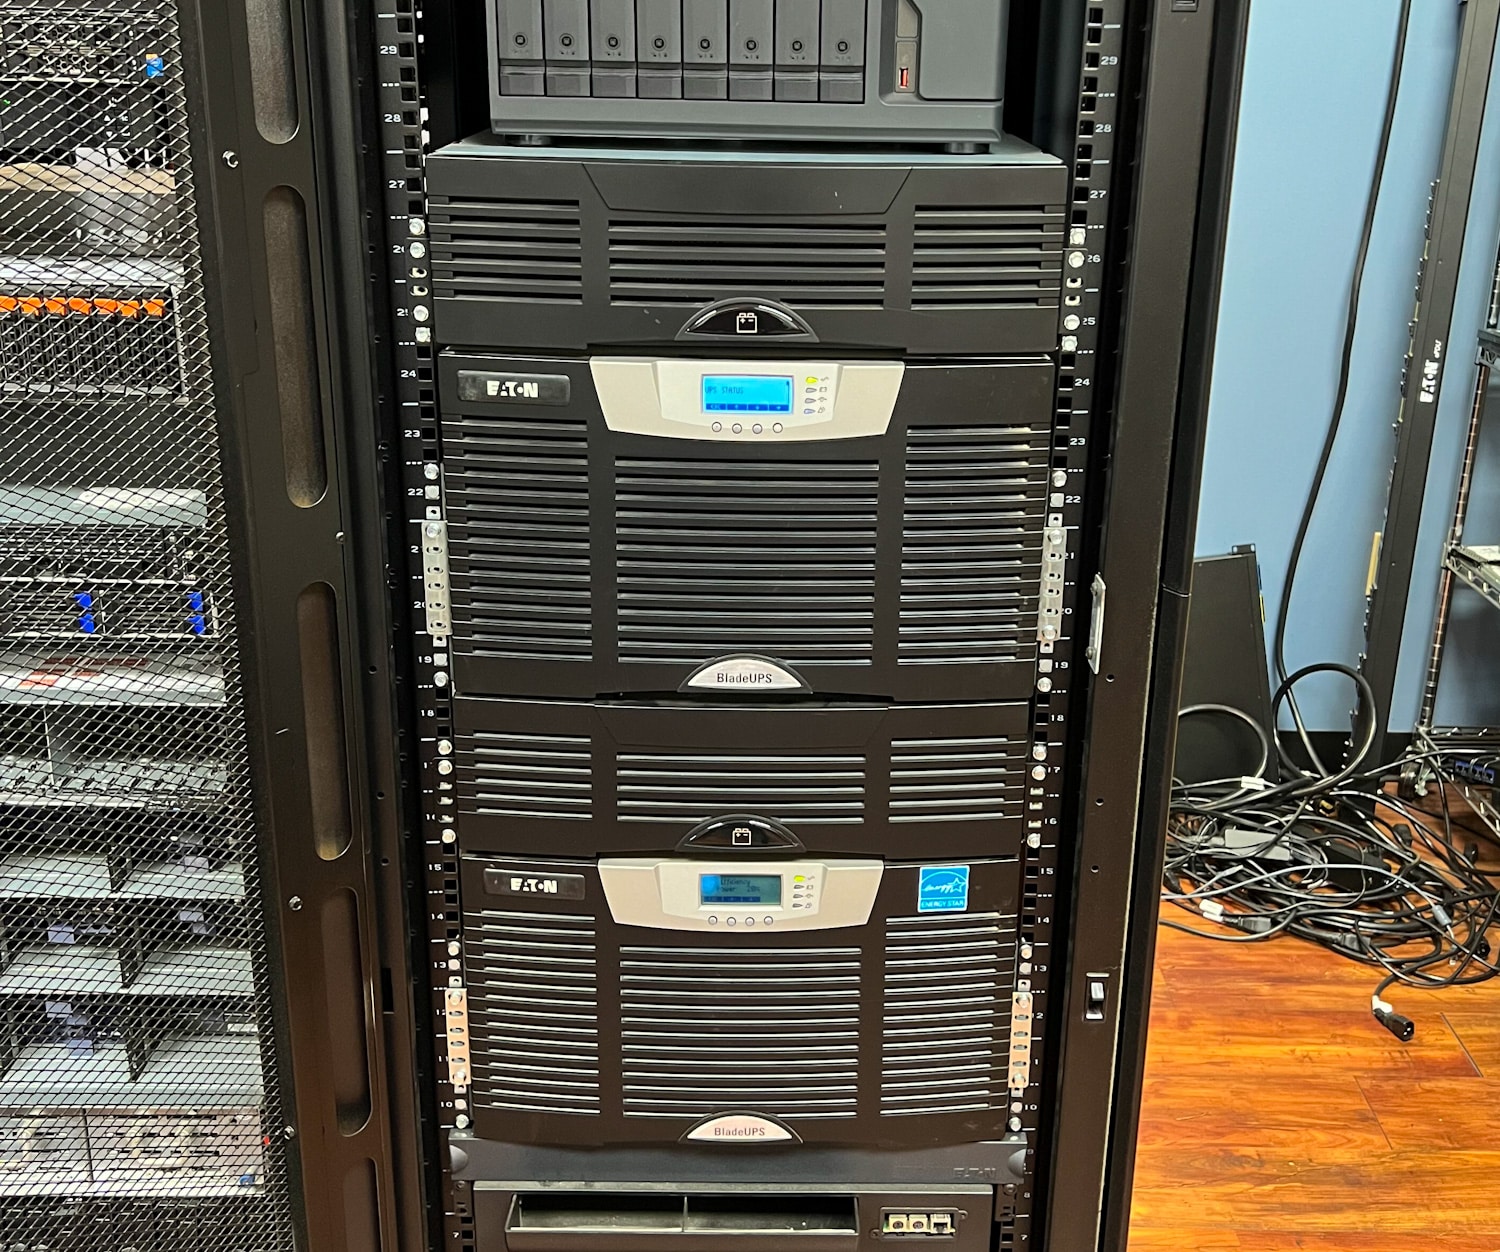
The Eaton BladeUPS plays a vital role in keeping our StorageReview lab operational, as it is specifically designed to meet the high power requirements of servers, storage, and other lab gear. Not only do these units ensure uninterrupted operations during unforeseen power outages, both minor and serious, but they also allow us to safely shut down our equipment.
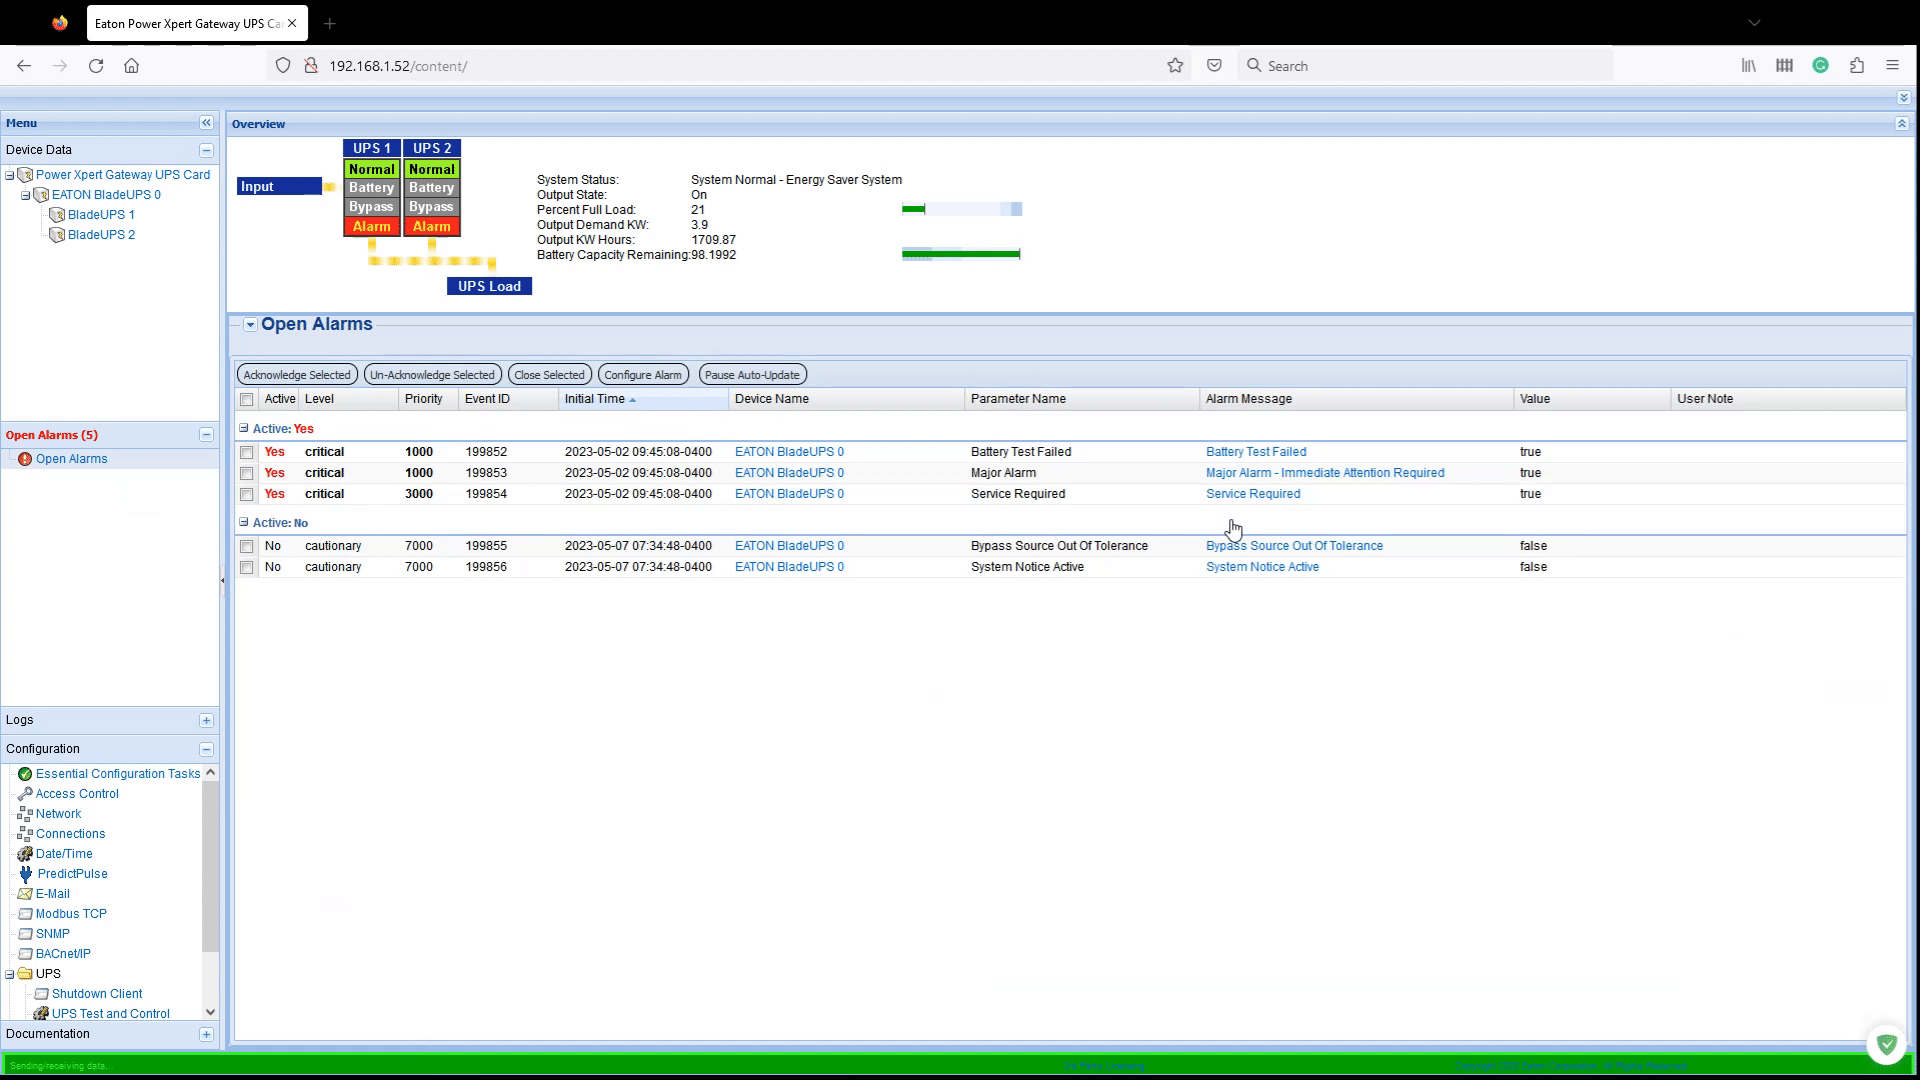
During a routine check on the BladeUPS, we identified a small red warning on the device–a flashing battery indicator and intermittent audible alarm beeps. While the batteries were still capable of surviving power outages for the time being, errors during health checks indicate that we need to finally replace them. In this article, we will guide you through the simple process of replacing the batteries within the Eaton BladeUPS.
Eaton BladeUPS Overview
The Eaton BladeUPS offers 12 kW of efficient and reliable power in a compact 6U rack space, and its capacity can be expanded up to 60 kW by adding modular modules. The BladeUPS stands out with its power density and heat dissipation compared to similar modular solutions, and it can be conveniently monitored through its bright LCD screen and the Eaton Intelligence Platform. Furthermore, Eaton offers a handy option for customers to choose a pre-assembled BladeUPS system for easy customization and rapid deployment. Needless to say, these have been a great addition to the StorageReview lab.
Replacing the Eaton BladeUPS Batteries
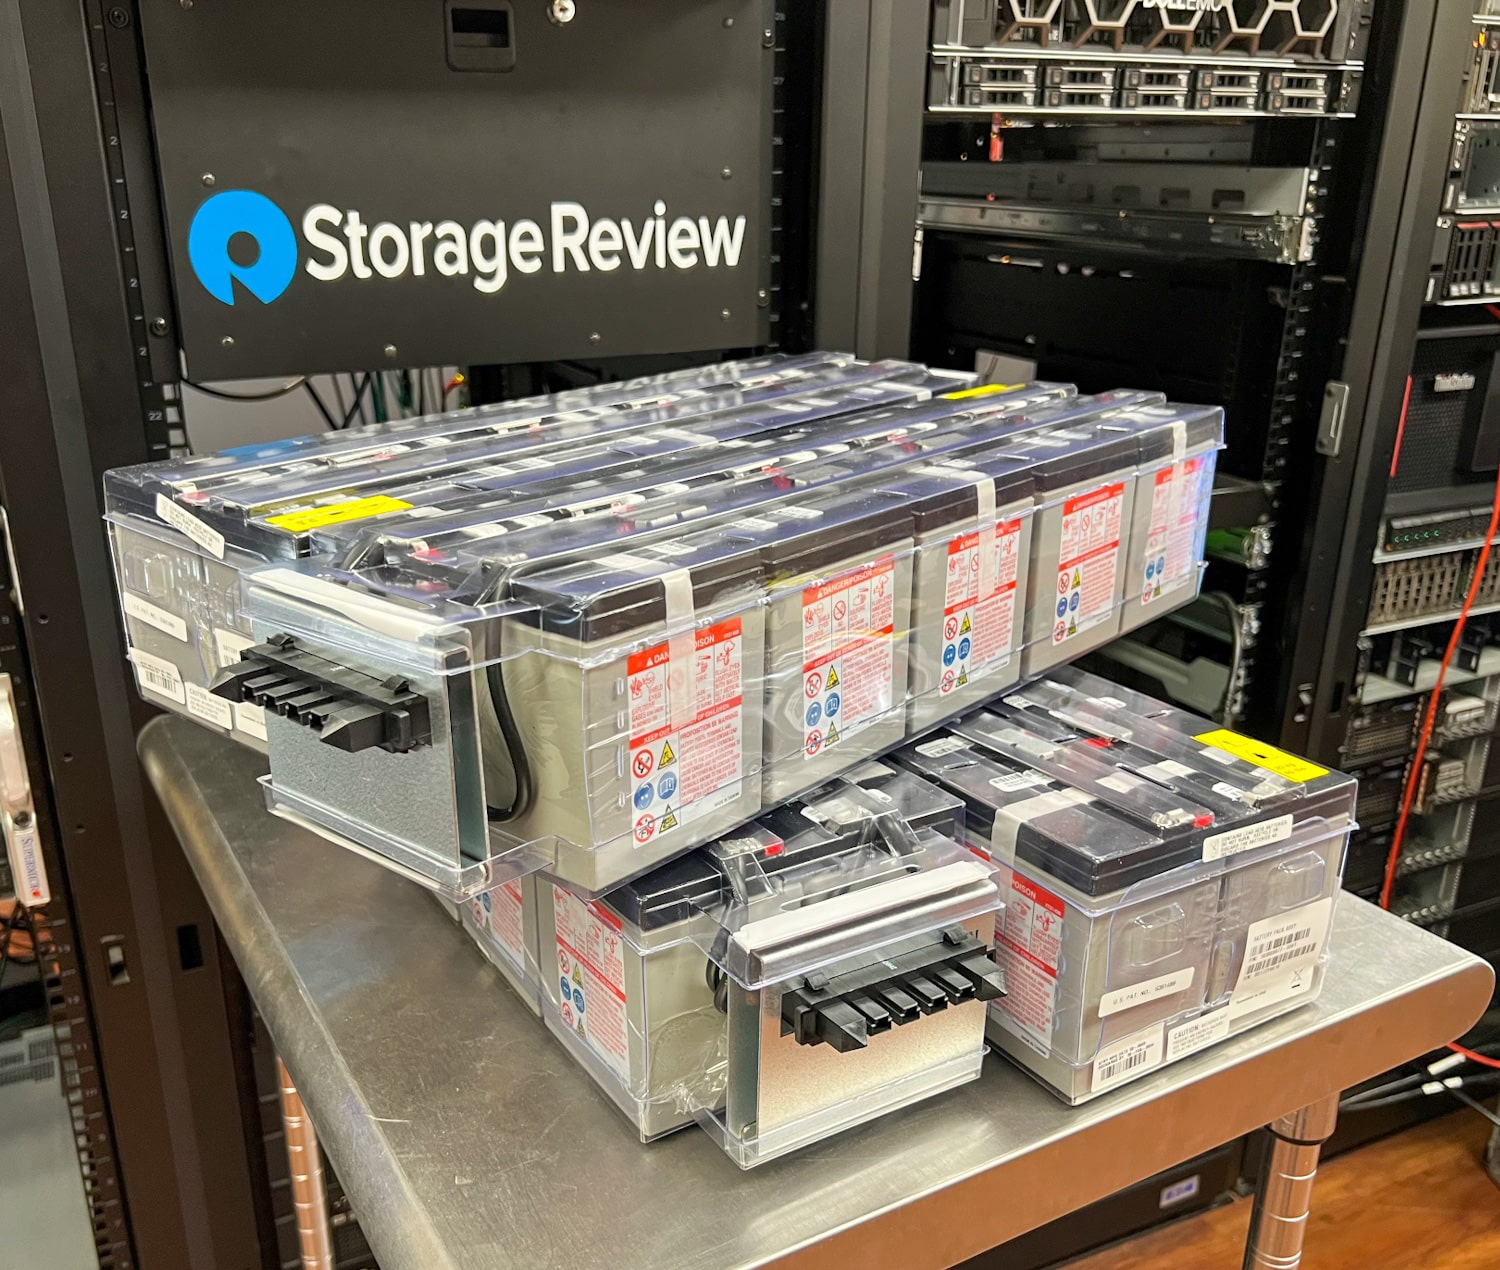
We were curious to see how old these batteries were. When we initially checked to determine their age, we didn’t know and had to delve way back into the archives to find out we deployed them in 2015. And while its eight-year run is certainly impressive, its time has come and they need to be replaced. Eaton graciously sent us eight replacement batteries, so let’s install these new units and get our lab back to its optimal condition.
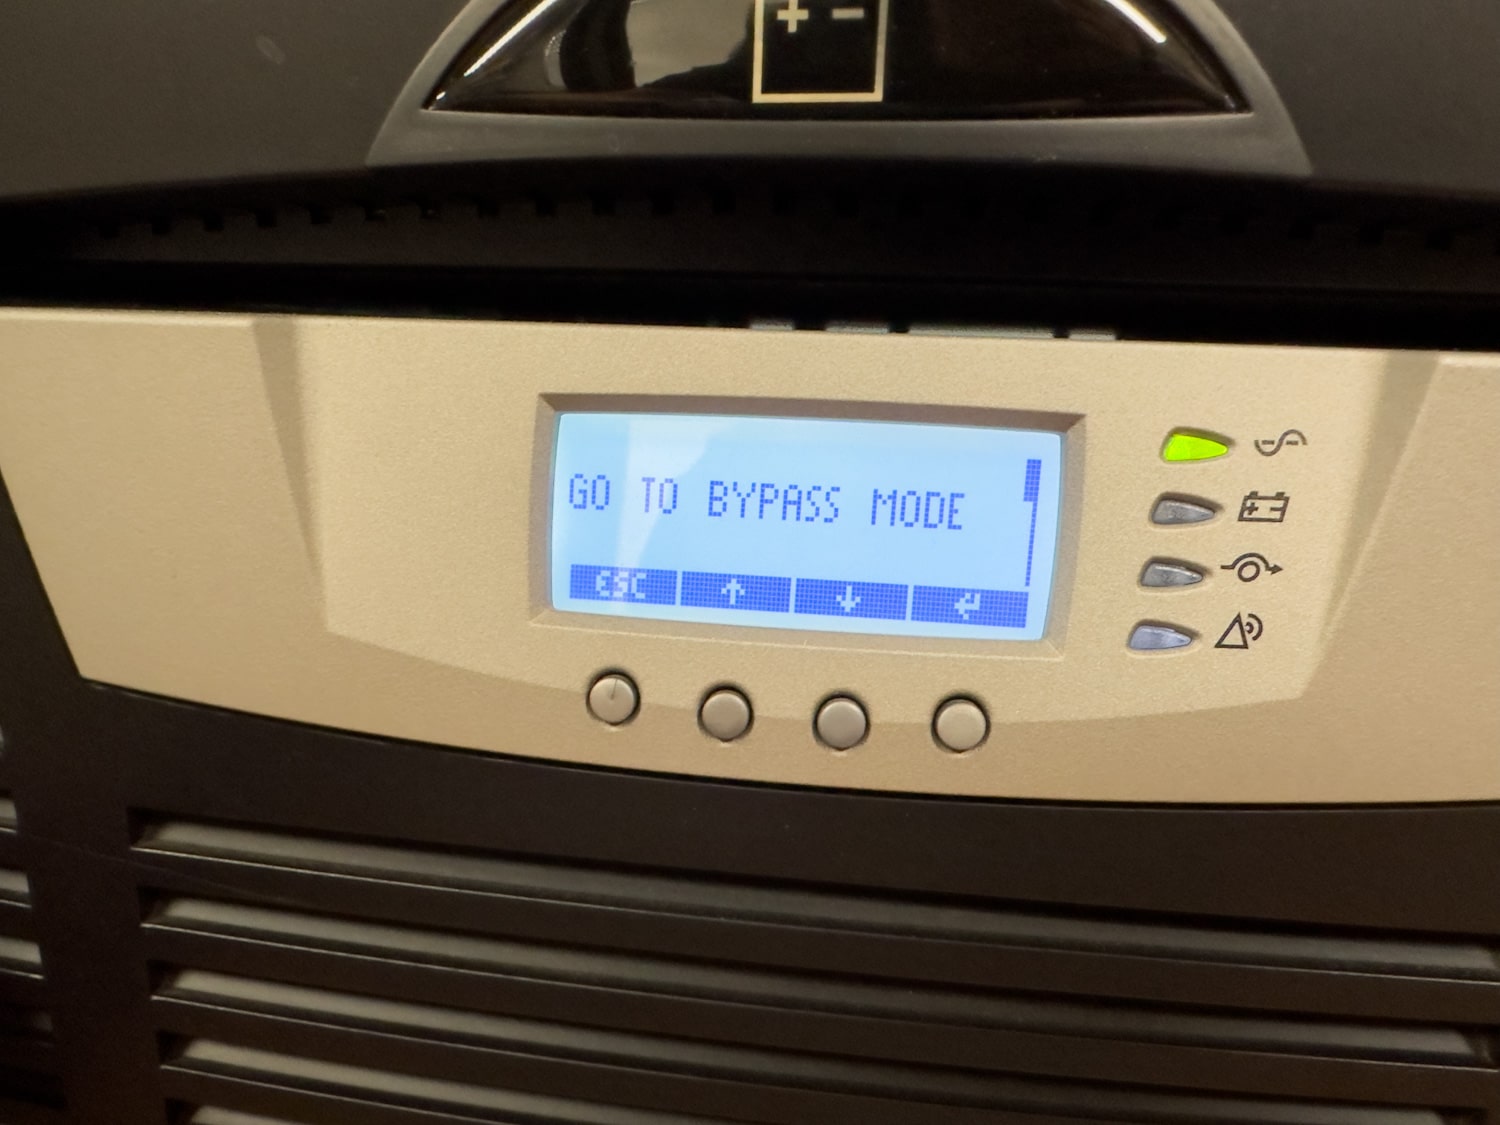
These batteries can be swapped out without the need to power down the UPS or disconnect the load; however, it is necessary to activate the BladeUPS’s “bypass mode.” This is done by simply pressing any button on the OSD to access the menu options, and then selecting “Control” followed by “Go to bypass mode,” which effectively keeps the power on while removing it from the operational loop.
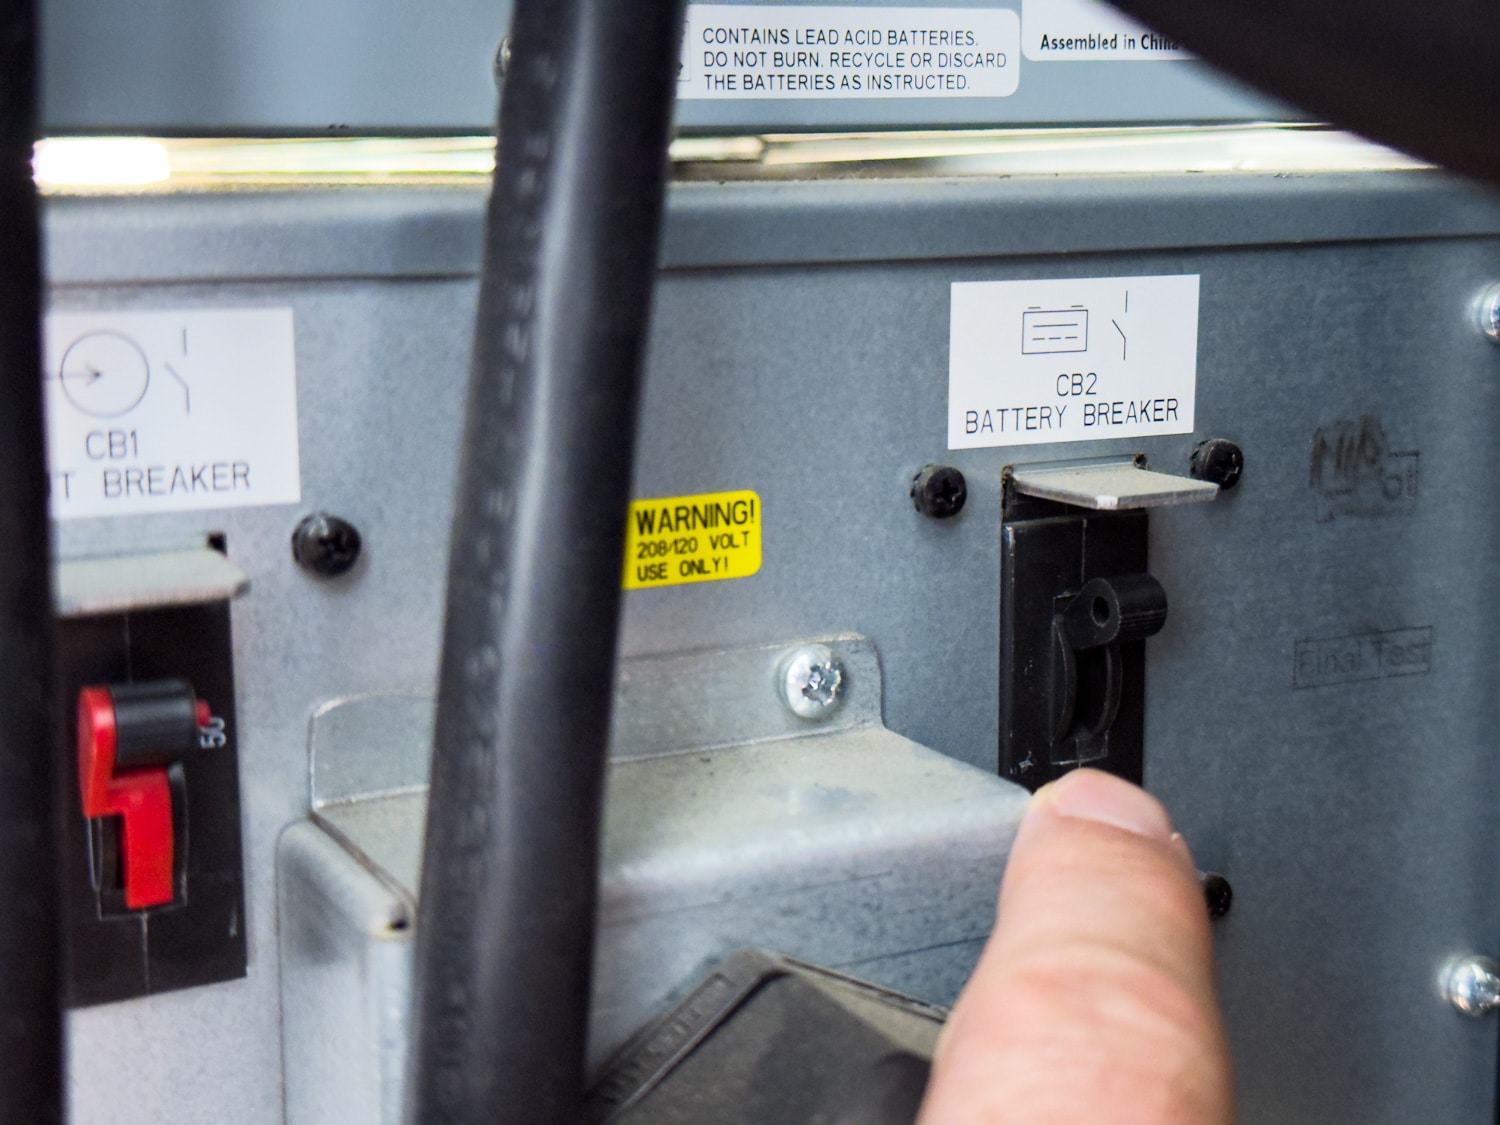
You’ll need to first verify that the battery circuit breaker is in the OFF position for the respective units (in our case, two units). If it is not in the OFF position, simply pull the necessary breaker switches to ensure a safe replacement process.
Next, remove the UPS front cover by grasping the “fingergrips” on both sides of the cover and firmly pulling the cover towards you. Unplug the LCD cable connecting the back of the control panel to the electronics module.
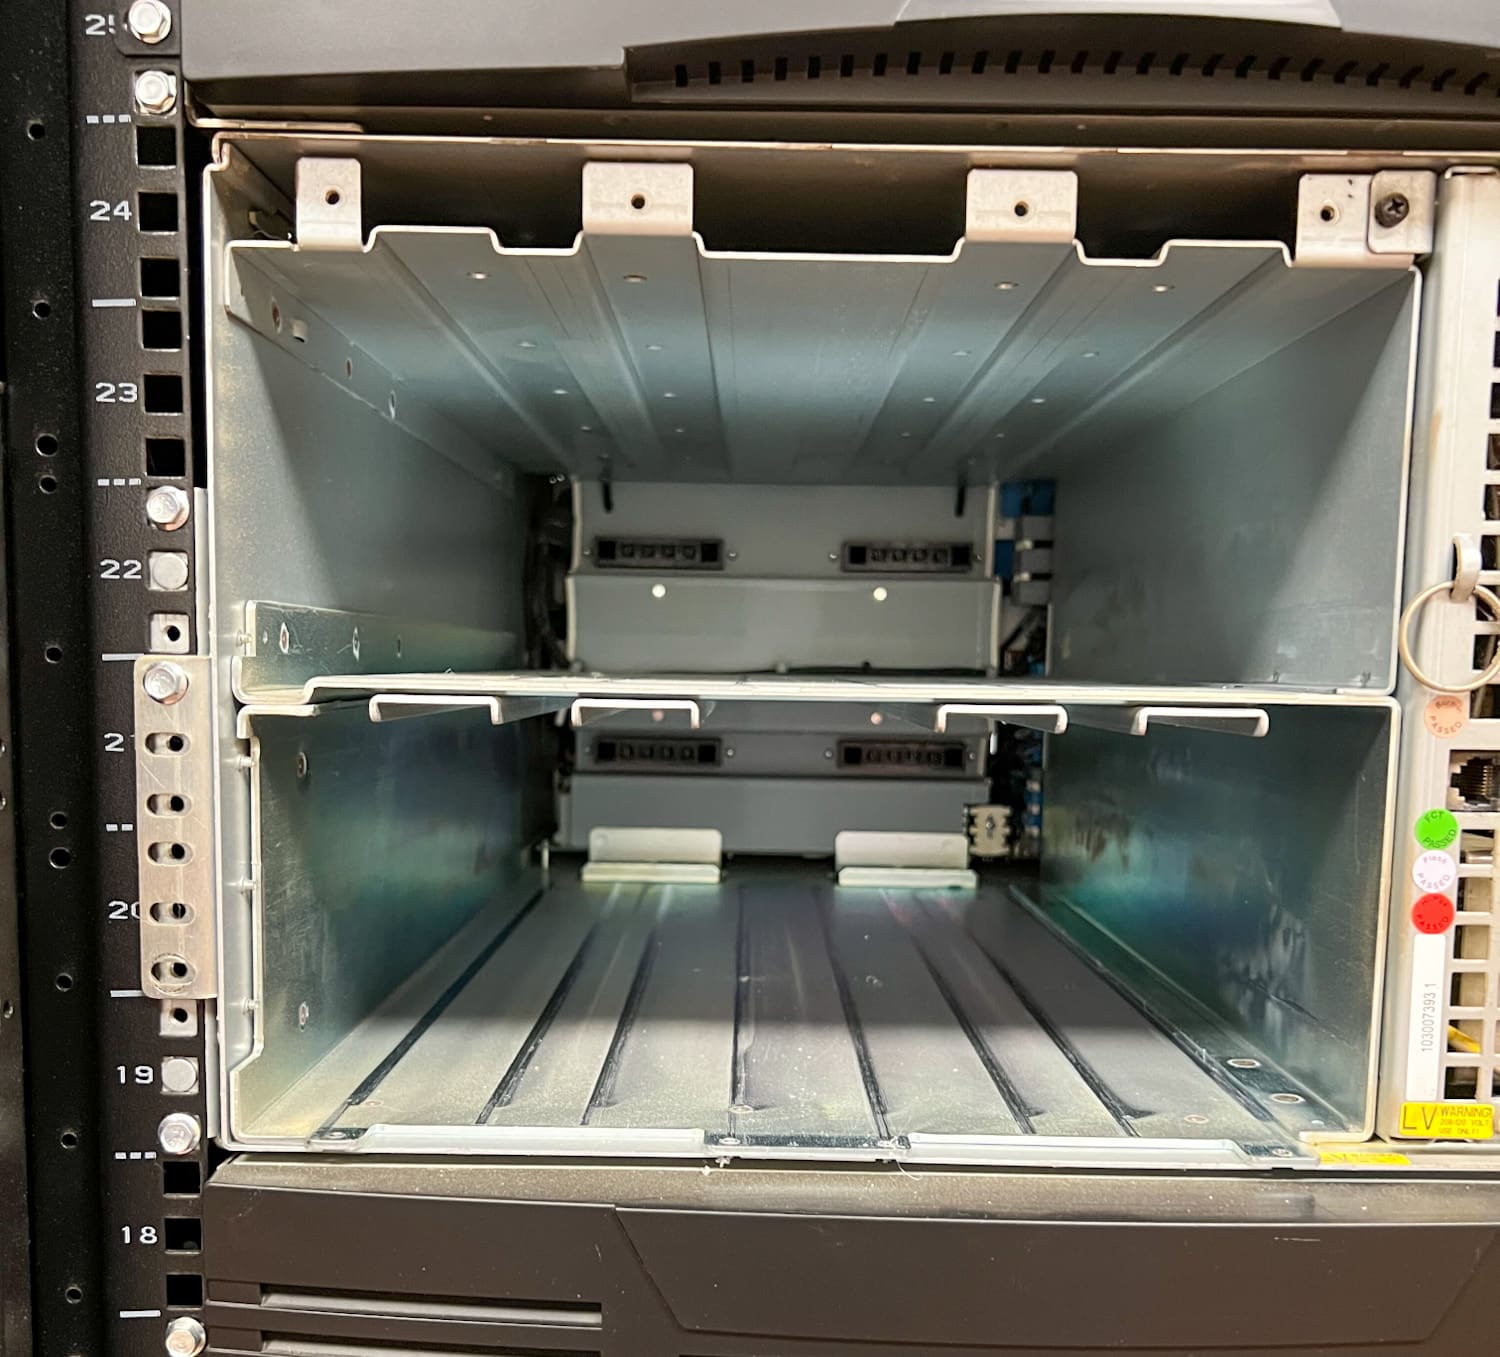
Remove the eight screws on the battery cover plate then pull it off towards you.
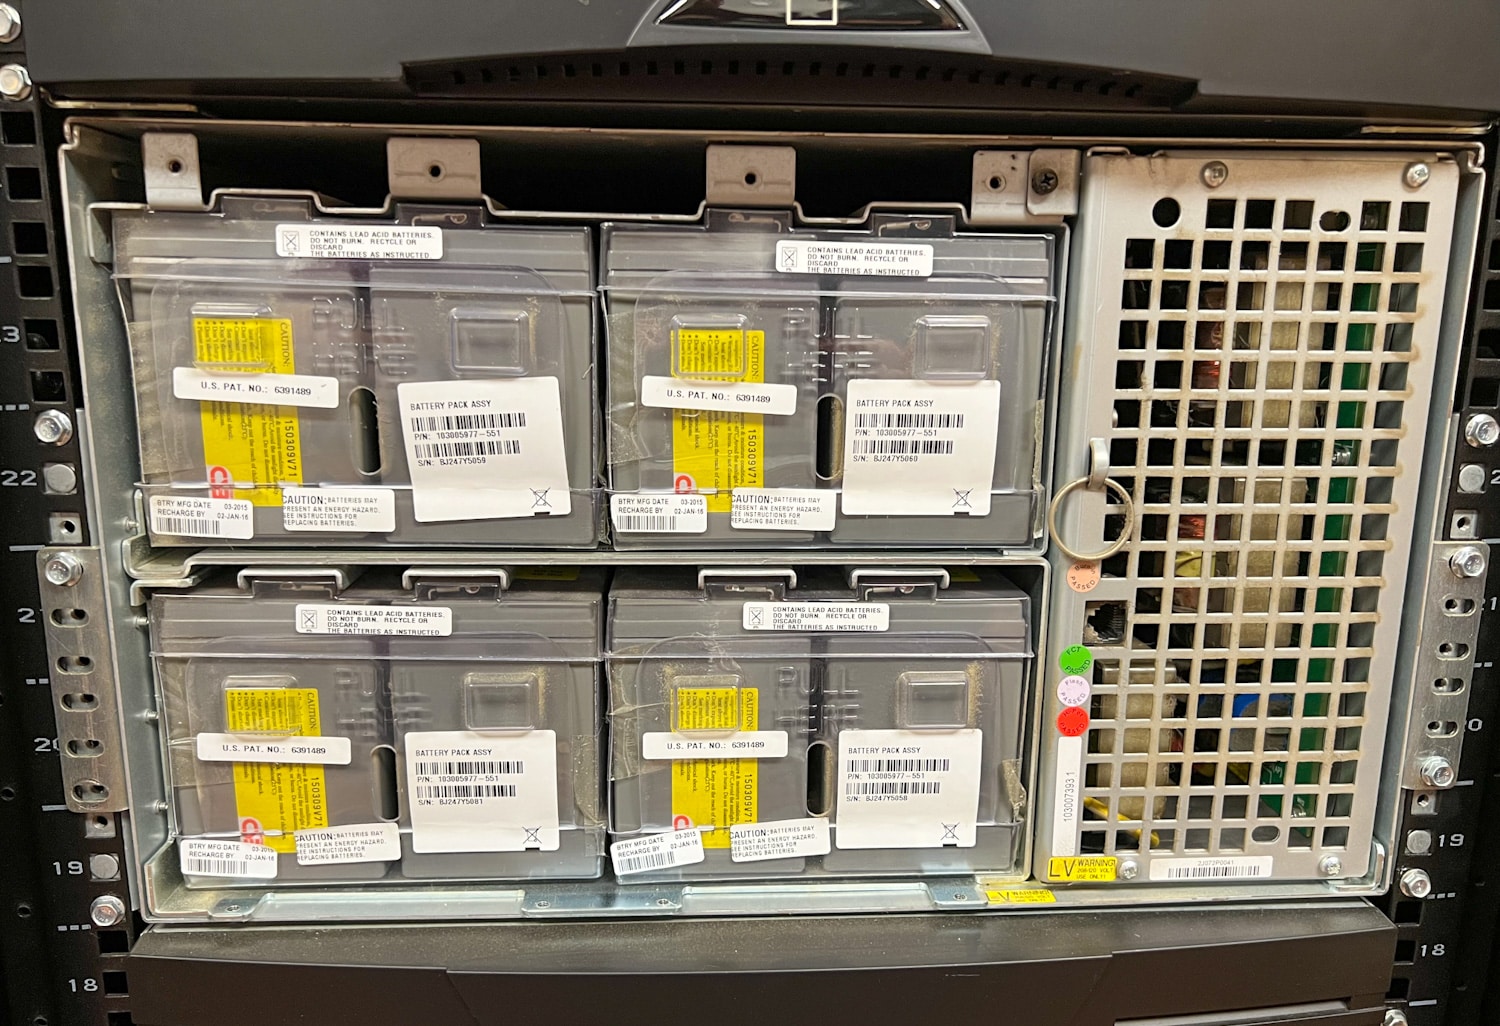
At this stage, we are ready to remove the old battery trays. To do so, untuck the plastic flap (which acts as a handle) located at the end of each battery tray and then gently pull it towards you. Keep in mind that these batteries are fairly hefty, so we advise you to use both hands and be cautious when extracting them from the UPS cabinet. When removing the batteries, we noticed a manufacturing date of March 2015, indicated by a barcode sticker on the bottom left of each battery, proving their long lifespan in our lab.
With the old batteries removed, we can add the new ones in. While making sure to verify that the tray is properly aligned with the guardrails, simply slide them into the cabinet. These things push easily into place and have that always satisfying “clicking” sound once they are securely installed. When all trays are fully installed, tuck the plastic handle on the end of the tray into place.
After screwing the battery cover plate back into place, re-plug the LCD cable from the control panel on the front cover into the connector on the electronics module (be careful when looping the LCD cable in front of the electronics module). To complete the replacement process, firmly push both the top and bottom of the front cover into place.
After taking it out of bypass mode, everything is working as expected and our lab is up and running optimally. The entire replacement process can be completed in just a matter of minutes.
Final Thoughts
The Eaton BladeUPS has certainly been a vital component in maintaining the online operations of the StorageReview lab, providing us with efficient and reliable power during power outages and enabling proper equipment shutdown when needed.
The eight-year lifespan of the batteries is also very impressive, showcasing their durability and longevity. After the quick and seamless replacement process, we anticipate at least another eight years of reliable performance from the new batteries, ensuring uninterrupted power supply and optimal functioning of the lab. We expect that the Eaton BladeUPS will continue to be a dependable solution for our power needs, offering peace of mind that our critical systems are in good hands.


 Amazon