

Yottamaster recently sent us their newest standalone M.2 NVMe cloner to play with. The Yottamaster cloning device is an interesting product as it is able to externally clone an M.2 NVMe SSD without being connected to a PC. The drive cloner comes in handy especially if data is needed to be cloned quickly with speeds reported of 20GB/min.
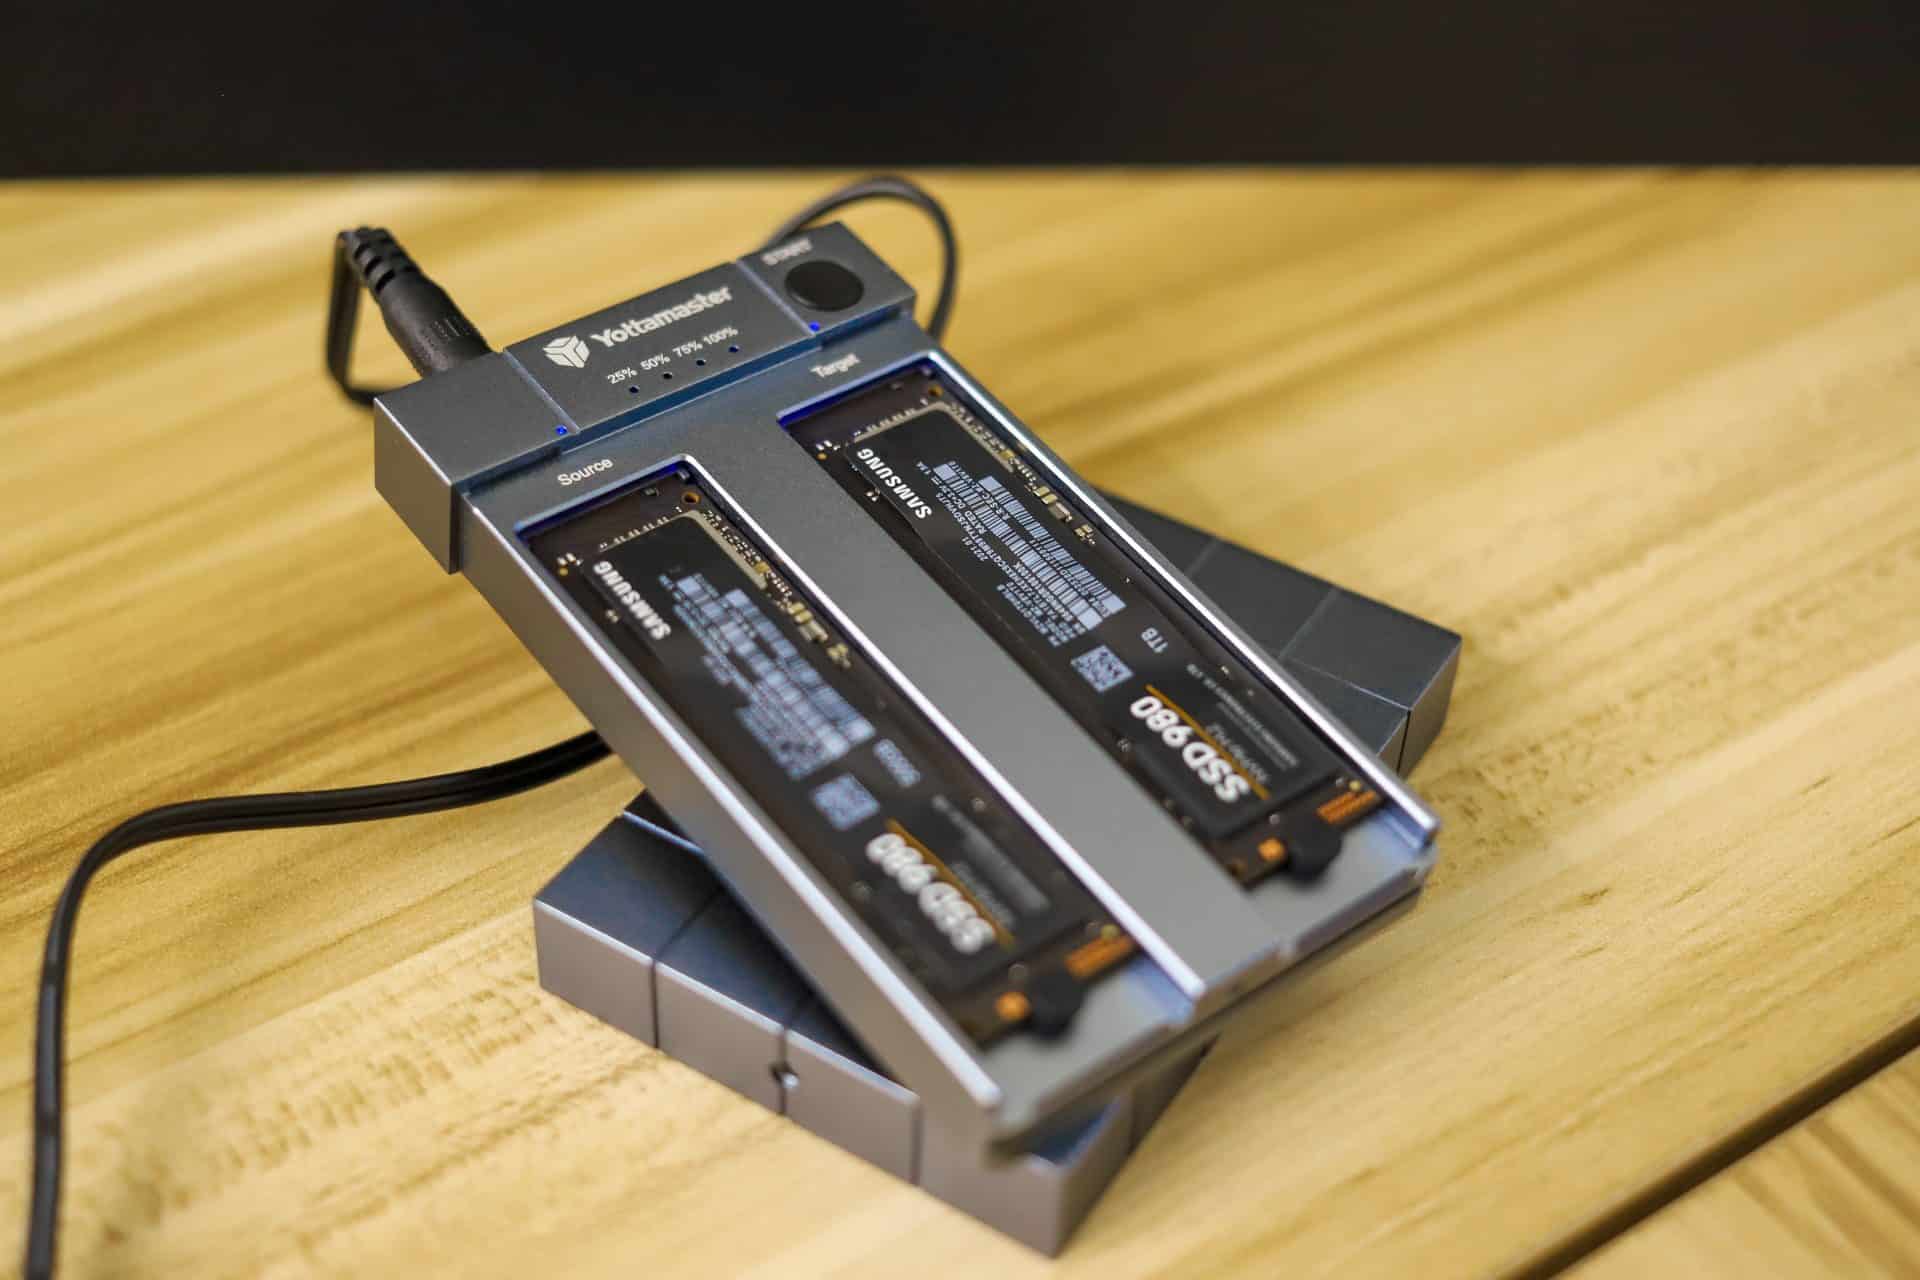
The SSD support on this cloner duplicator is versatile. Nearly all popular versions of an M.2 SSD are able to fit within this device. The Yottamaster cloner supports 2280/2260/2242/2230 NVMe SSDs along with M key and B&M key.
The price point on the Yottmaster cloner falls at $139.99 on Amazon. This pricing is very close to other cloners that do the same thing. The biggest difference between the Yottamaster and others, however, is the build and design. The Yottamaster cloner duplicator is relatively compact for a cloner with fully encasing the M.2 drives. Other cloners often make the M.2 Drives stand vertically, which can be a big weakness depending on where the cloner will operate. If it is an environment that is prone to a lot of movement, a fully encased cloner like the Yottamaster gives better peace of mind.
Yottamaster M.2 Cloner Design and Build
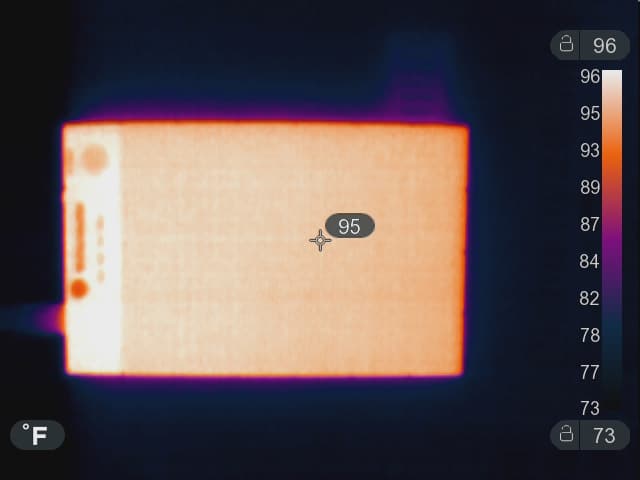
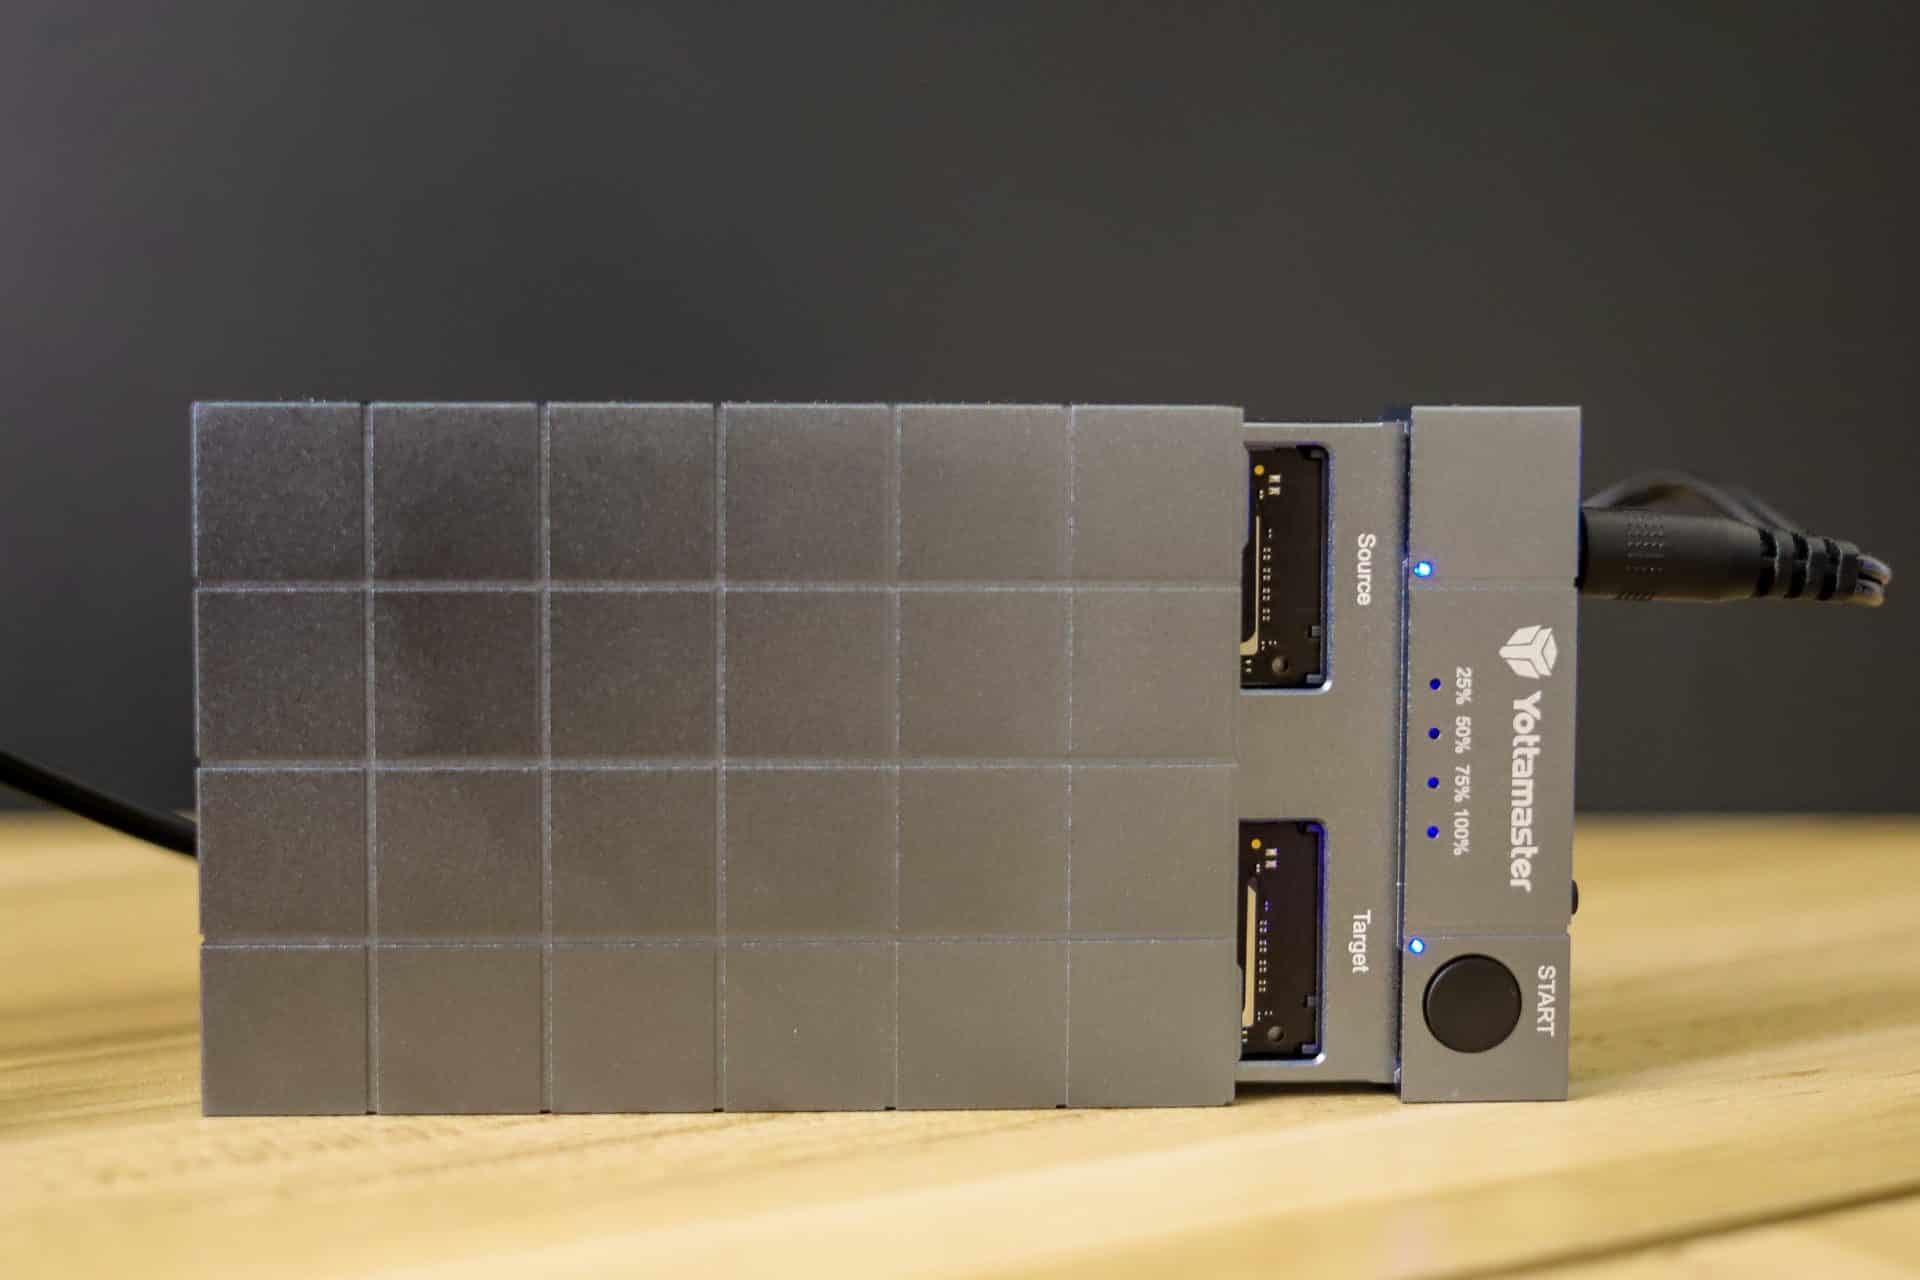
The entire enclosure is made of aluminum, which is necessary because of the heat that the drives inside can produce. Since writing to drives can be demanding, the unit will get hot. What Yottamaster did was put a thermal pad over each drive bay to allow for bridging to the top of the case to act as a heat sink. This makes the entire case then act as a heat sink for the drives. When running the Yottmaster cloner, we recommend that it is put in a good location to ensure that it is able to get hot without interfering with anything else.
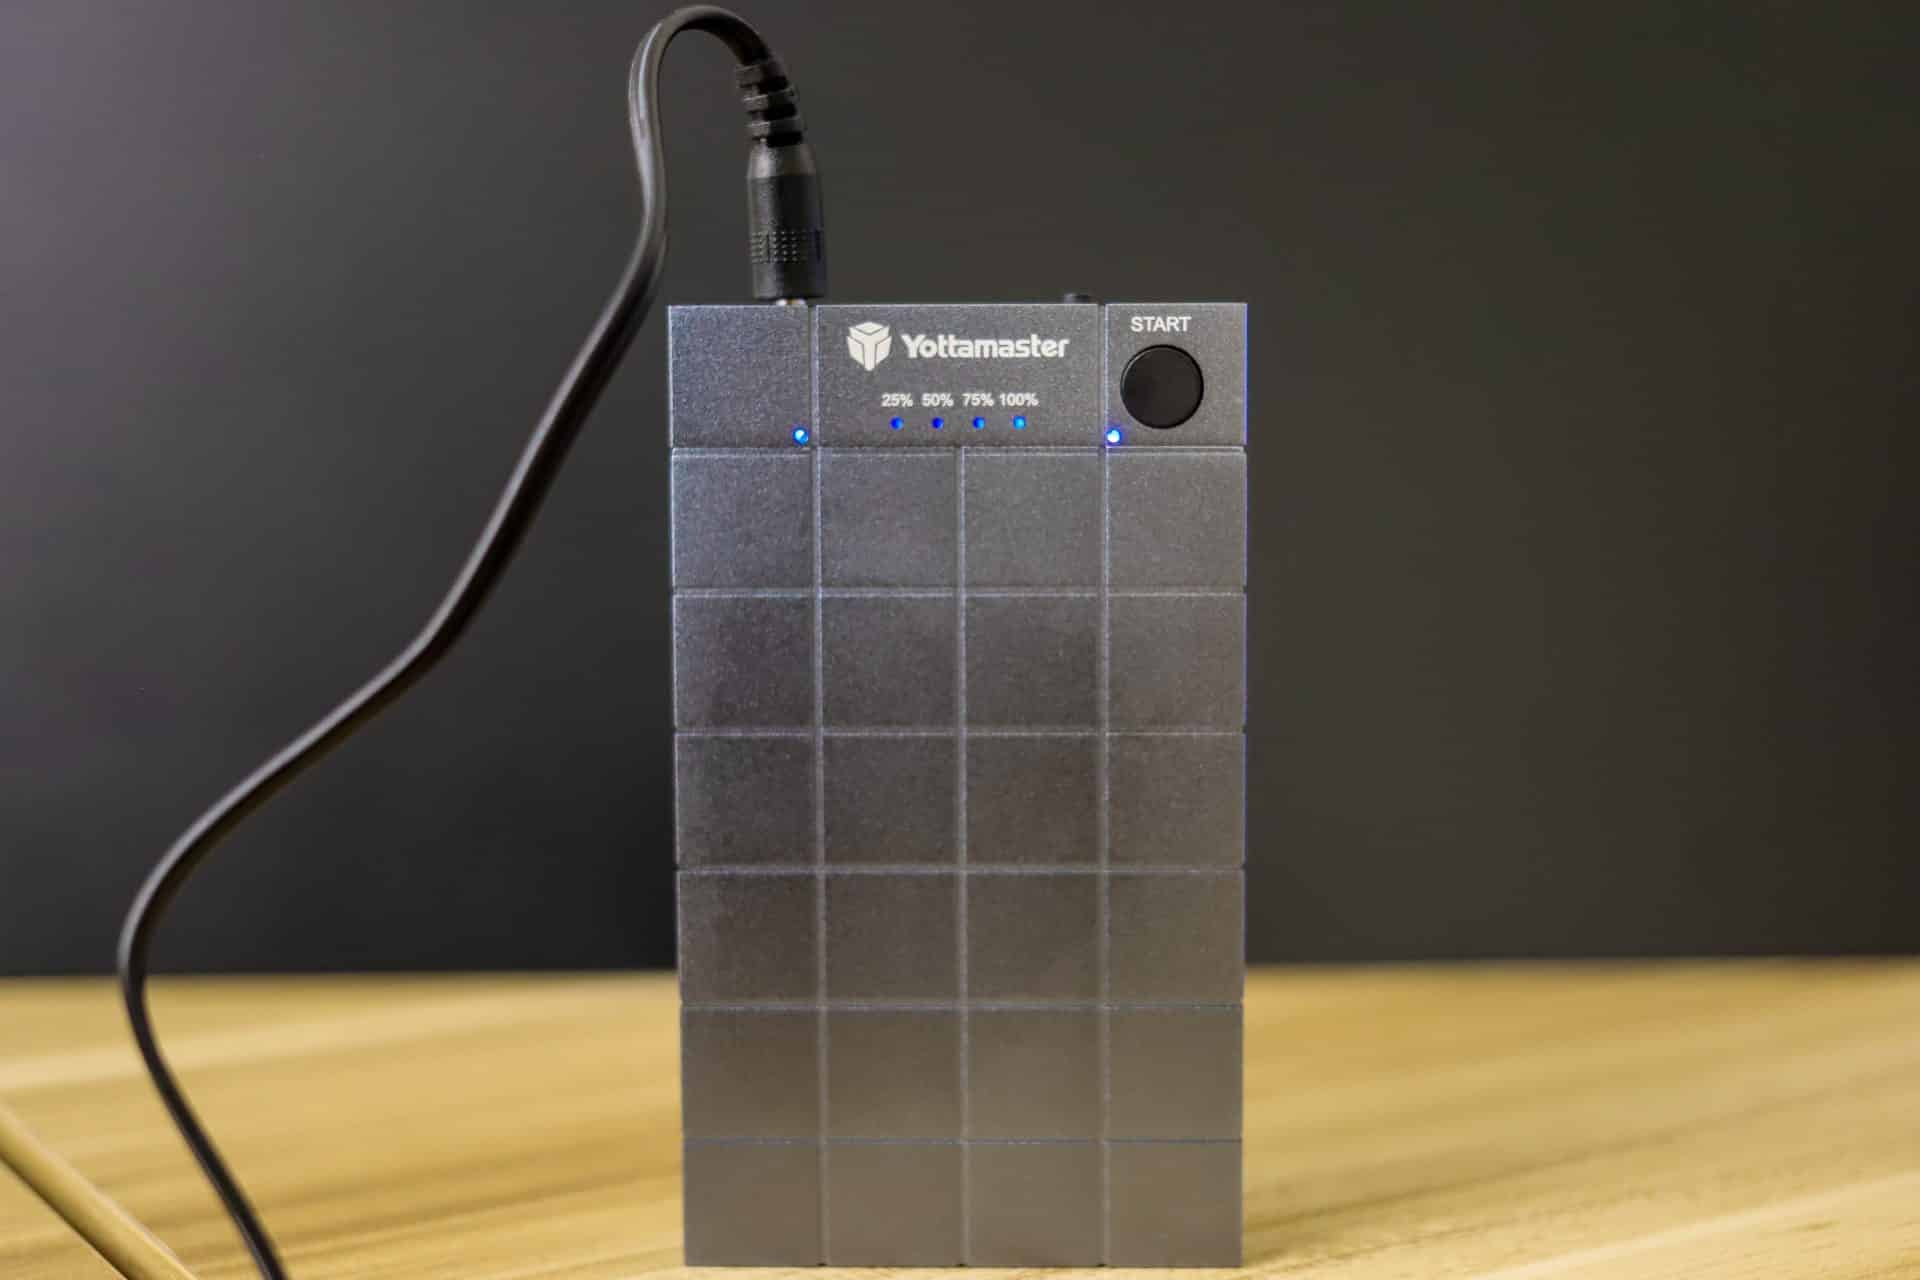
On the top of the cloner, there is the Yottamaster logo with the start button and percentage completion via lights underneath. The percentages visualization is a nice touch because it makes progress easy to follow. This helps user confidence as it lets them know that there is something actually happening.
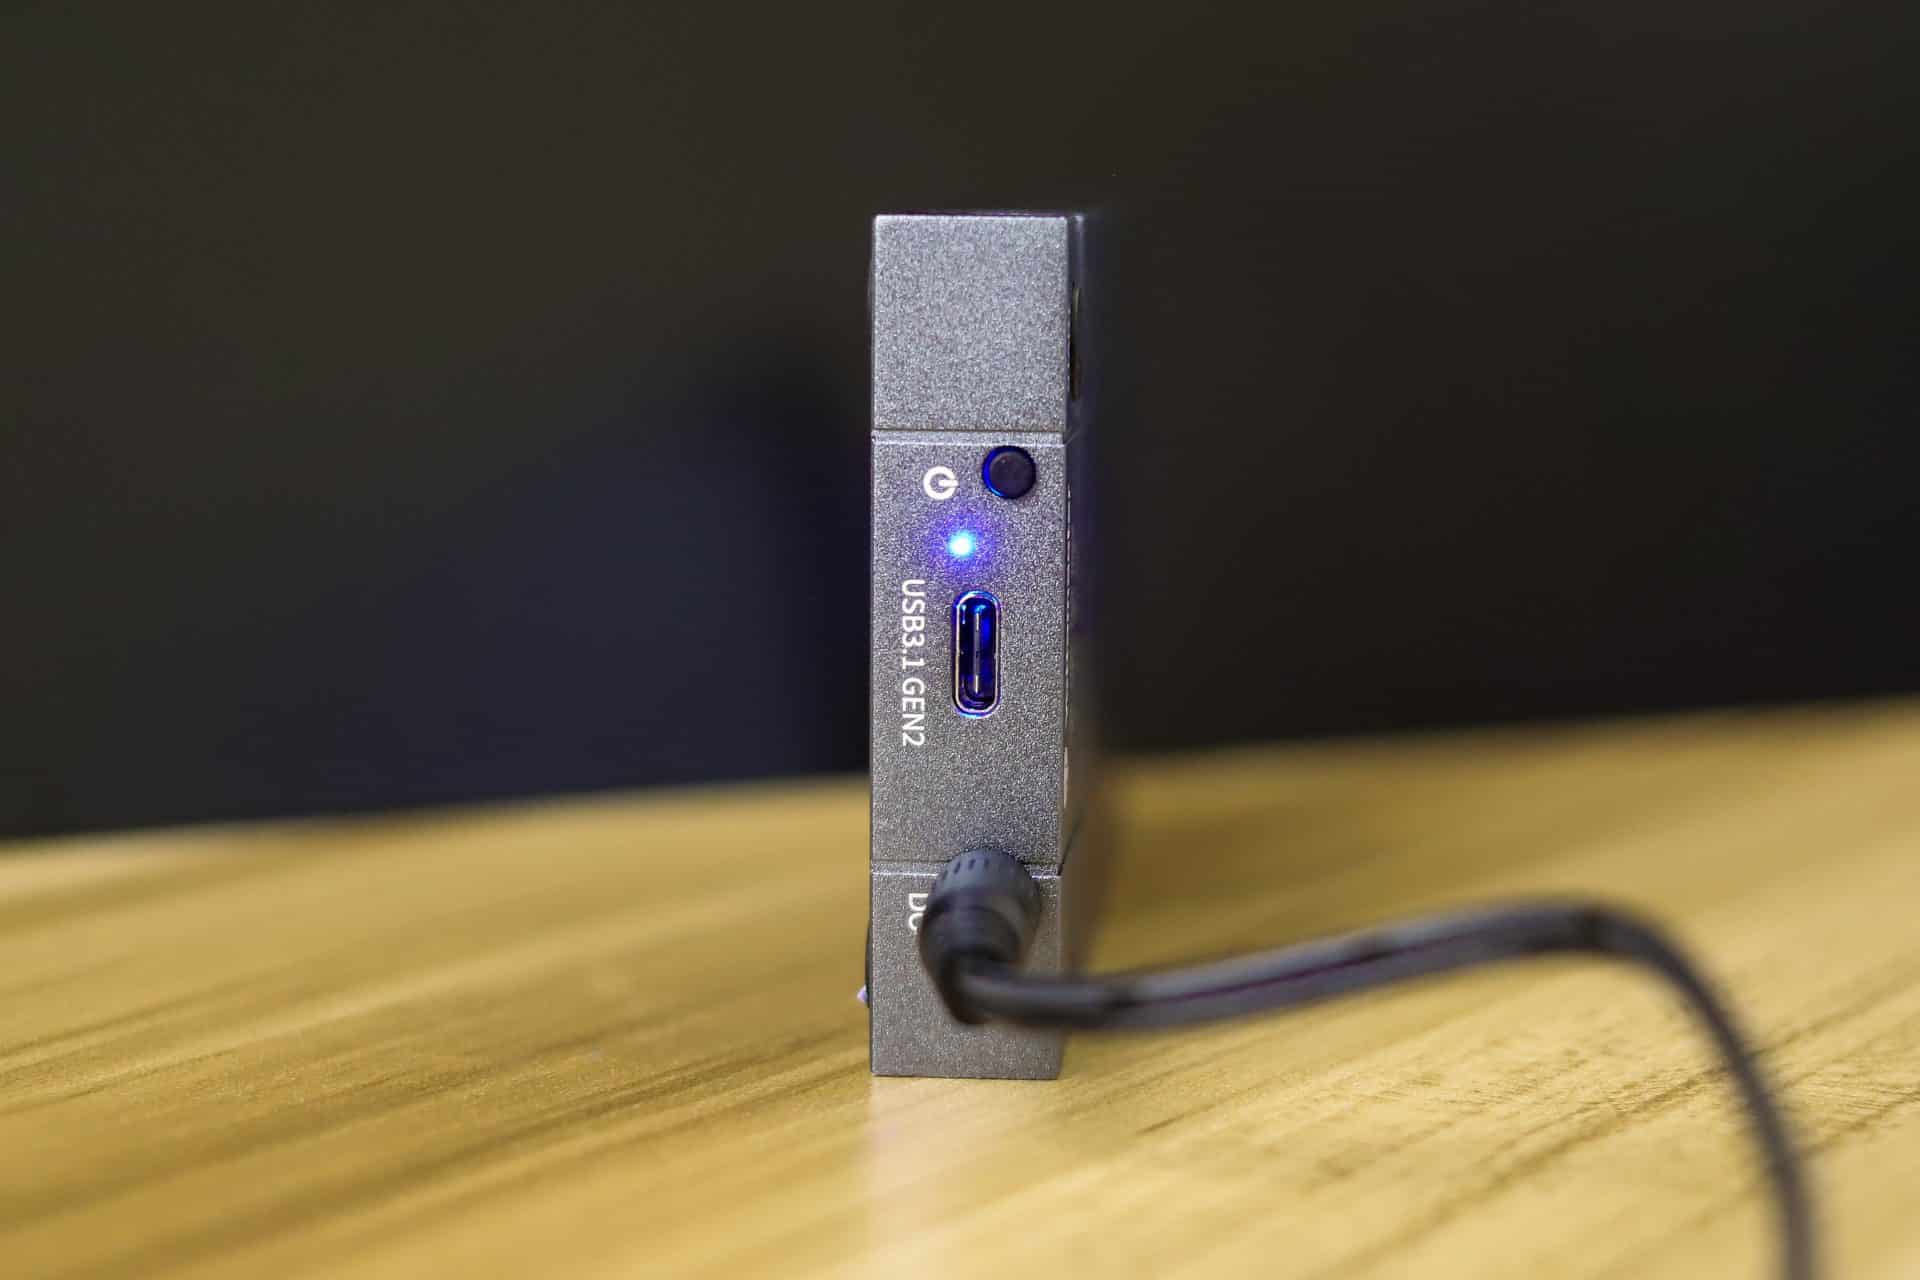
On the backside of the Yottamaster cloner, there is the power supply connection, a USB 3.1 Gen 2 port, and the power-on button. The USB 3.1 Gen 2 port supports up to 10Gbps speeds. Out of the box, the Yottamaster does come with two USB cables: USBA-USBC and USBC-USBC. When not cloning you can use the setup as an external drive reader, which gives it some extra functionality.
On the bottom of the case, there are also 4 rubber standoffs. The Yottamaster does get hot so these standoffs ensure that the case isn’t sitting directly on something, but instead up a little bit. This gap does get airflow to help with the heat that dissipates directly underneath it. It will still get hot and it’s not recommended to move or touch it while it is on. Thermal energy, even with the drive not cloning, will add up as we show below. Peak temperatures really depend on the drive you are cloning to since write activity power draw will be the deciding factor on how hot it will get (and how long it runs depending on capacity).
The cover for drive bays slides off easily and is attached with a screw. The walls of the cover are thick enough to help dissipate the heat that comes off the drives. It even has a cube-like design that was put there for aesthetics, as the company claims, for style points.
Setting the NVMe SSD’s inside the enclosure is very easy. Yottamaster made an easy-to-use rubber snap support stanchion when securing the drives to make the process easier than using screws.
One last note on the power supply. Yottamaster includes a 5V 4A power supply. This power supply is external to the device, which ensures safety and stability while cloning. This device does come with five worldwide plug adapters for China, US, EU, UK, and JP.
Conclusion
Even with all the versatility and support for various NVMe SSDs that the Yottamaster cloner can duplicate, it is important to note some of the tips that the company has put out. First and foremost, the Yottamaster cloner does get hot. It is recommended not to touch it or move it while it is working, however, getting hot is normal and Yottamaster ensures customers do not need to worry about the SSDs inside.
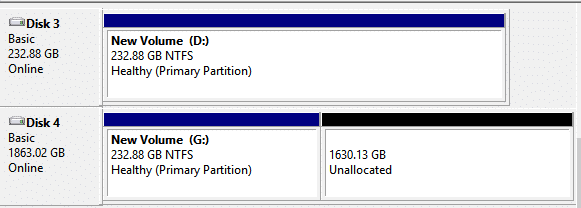
The target disk capacity does have to be equal to or larger than the original disk capacity, so cloning to a smaller disk isn’t an option. Also to note: all the data that is cloned to the target drive is overwritten once the process of cloning starts, so ensure that there isn’t any data on the target that needs to be backed up. Yottamaster also says to not connect the cloner to a computer while the duplication process is running. When all is said and done though, the Yottamaster M.2 NVMe Cloner gets the job done.
Yottamaster makes it very easy for users to clone M.2 SSDs and provides enough tips and warnings to guide even basic users through the process successfully. If you are looking for an M.2 cloner, the Yottamaster M.2 NVMe Cloner is up to the task and can even handle the cloning process entirely standalone.
Yottamaster Duplicator Cloner at Amazon


 Amazon