

SanDisk does its due diligence to ensure the products its releasing are free from errors and performance issues at the outset of launch, however, as with any other SSD manufacturer, from time to time SanDisk needs to release a firmware update anyhow. These fix errors that might be found, and sometimes they even deliver an impact to performance, increasing it. When that’s the case, most users will want to update their SSD to achieve the greatest performance they can from their drive. SanDisk tries to remove the difficulty that can sometimes be found in the firmware update process for users by providing a streamlined GUI and simple process. Their SSD Toolkit supports drives such as the SanDisk Ultra Plus, Extreme II and Extreme.
Something that differentiates the SanDisk firmware process from some of the others we’ve written about is that the installer requires users to use a bootable USB flash drive or a burned CD. This is actually pretty handy, however. For desktop users, it won’t make much of a difference, but for laptop users who can only have one drive installed at a time, it means they won’t have to install the update via other means such as installing their SSD in a desktop. They can easily perform the firmware upgrade without the necessity for a secondary SSD.
For this guide, we are updating the firmware on our SanDisk Extreme. To get started, we loaded up the SanDisk Toolkit so that we could download firmware and update the SSD. As far as features go, the SanDisk Toolkit enables you to view drive details and SMART attributes and to update the firmware of course. Some of the other firmware update tools we’ve used included SSD optimization tools, Secure Erase functionality, and a couple of bonus features. While those were solid additions, the purpose of these tools is to enable firmware updates, and SanDisk definitely provides an intuitive tool for that process. The GUI has obviously been designed to be functional without placing too much emphasis on design, but it still looks well laid-out.
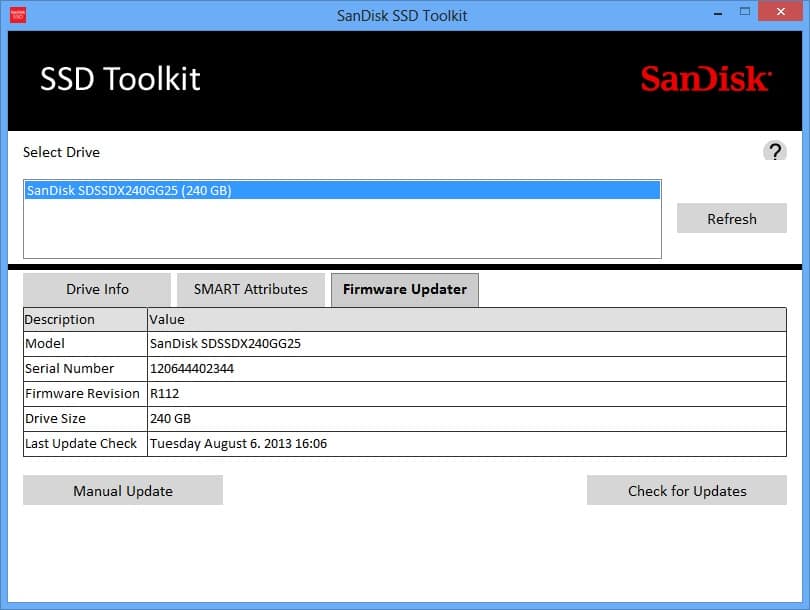
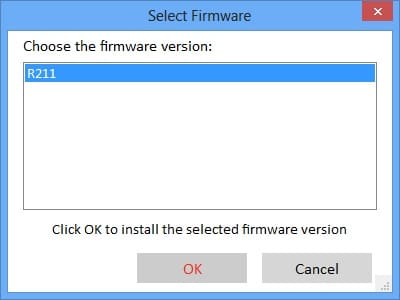
Before moving forward to updating, it’s a good time to backup important files (photos, documents, etc.). While most firmware updates are non-destructive, and those that will destroy data are clearly denoted as such, it’s still best to be safe when updating firmware. Onto the firmware update screen, you can now select your SSD from the list (in our case, it was the only SanDisk SSD connected), and then you can click check for updates. You can select the update you want to install, in our case the only one available.
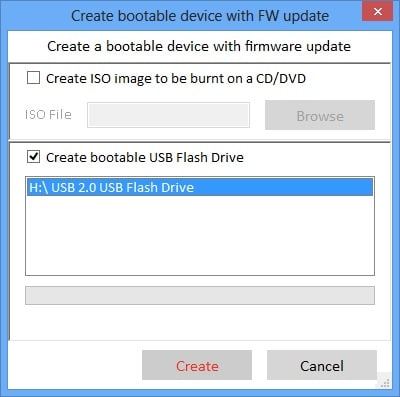
From this point, users will need a bootable USB flash drive or to create an ISO image to be burned onto a CD or DVD. We used a flash drive, and probably most users will do this. The SanDisk Toolkit warns you that all data on the flash drive will be wiped, so you’ll need to back up any data stored on the device before continuing.
The Toolkit also warns notebook users that they need to plug in their laptops to ensure there is no power-loss during the process. From this point, users will need to restart their systems and load up the BIOS. On our Lenovo ThinkStation D30, we just needed to press enter as the system started up to get into the BIOS. In the BIOS, you’ll need to set your system to boot from the flash drive. Having done so, exit the BIOS, and you’ll boot from the flash drive. Follow the simple steps to finish the process, and you’re all set.
SanDisk SSDs at Amazon.com

 Amazon