

We recently published an article, where we made the Lenovo ThinkEdge SE50 a pfSense router. We released this article under the guidance of the comments that were made on our TikTok video about the ThinkEdge SE50, where a few people wanted us to put pfSense on it. We thought that this would be a fun article as the SE50 is a ridiculously overpowered machine for a simple firewall like pfSense. In this article however, we wanted to show a more budget approach to putting pfSense on a homelab network, and in this case, we use the Lenovo ThinkCentre M90n-1 IoT .
While our last pfSense/Lenovo effort was overboard with a $3,000 system, these ThinkCentre units can be found for a few hundred dollars on eBay but have been discontinued by Lenovo in favor of the new SE30. Be advised that there’s also an AMD version that is currently sold by Lenovo, the M75n Nano IoT. While it shares the same case, they’re not configured with the second network port at the moment. Anything with dual-LAN though should od just fine for this, we just prefer these more rugged builds for a homelab or edge use case where environmental concerns may be more prevalent.
pfSense Overview and why the M90n-1
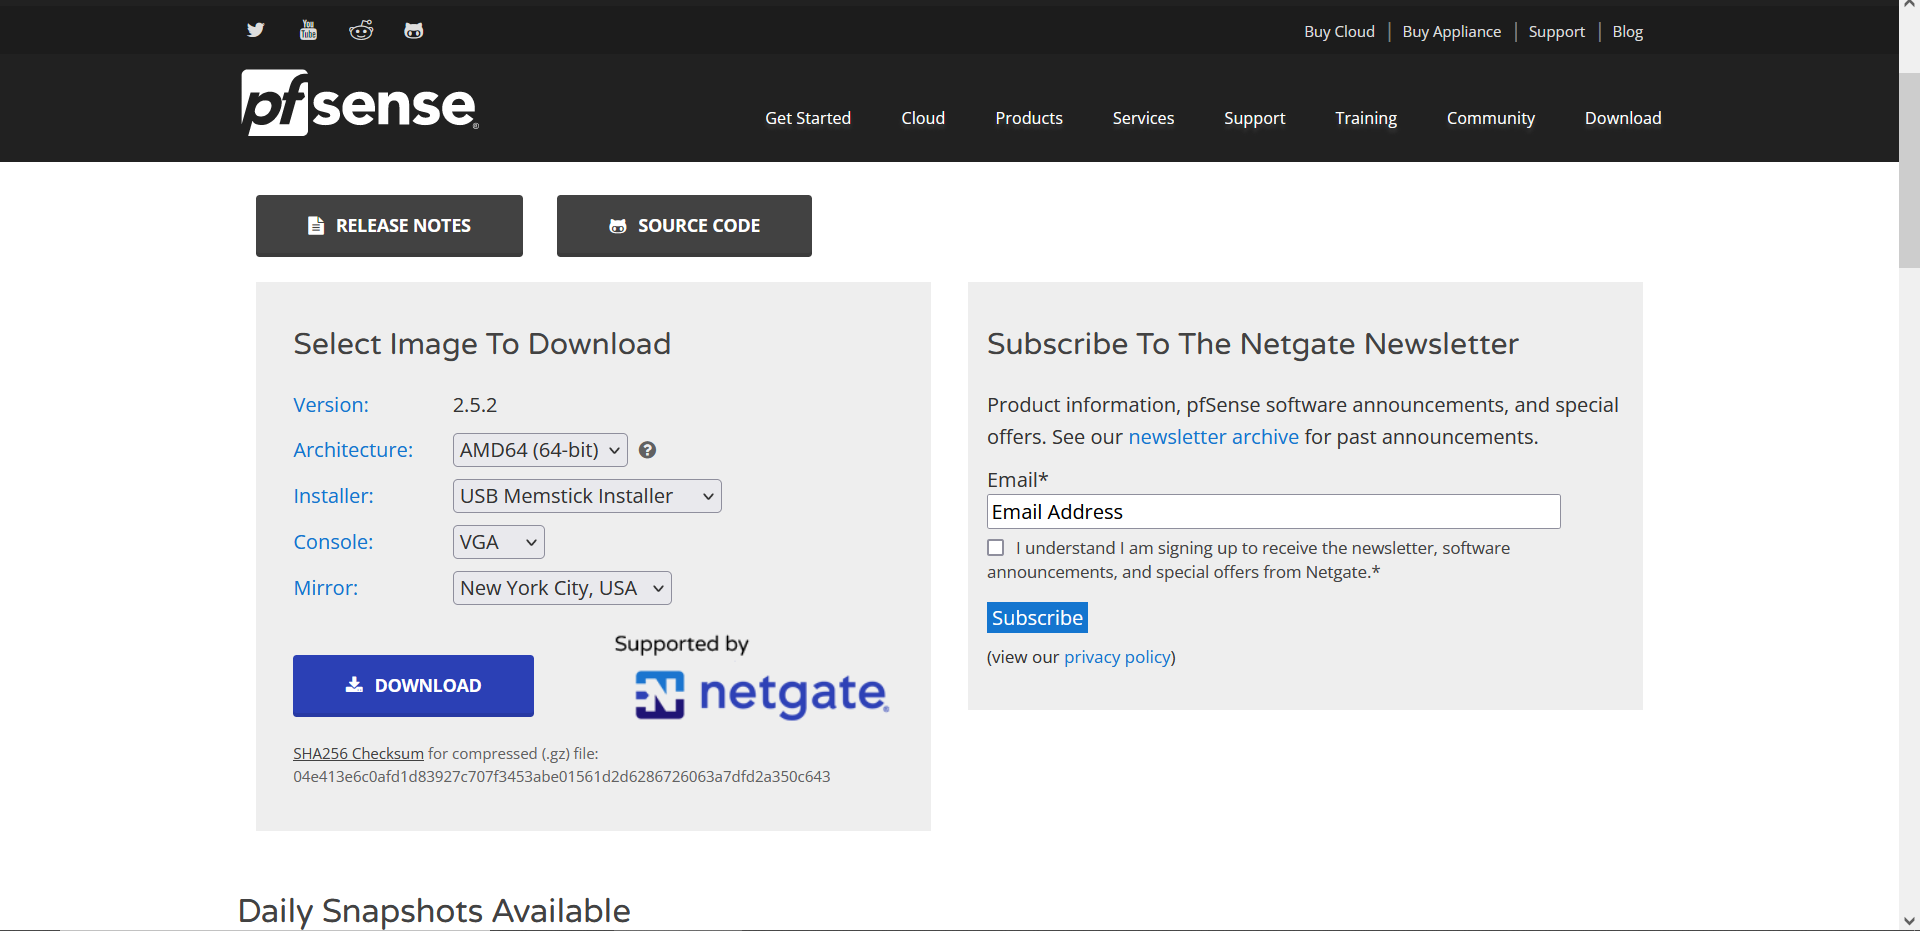
For those not entirely sure what pfSense is, it is a FreeBSD software-defined firewall solution that can be downloaded to a device and used on a network. This software is completely free to use and is really simple and easy to install. PfSense is available as a productized offering that includes the software and support. But for our purposes, and why it’s so popular in homelab circles, we downloaded the latest free image to get rolling. The license costs nothing and the feature set is unrestricted, making pfSense the perfect playground for security and network practitioners.
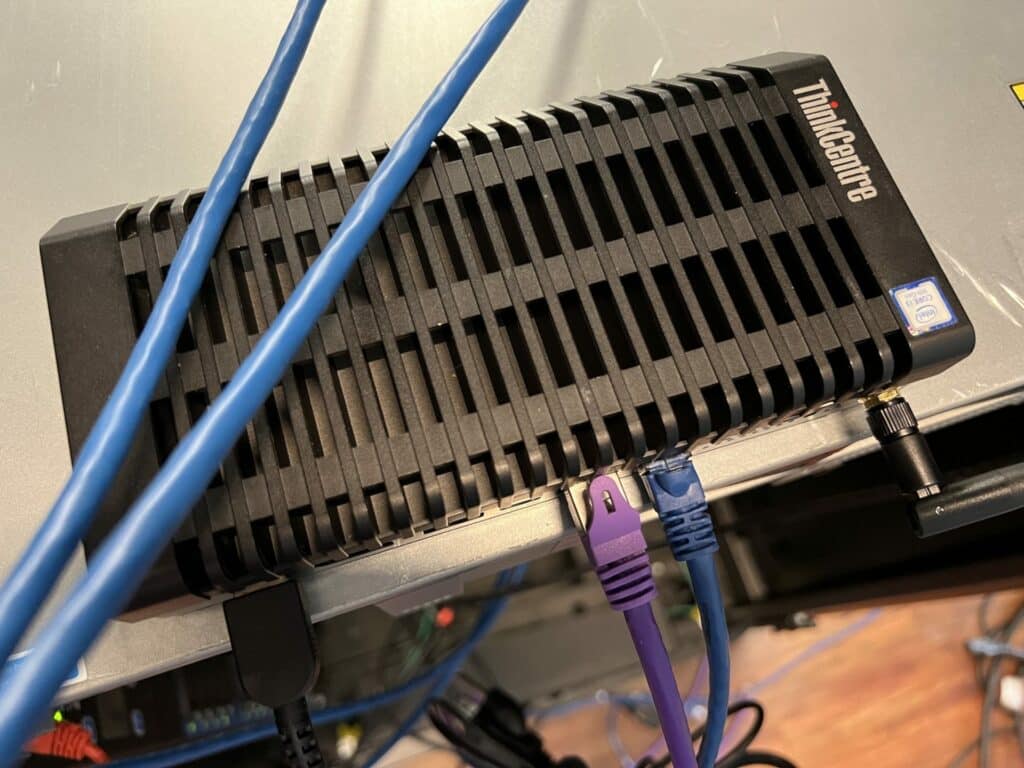
Almost 2 years ago on the release of this article, we published a full review of the Lenovo ThinkCentre M90n-1 Nano IoT. Similar to the SE50, the M90n is an IoT device made by Lenovo that has a rugged and versatile design to give the functionality of any type of environment when deployed. With its fanless and ventless design, there isn’t a worry about having to clean it once it is tucked away somewhere.
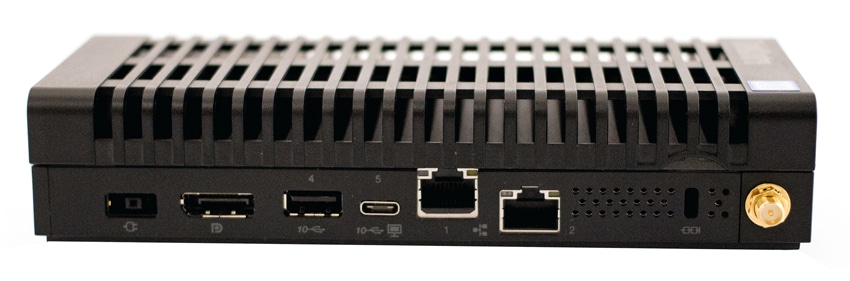
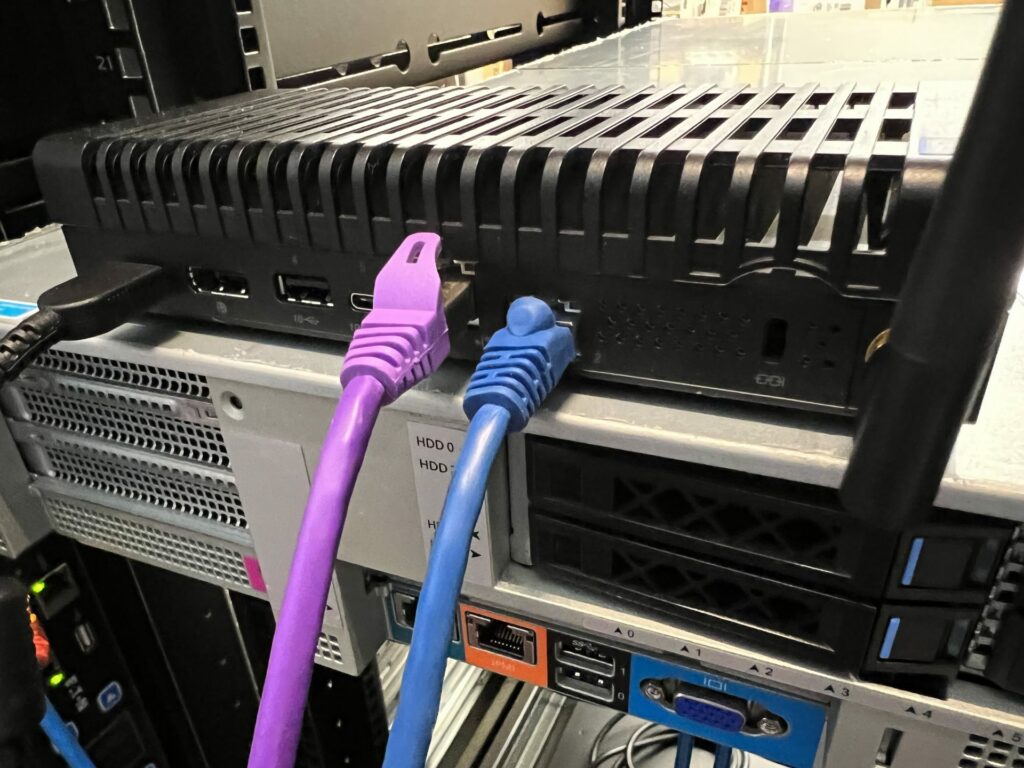
The M90n-1 IoT is configured with an 8th Gen Intel Core i3-8145U, Integrated Graphics, 4GB of DDR4, and a 256GB M.2 PCIe SSD. Unfortunately, unlike our past time of using the ThinkEdge SE50, the M90n only has two Ethernet ports for connectivity, so an access point or a switch is required to reach multiple devices. However, running pfSense on the M90n isn’t difficult at all.
The hardware requirements for using pfSense is relatively simple, you need two network ports (the community prefers Intel I-450s, but there are many, MANY more that fit the bill). A CPU that supports AES-NI (and that’s more for future-proofing), and a small amount of RAM (more if you want to do some networking monitoring on tools such as Snort or Suricata).
What is important to remember is the type of network that the M90n-1 IoT is going to be deployed on. In the case of this device, with its specifications, deploying it on a basic homelab environment where there isn’t a ton of traffic going on, the M90n IoT performs very well.
Setting up pfSense on the M90n-1
The setup process of pfSense is really simple and easy to follow. If the setup does get confusing, there are a variety of videos that detail how to set it up. Some of the main steps that we followed: setting up a USB installer, plugging it into the M90n along with a display and keyboard, following the quick prompts for initial configurations, and then initial setup is finished. We went with the default everything in terms of setup and configurations for pfSense.
 Setting up pfSense in itself isn’t difficult, but putting any new router into service does present some logistics challenges. Since the way that you are supposed to set up pfSense is to completely replace the current router and put the machine that is configured with pfSense in its place.
Unlike last time of setting up and deploying pfSense, we set it up on a home network instead of our lab network here in our building. This should have made the setup a little easier, however, there was still some troubleshooting that took place, as with any type of technology as a beginner.
One of the first problems was pfSense wouldn’t boot past the initial screen to get into the command line where it shows the ports and other information. To fix this, we reinstalled pfSense and it booted right into what it was supposed to do. The next thing to remember while setting up pfSense is the process of setting the WAN and LAN port. In our case, there are only two ports so one WAN and one LAN, however with other devices, there may be multiple ports so keep in mind which ones are configured with what.
After setting the ports and seeing that pfSense is giving a LAN IP address of 192.168.1.1, and no WAN address, now is the time to reboot pfSense and reboot the modem that is on your network. Rebooting the modem is important here as it gives out one lease at a time, so introducing a new device like a router, needs to be able to give a new WAN address.
After those configuration steps, it is needed to know what the rest of your network looks like physically. If there is already a router on the network, it needs to be switched to AP (access point) mode as having two routers will cause problems. In the case of our deployment, we ran the LAN port on the M90n IoT to a switch and then all the devices that were on Ethernet, plugged those into a switch, and lastly, the old router.
The router that we used for this test was a Nighthawk R7000 and what was really cool was that turning it off, plugging it into the switch, and then back on, the Nighthawk automatically reconfigured itself to AP mode since it already saw a router on the network. Your old router may or may not do this, so consult a manual if you have one.
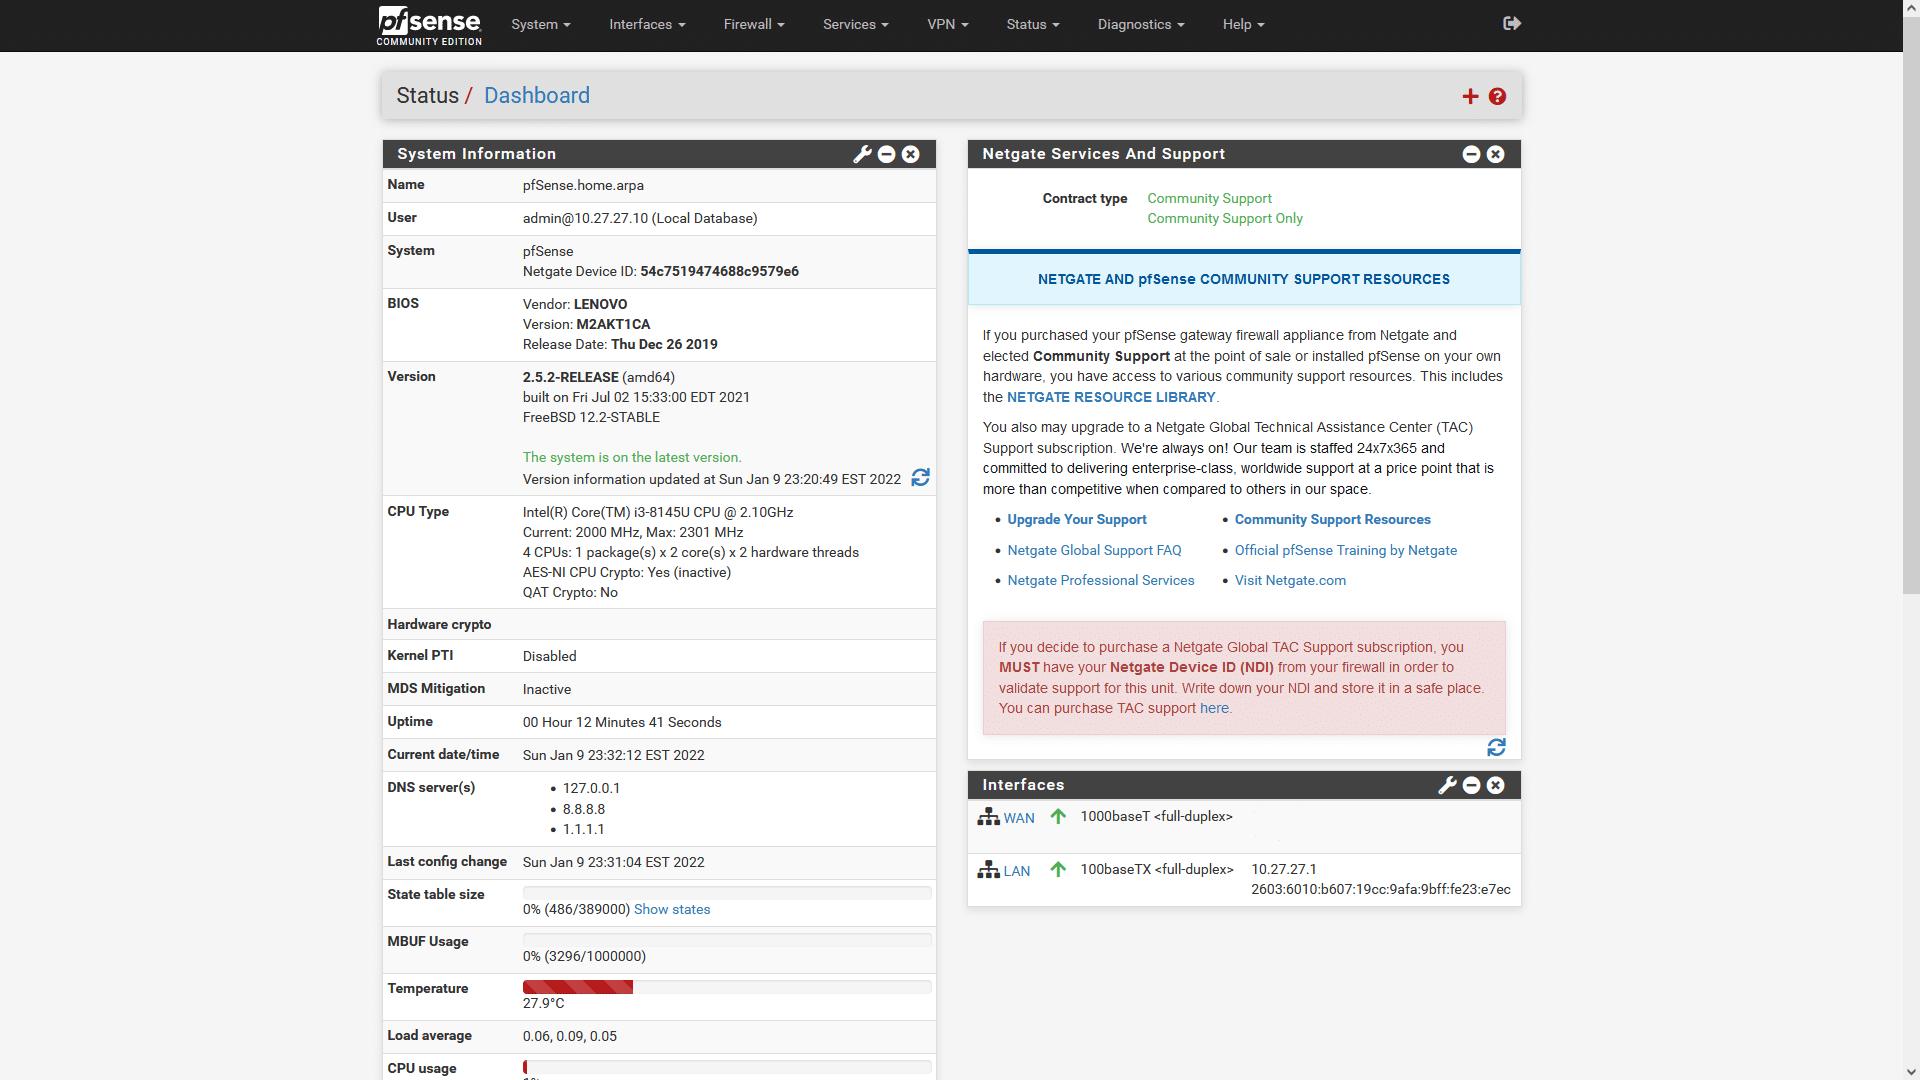
After physically re-configuring the network as well, we accessed the 192.168.1.1 address on a PC, which went into the pfSense dashboard, and we went through those setup steps as well. One of the important steps taken was setting a new IP address as well, and after the web console of pfSense refreshes with the new IP address, it gives the newly configured pfSense router dashboard.
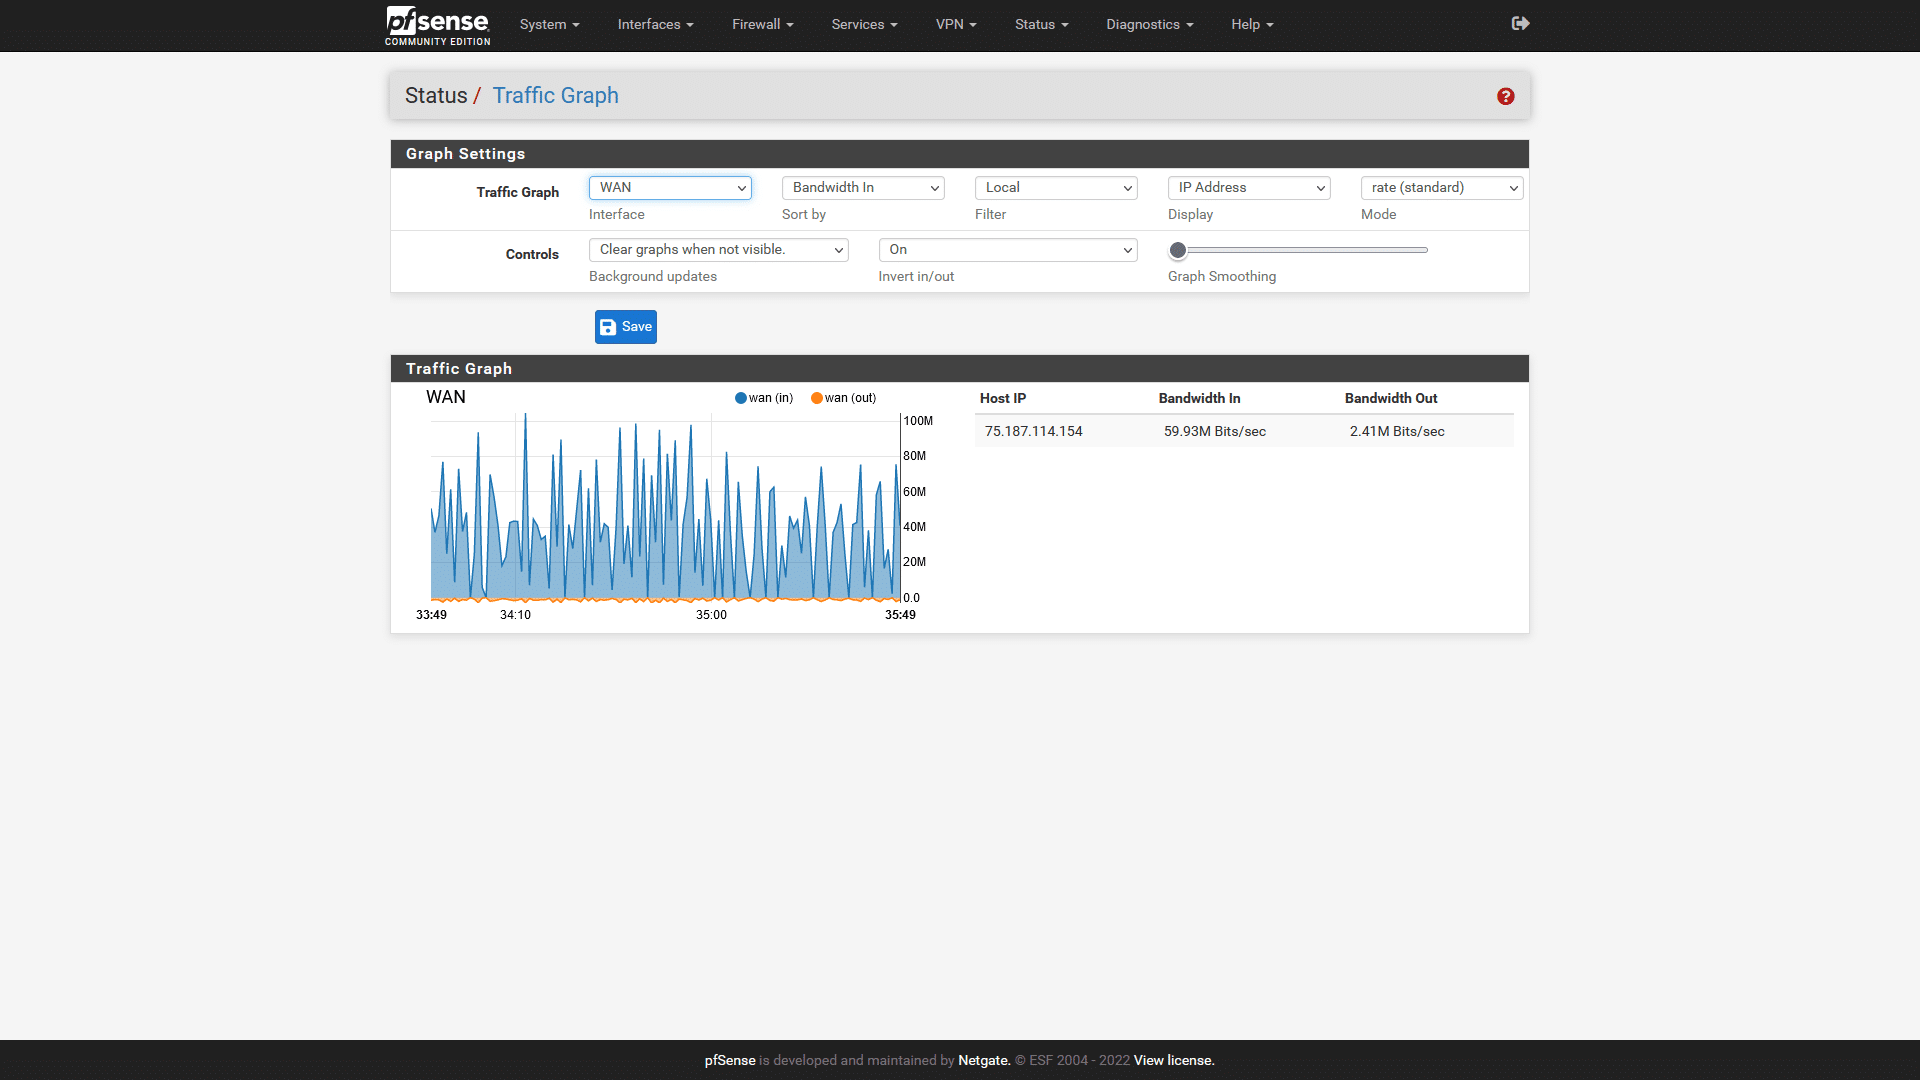
Here on the dashboard, there are plenty of configurations and features that are able to be accessed and set up for the network. We left everything as it is and now wanted to try to test the capabilities of the M90n IoT and see how it handled traffic. For our “testing” phase we did the same thing that we did with the SE50, which was monitoring the traffic graph as we ran a 1080p Video. We saw small network spikes just like last time which shows the PC is was connected to pulling down cached segments of the video.
We also wanted to show what traffic looks likes on the LAN side, so while the videos were still running, we captured a LAN traffic graph just to see what that looked like and to show it off.
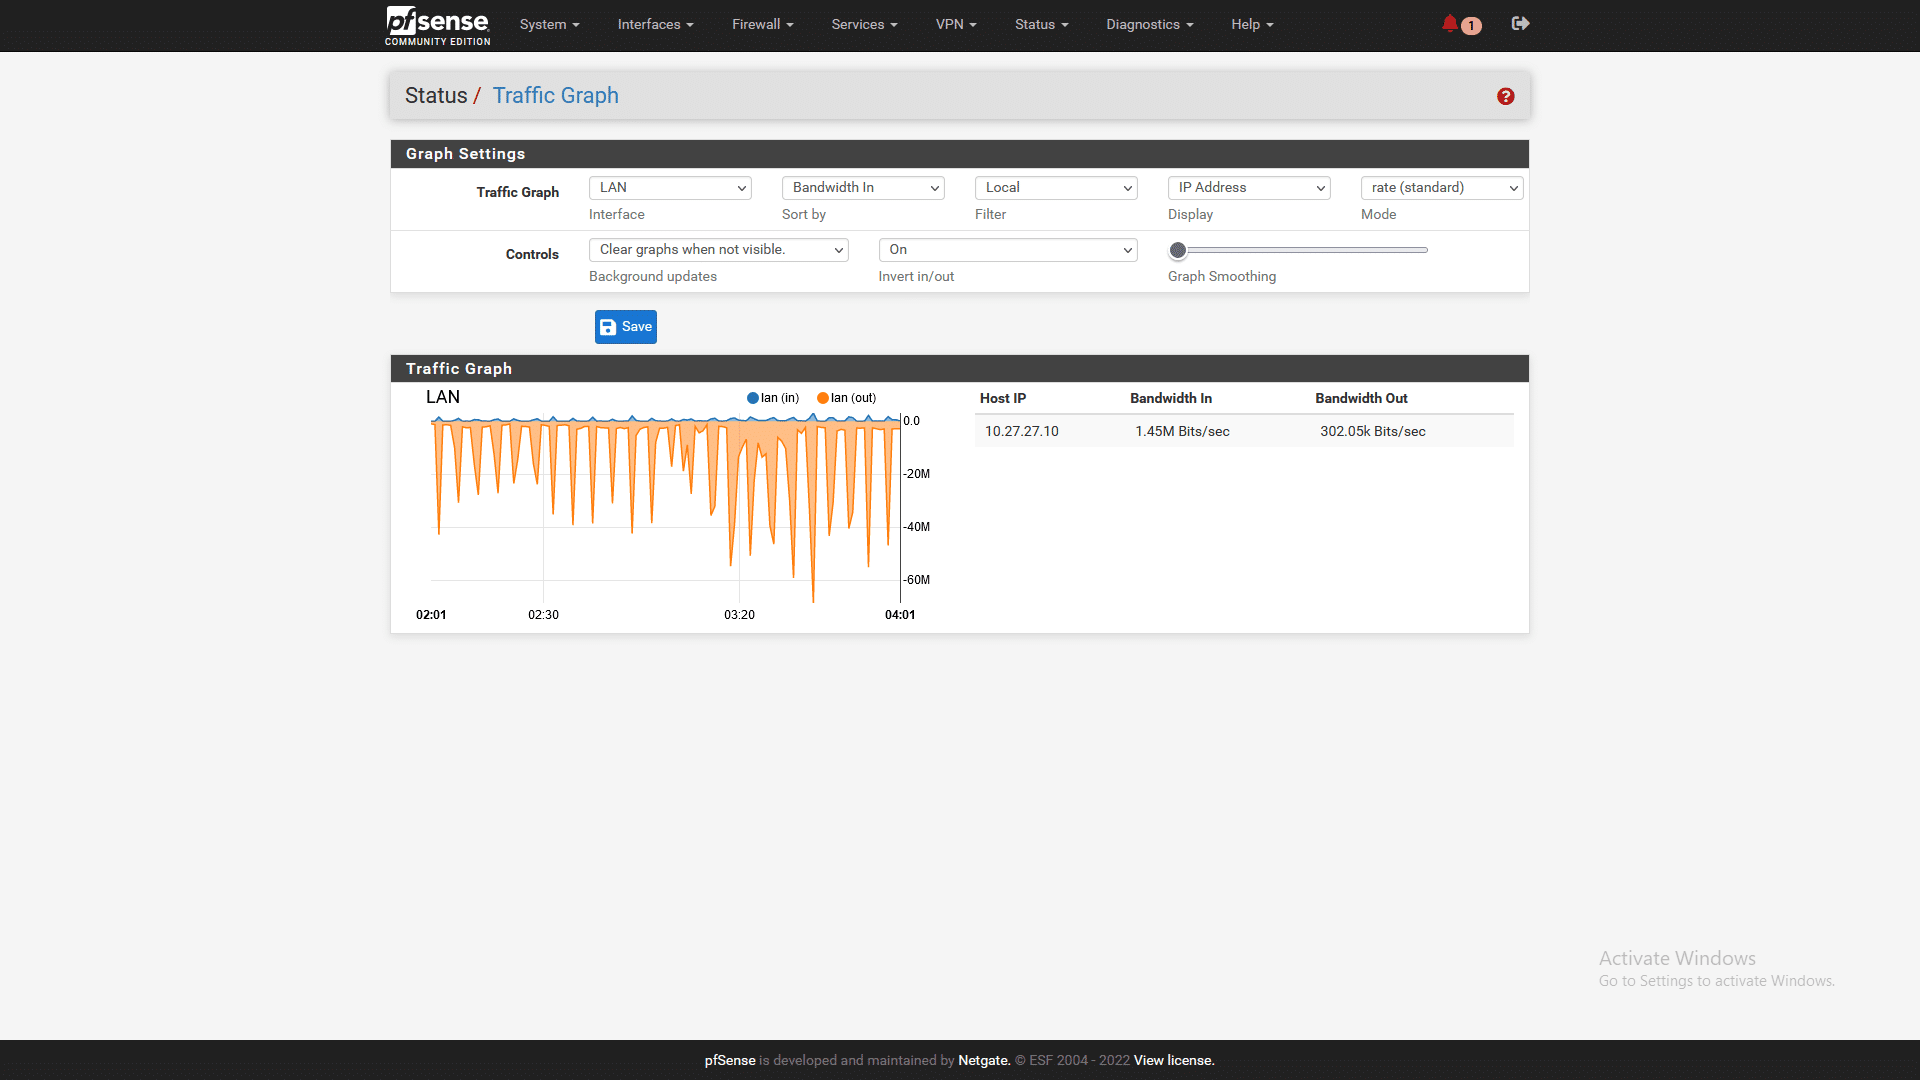
The M90n IoT was able to handle the traffic that was running through it flawlessly. We didn’t experience any hiccups nor did we have any type of problems of cut-out or devices getting dropped off because the M90n IoT wasn’t able to handle them. While running this “test,” we also monitored the CPU usage, and it never went more than 4% utilization, meaning that even if you have a ton of devices or even a larger scale homelab than most. With the right machine, like the M90n IoT, there isn’t going to be any worries about bottlenecking the device because there is too much going on.
Conclusion
Setting up pfSense is really easy to do, there’s a reason why it’s so wildly popular in home lab environments. Everything was straightforward for us once we re-installed pfSense to fix the boot issue and rebooted the other physical devices on the rest of the network.
What we did see, however, in terms of our case of using the ThinkCentre M90n-1 IoT, is that this system works flawlessly. We didn’t experience any type of connectivity issues, nor were any devices ever dropped from the network. Similar to the SE50, the M90n IoT was designed for IoT use cases, so using it for a firewall for a network isn’t a problem.
The M90n IoT is a few years old with a Core i3, but that didn’t stop it from having less than 5% CPU utilization while running. Also to note, the temperature of the device stayed right under 30 degrees Celsius, however, it is able to handle higher temperatures with the fins on the top acting as a heat sink.
The M90n IoT started at $359 when it came out, however, the specific model that we have is now discontinued, however, you can snag these guys on eBay or occasionally find them at aftermarket retailers. If you want a less DIY option, there’s also the Netgate 1100 (Netgate sponsors pfSense), which already has pfSense installed on it, and retails on Amazon right now for $199.99.
As you can see, there are plenty of options on the market when it comes to making a budget pfSense router. There are also many different types of homelab environments, so we definitely recommend doing some research on what type of device is needed for your network, then make a justified purchase. Or just overspend and blow the budget, your call. Either way, the M90n IoT is a great starting point for those looking to explore pfSense.


 Amazon