

As StorageReview makes its way through three different $800 DIY TrueNAS CORE projects, this article focuses on why the HPE MicroServer Gen10 Plus makes a great fit for the platform. The project we’ve created centers around how far $800 can go when building a DIY NAS platform. As the person who runs the lab at StorageReview and sets this type of hardware up on a daily basis, my choice was simple, get something that I have used before and works well. Enter the HPE Microserver Gen10 Plus that we’ve used for everything from TrueNAS CORE to VMware ESXi to even Chia plotting, making it a great fit for this build-off.
“Enterprise” DIY TrueNAS CORE Build
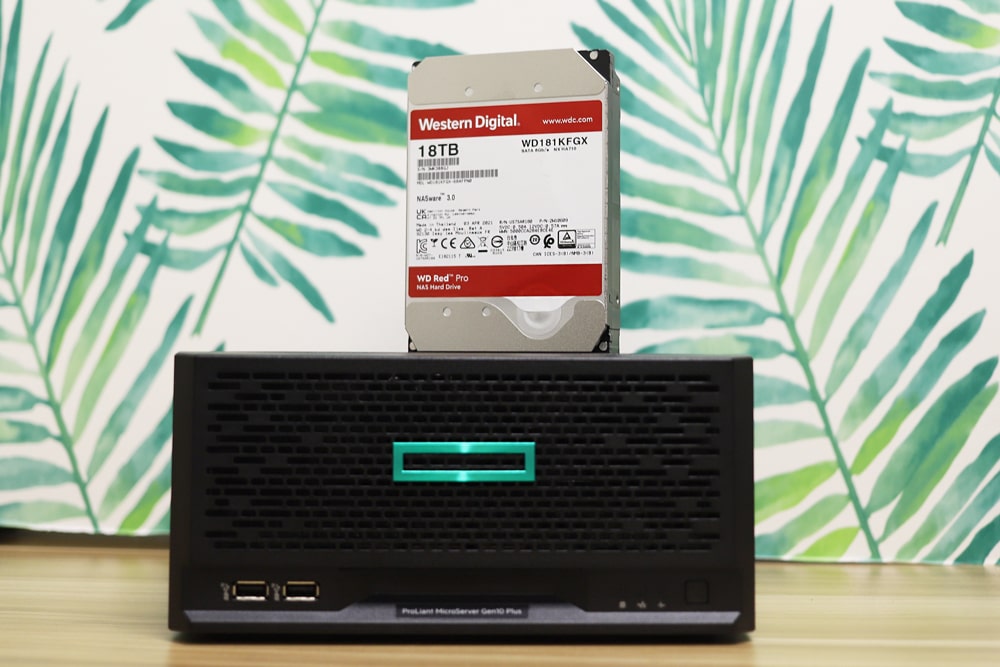
I went with the HPE MicroServer Gen10 Plus leveraging the Xeon processor and ECC memory. With ZFS builds in general, sticking with enterprise components and ECC memory is the best way to go for data integrity and to minimize overall issues.
This particular platform was recently acquired off NewEgg for $569 plus tax, working out to $614 out the door. This left plenty of room to sort outa boot drive and other goodies, putting its best foot forward against other systems in the same price range like The Intern’s mess and Brian’s super-mess.
HPE Microserver Gen10 Plus Specs
- Intel Xeon E 2224 (3.4 GHz, 4-core)
- 16 GB (1x 16 GB) UDIMM HPE DDR4 Standard Memory
- 4 x 3.5″ HDD/SSD Bays
- HPE Smart Array S100i
- Intel i350 AM4 1Gb, 4-port network controller
- 1x 16 PCIe Gen3 Slot
- 180W external power adapter
- Warranty: Includes 1-Year Parts, 1-Year Labor, 1-Year Onsite support with next business day response
Why Small Footprint and Design Matters
While we’ve gone over the main build and design around the HPE Microserver Gen10 Plus in our past review, it’s important to talk about why some items really matter when it comes to a DIY NAS build.
When you look at an off-the-shelf NAS from vendors such as Synology, QNAP, and others, the main thing that stands out is it isn’t complex to get it operational and they generally aren’t huge. You don’t want something that holds 4-drives but looks larger than a 4U server. It ends up being a waste of floor or shelf real estate.
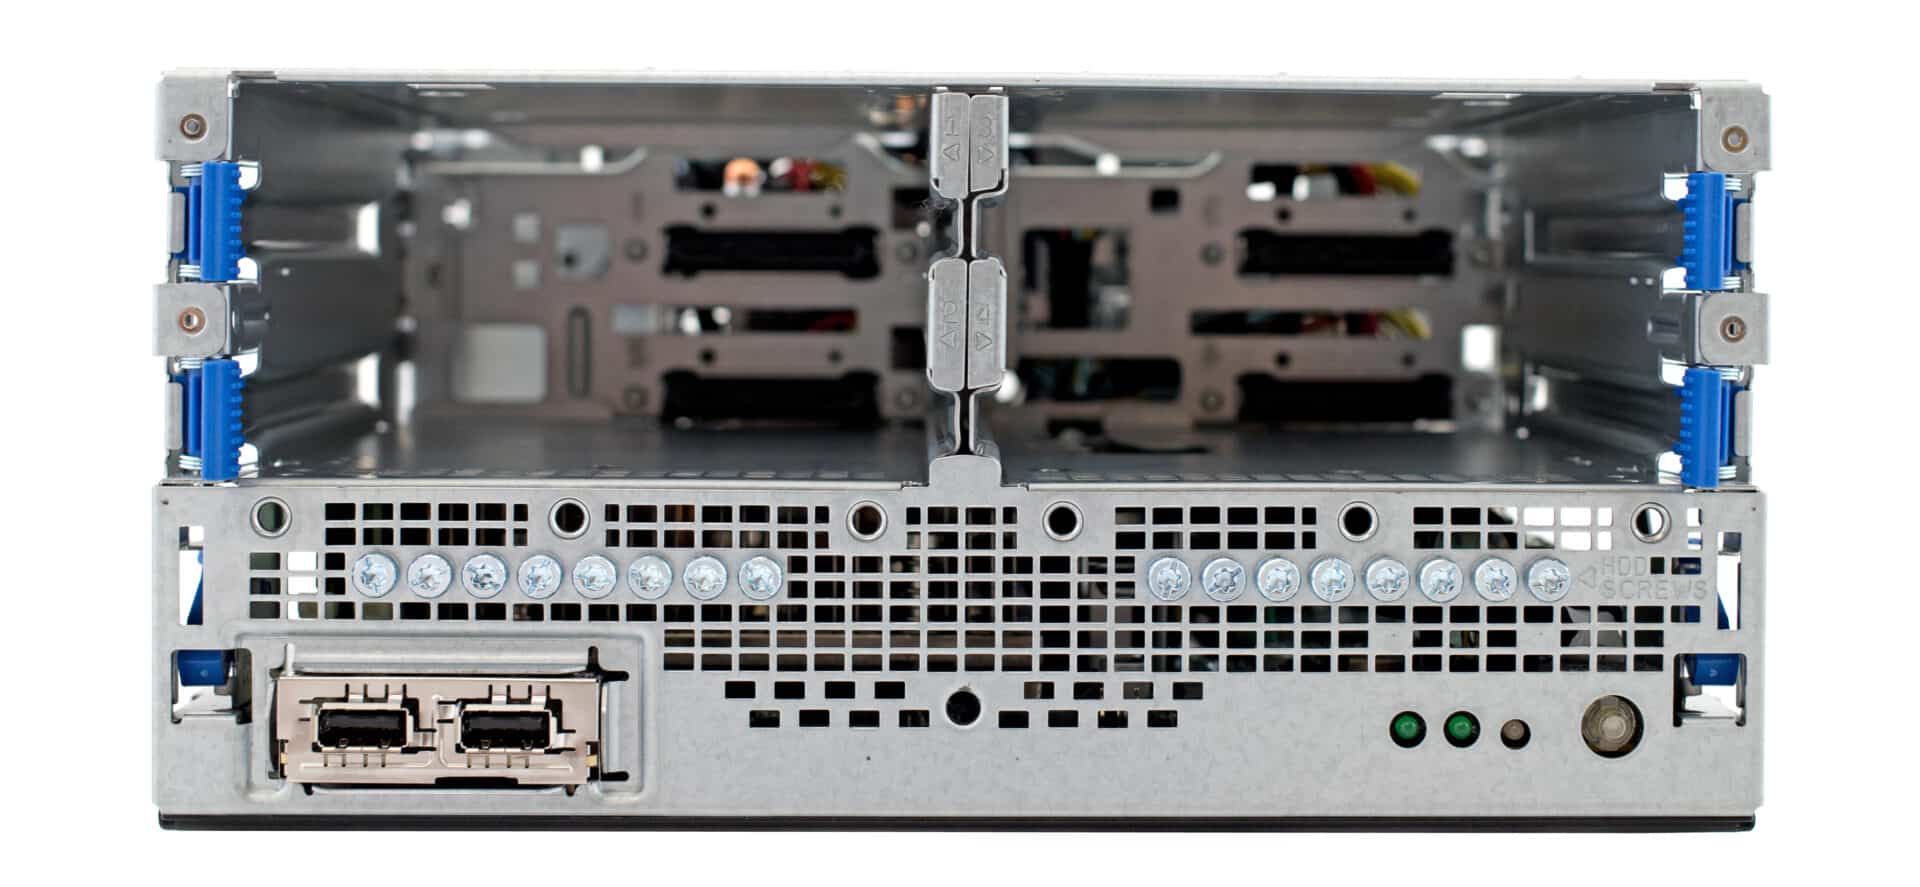
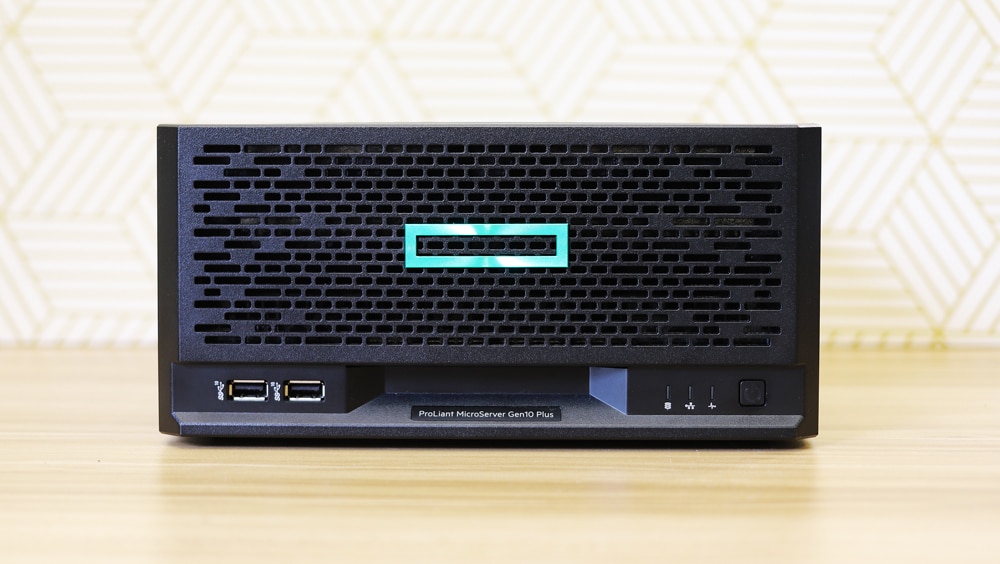
The MicroServer Gen10 Plus hits the ground running in this regard. The entire platform is roughly the size of a traditional 4-bay NAS, and by that I mean the case really isn’t much bigger than the hard drives themselves. You want something pretty short so it won’t fall over easily, drives easily accessible for expansion or repairs, and you don’t want to consult a manual to sort out where the power button is or where all the various ports you want are. Good designs are painfully obvious in their layouts.
The next item is good connectivity and by that, I mean it’s not that it just has ports everywhere, they need to be usable ports. Enterprise software demands quality components and is very unforgiving when it comes to driver support. Not all NICs are supported out of the box in different operating systems.
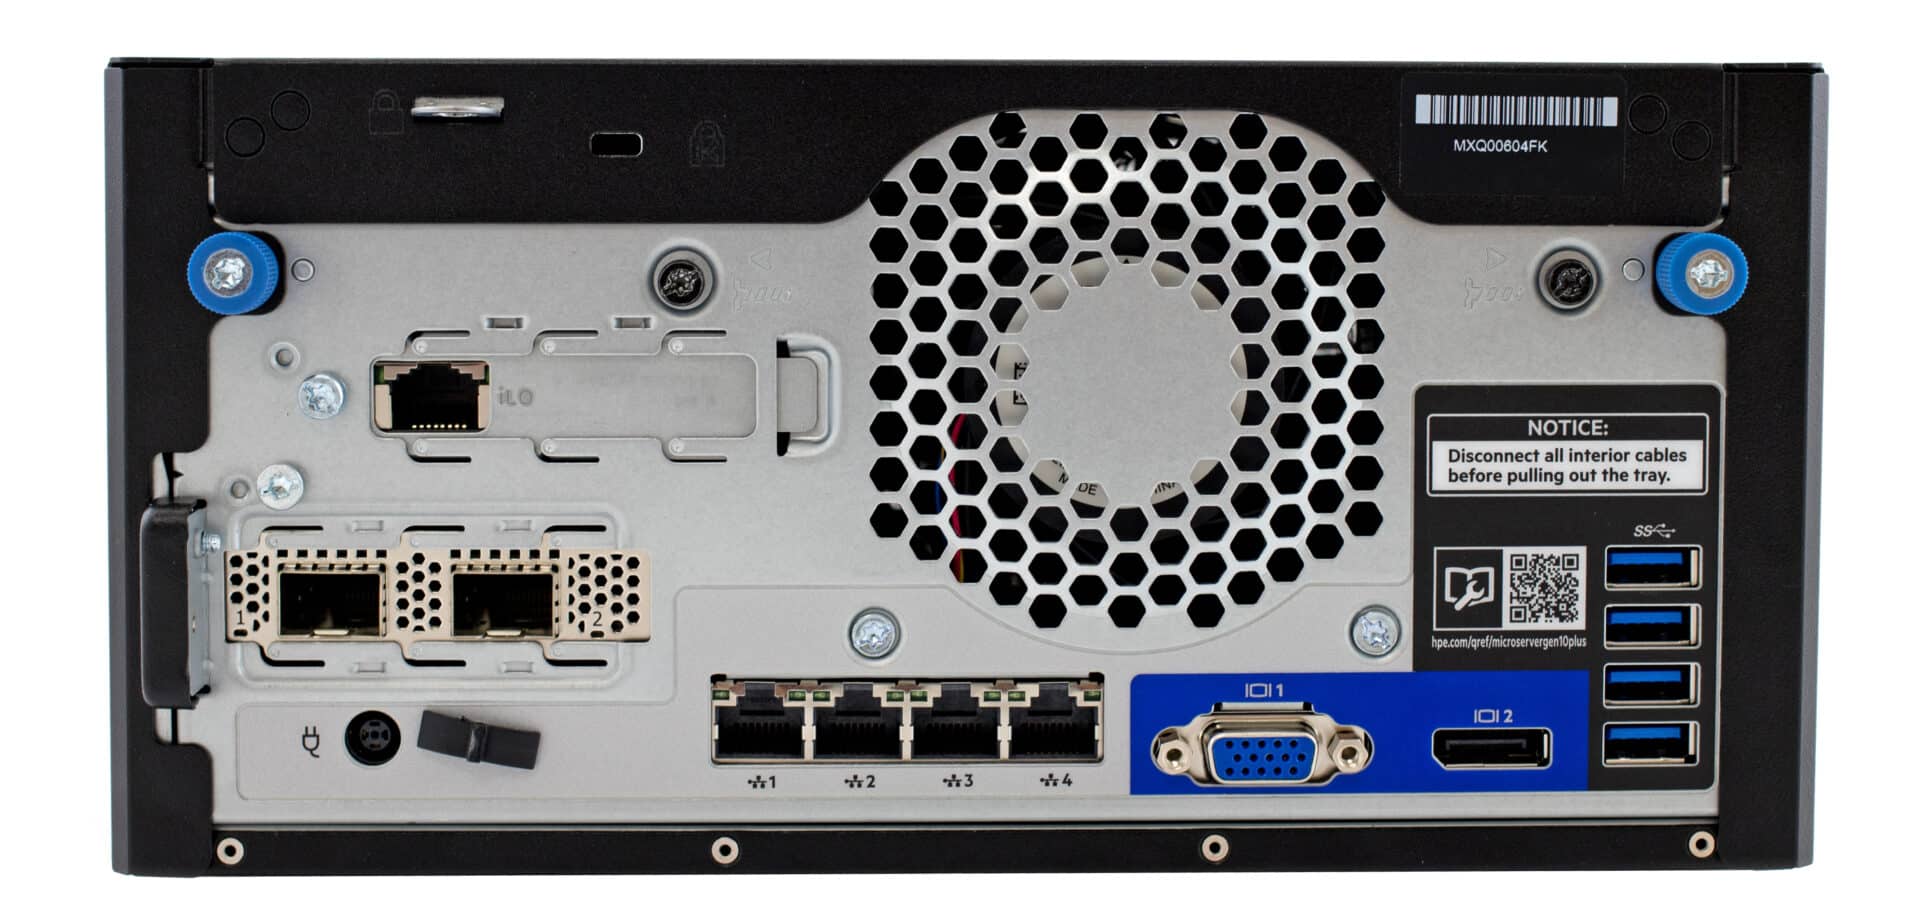
The MicroServer Gen10 Plus comes with quad Intel 1GbE across the back, which I know is going to work with basically anything I want to throw at it. While the above photo shows off an additional RJ45 port for the iLo management option, this wasn’t included in my build. While cost-effective to add on, I wanted to save that budget for other items.
Another important aspect of a DIY build really comes down to how much do you want to trust yourself not to mess something up. More parts and more cable connections just increase the chances something didn’t get plugged in right or leaves you with a pile of wires to organize inside your case so they don’t impede airflow. This is one often-overlooked area that is pretty common in regards to enterprise chassis builds.
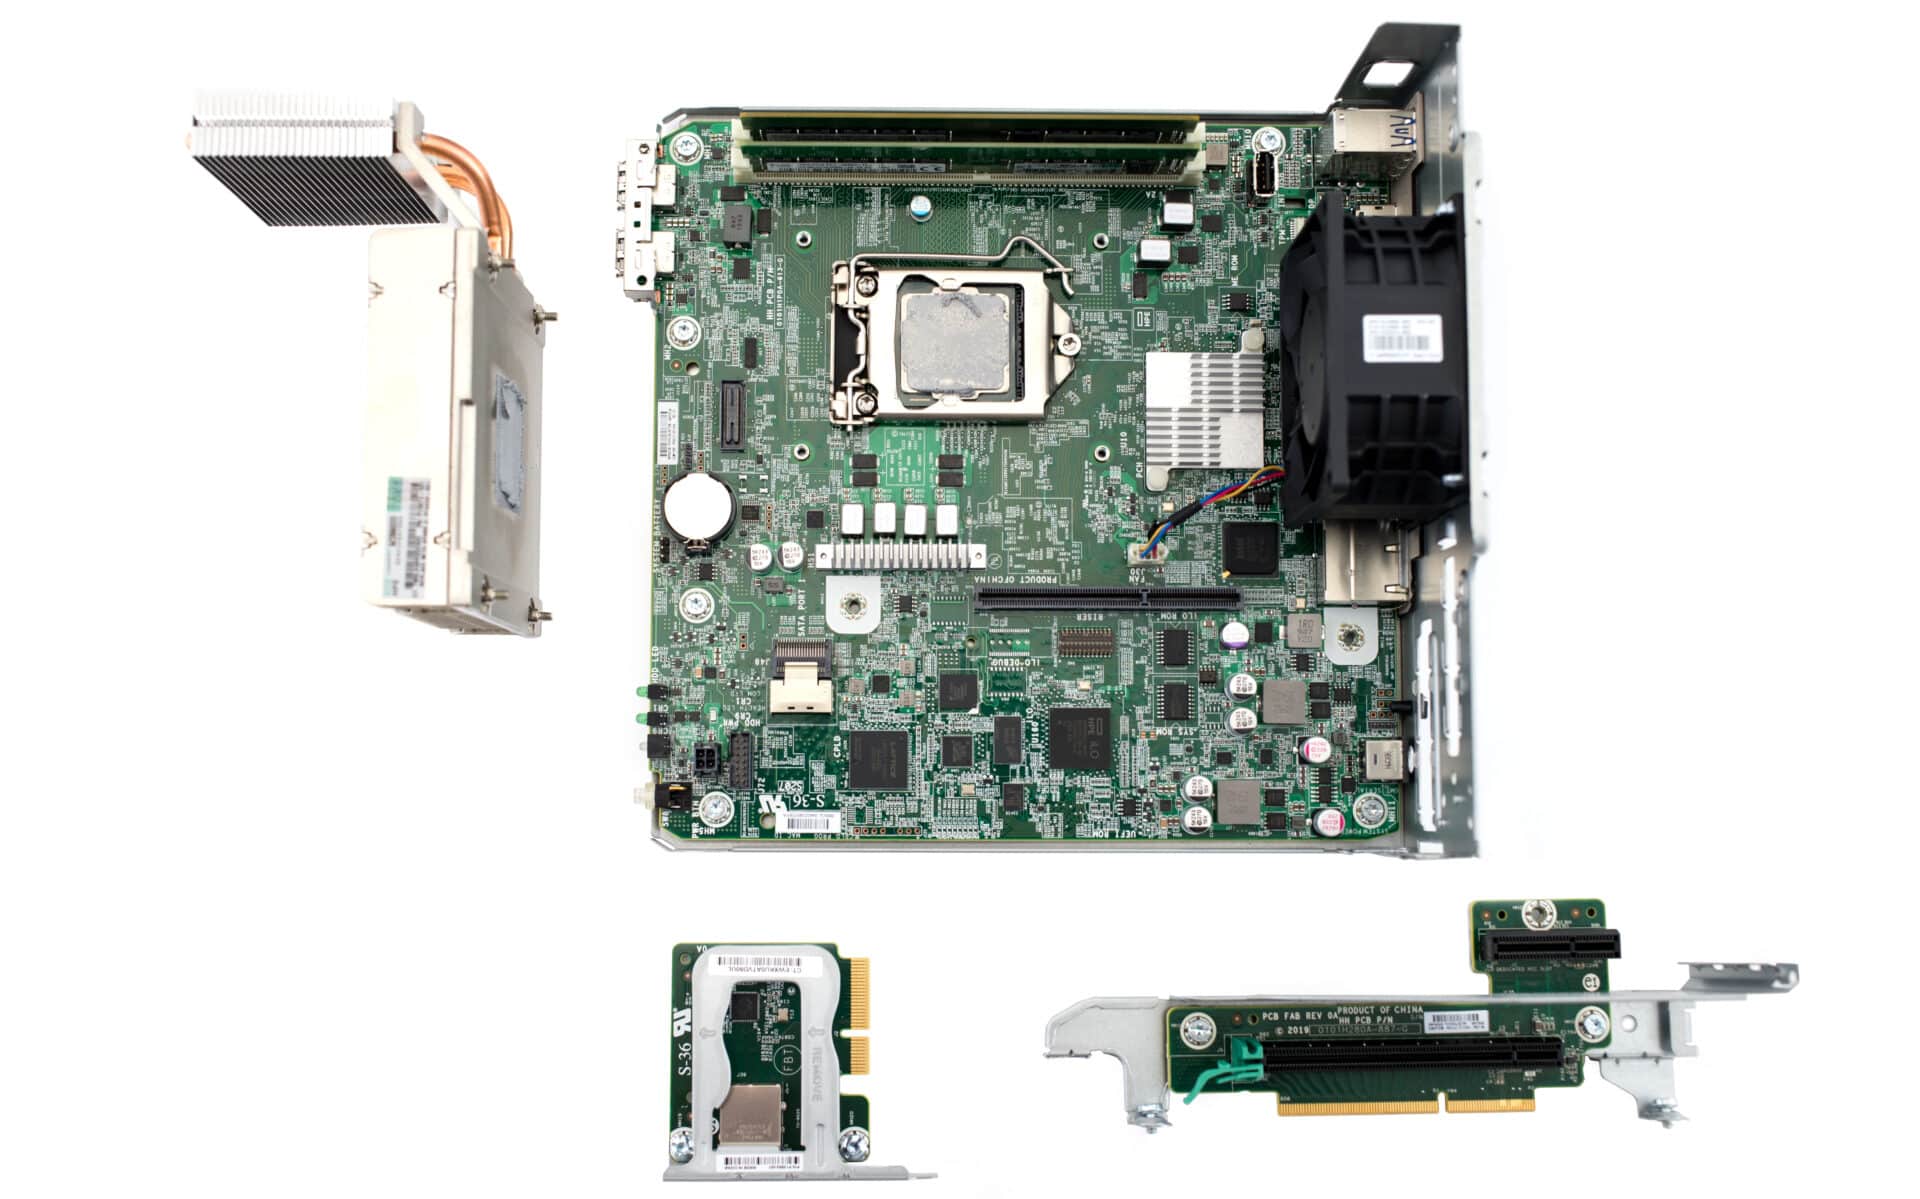
There are as few pieces as possible, minimal wiring, and a simple air routing design to minimize problems and noise. The entire MicroServer Gen10 Plus is cooled with a single fan. This means it will be working off in the background putting off as little noise as possible.
DIY TrueNAS CORE – 100GbE FTW!
Now the best saved for last in my TrueNAS CORE build came down to networking. Most of the builds will center around 10GbE since it’s pretty easy to come by, but what many don’t realize is just how affordable used high-speed Ethernet cards have come.
You can find single-port Mellanox ConnectX-5 100GbE cards for around $160 on eBay. Knowing my lab has the support for 100GbE, I went with one of the cards off the shelf (factoring in that it would max out the remainder of my budget) to make sure networking was not the limiting factor in my build.
Way overkill, but for the HomeLab crew it’s important to know that “exotic” networking connectivity isn’t always expensive on the secondhand market. I’m hoping this gives me a leg up on the other builds as we approach the performance showdown!


 Amazon