

We have recently decided to create a little series on budget servers for homelab environments. In this article, we took a look at configuring Hyper-V on the HP EliteDesk that we purchased a while back. Windows Hyper-V, which is a virtual environment built-in to Windows Server and Windows 10 Pro, Enterprise and Education. It is used to create and manage virtual machines within Windows. Overall, the experience of configuring and setting up a budget Hyper-V environment is simple and easy to do and gives users a great way to have a virtual playground.
Why Windows Hyper-V?
For those not big into virtual machine environments, Windows Hyper-V is a built-in VM sandbox that Windows has included in some of their products. What makes Hyper-V unique versus other options is you can install it as a part of Windows Server, or a client-based Windows version.
Windows Hyper-V is a feature on Windows 10 Pro, Enterprise, and Education that has to be enabled, but once enabled, it allows for the creation and use of VM’s. This environment works a lot like VMware and Proxmox, under the umbrella of creating VMs and monitoring them. What makes Hyper-V a solid choice for some homelab users is that they don’t need a new machine. If a device is already running Windows 10 Pro or the others, it’s completely free to use.
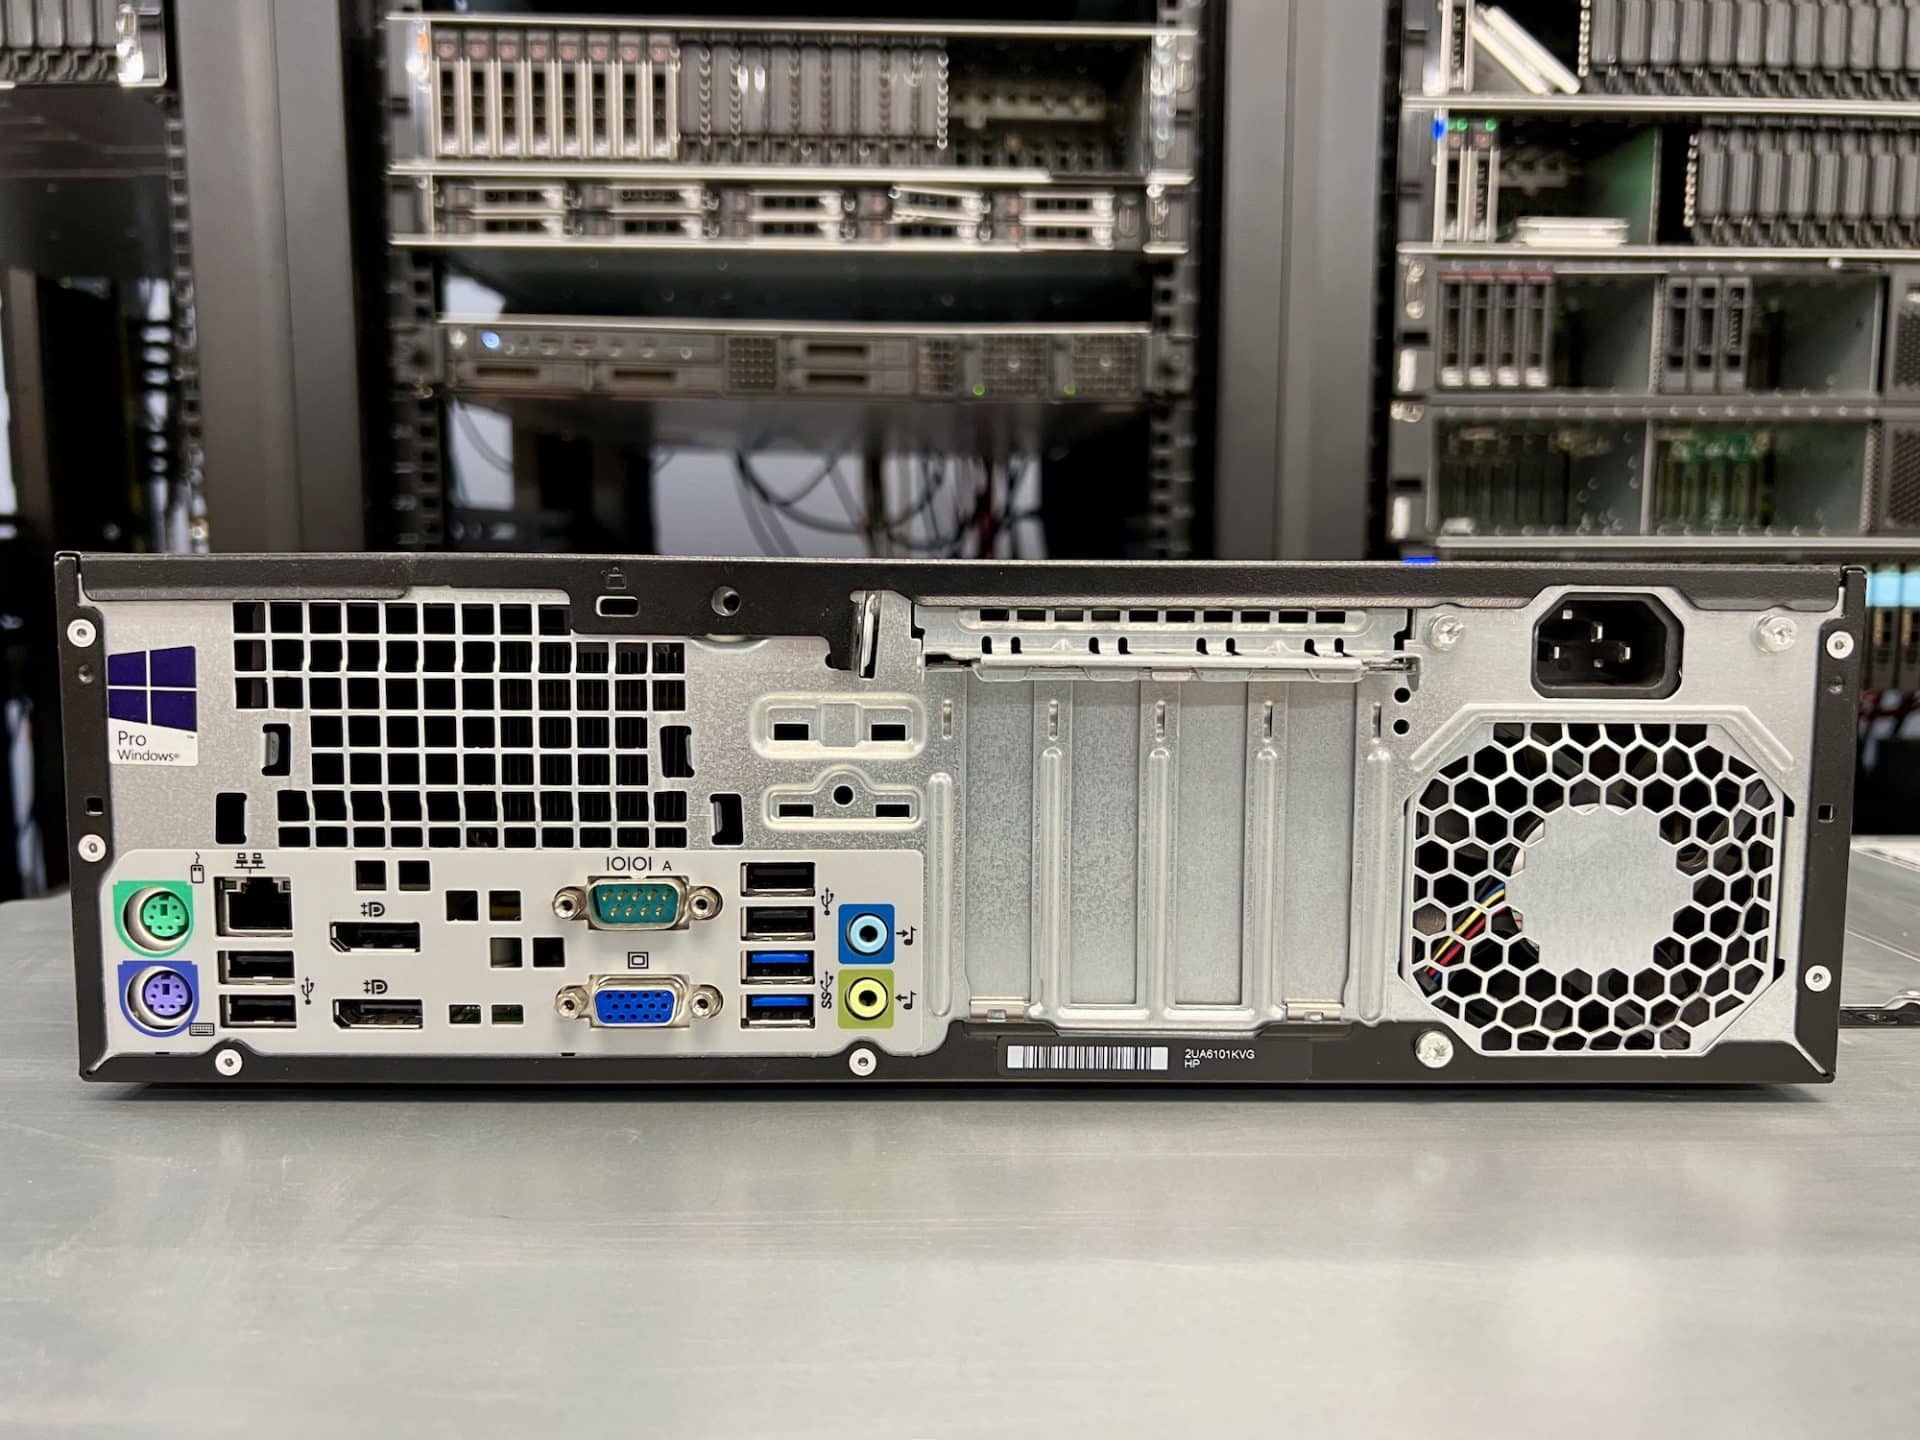
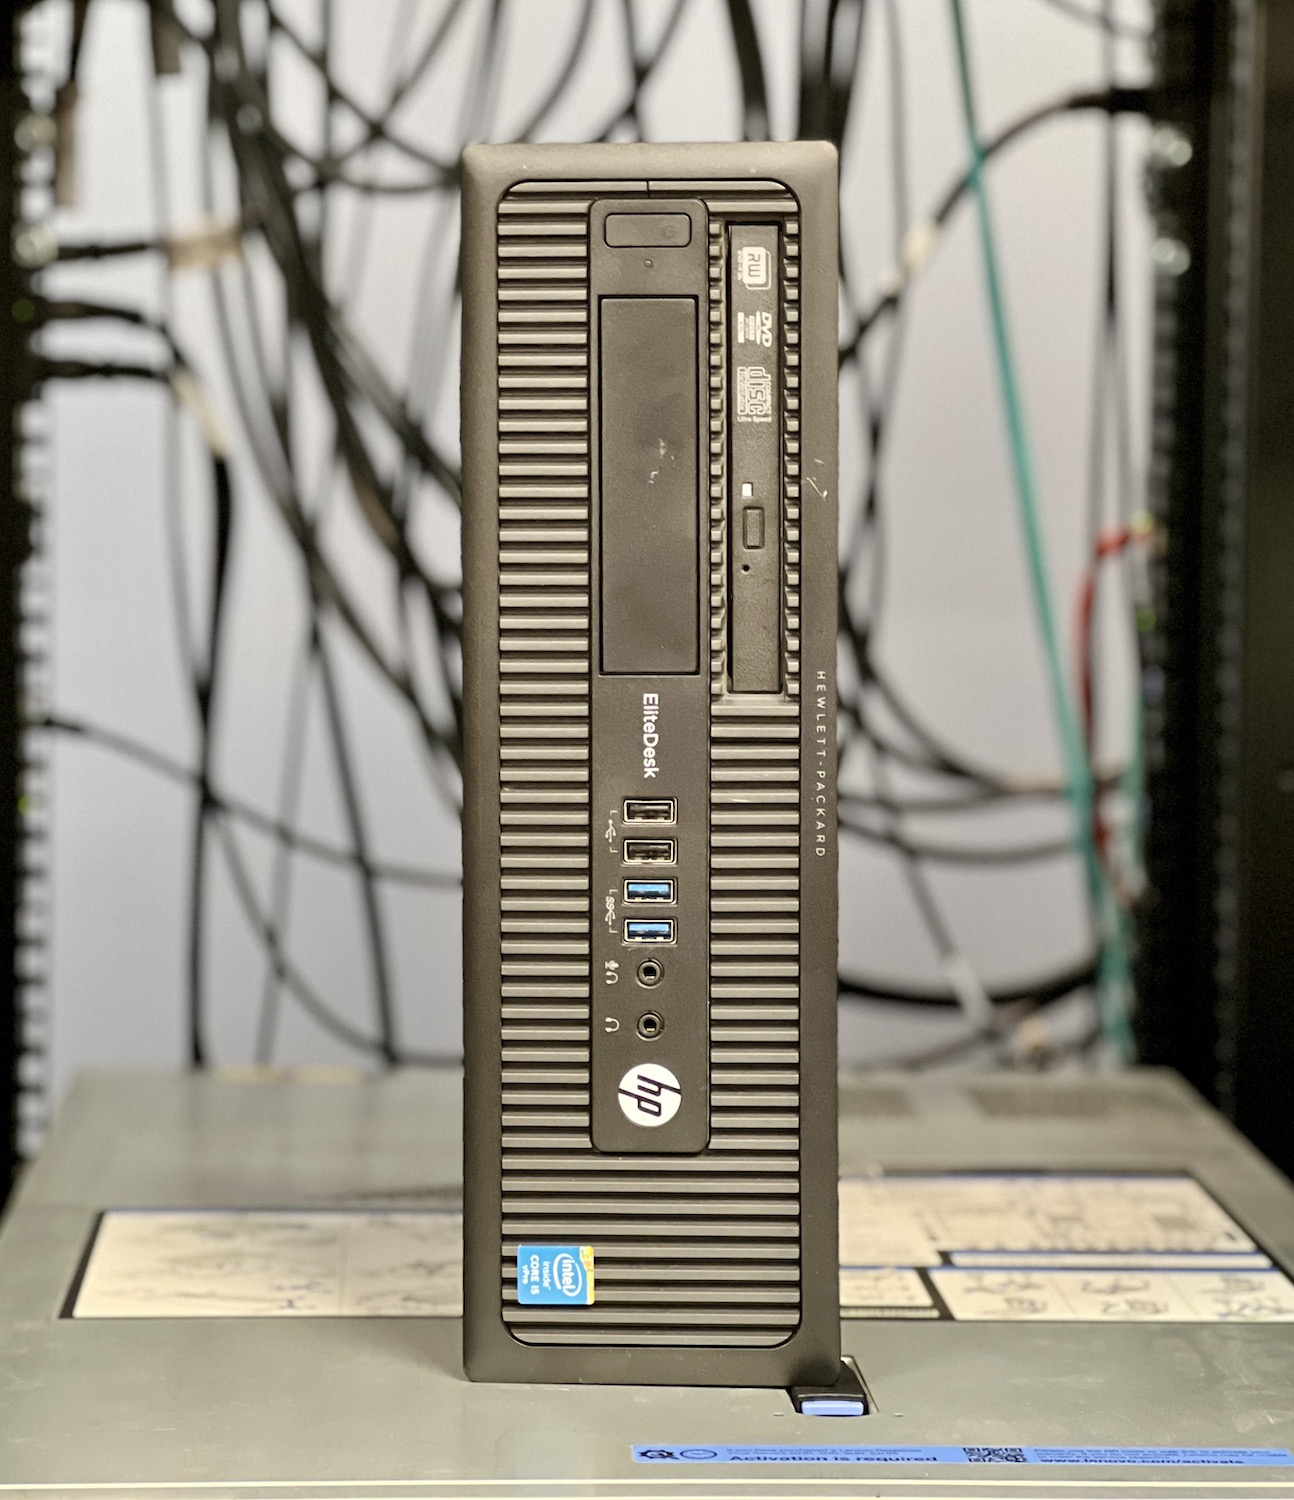
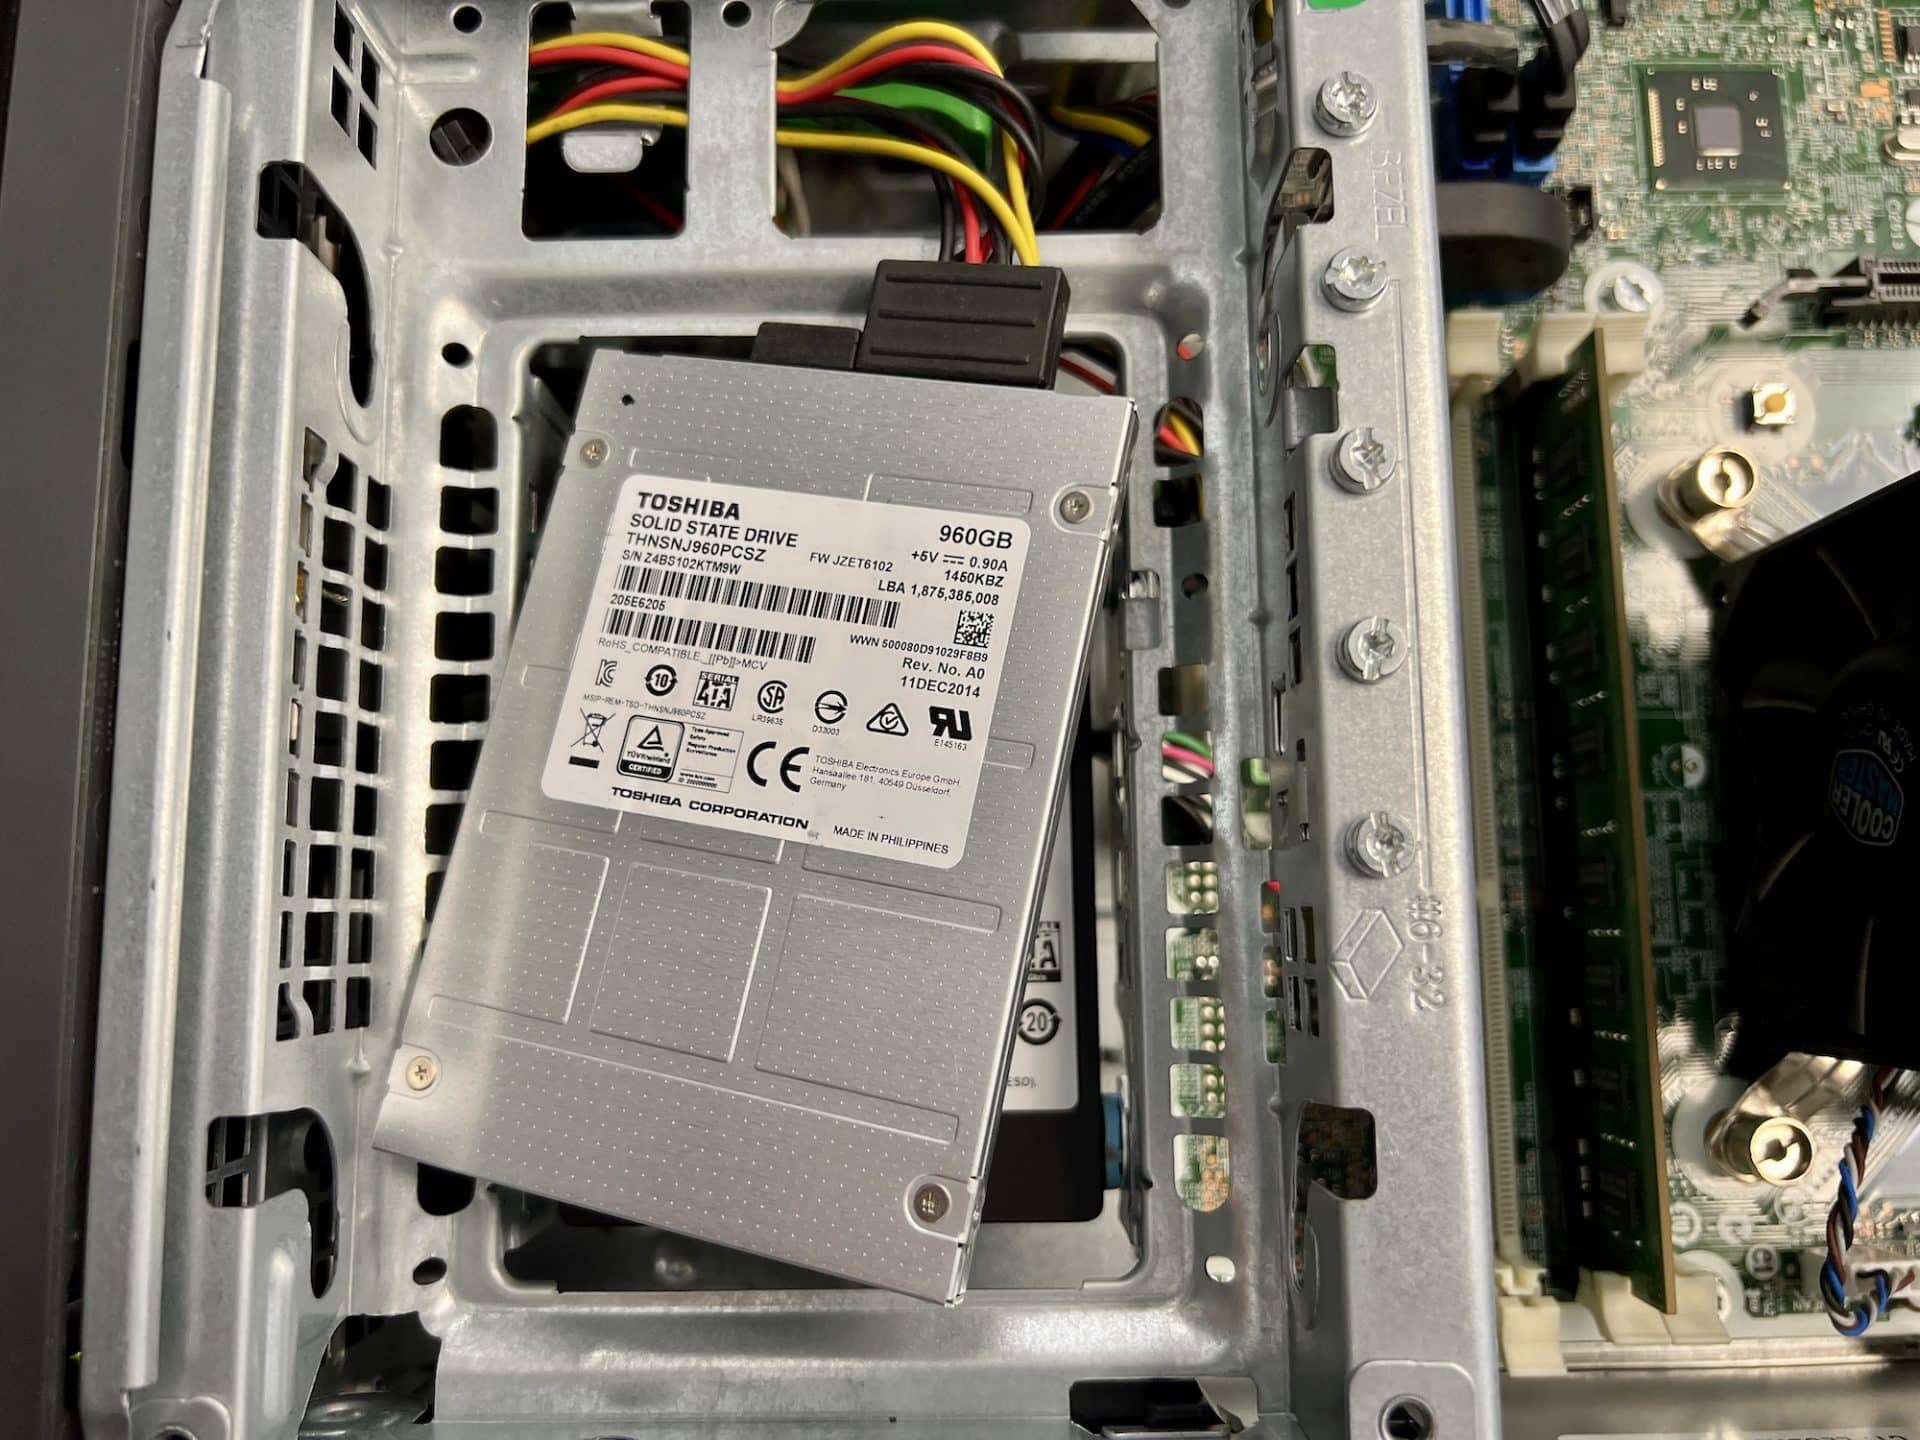
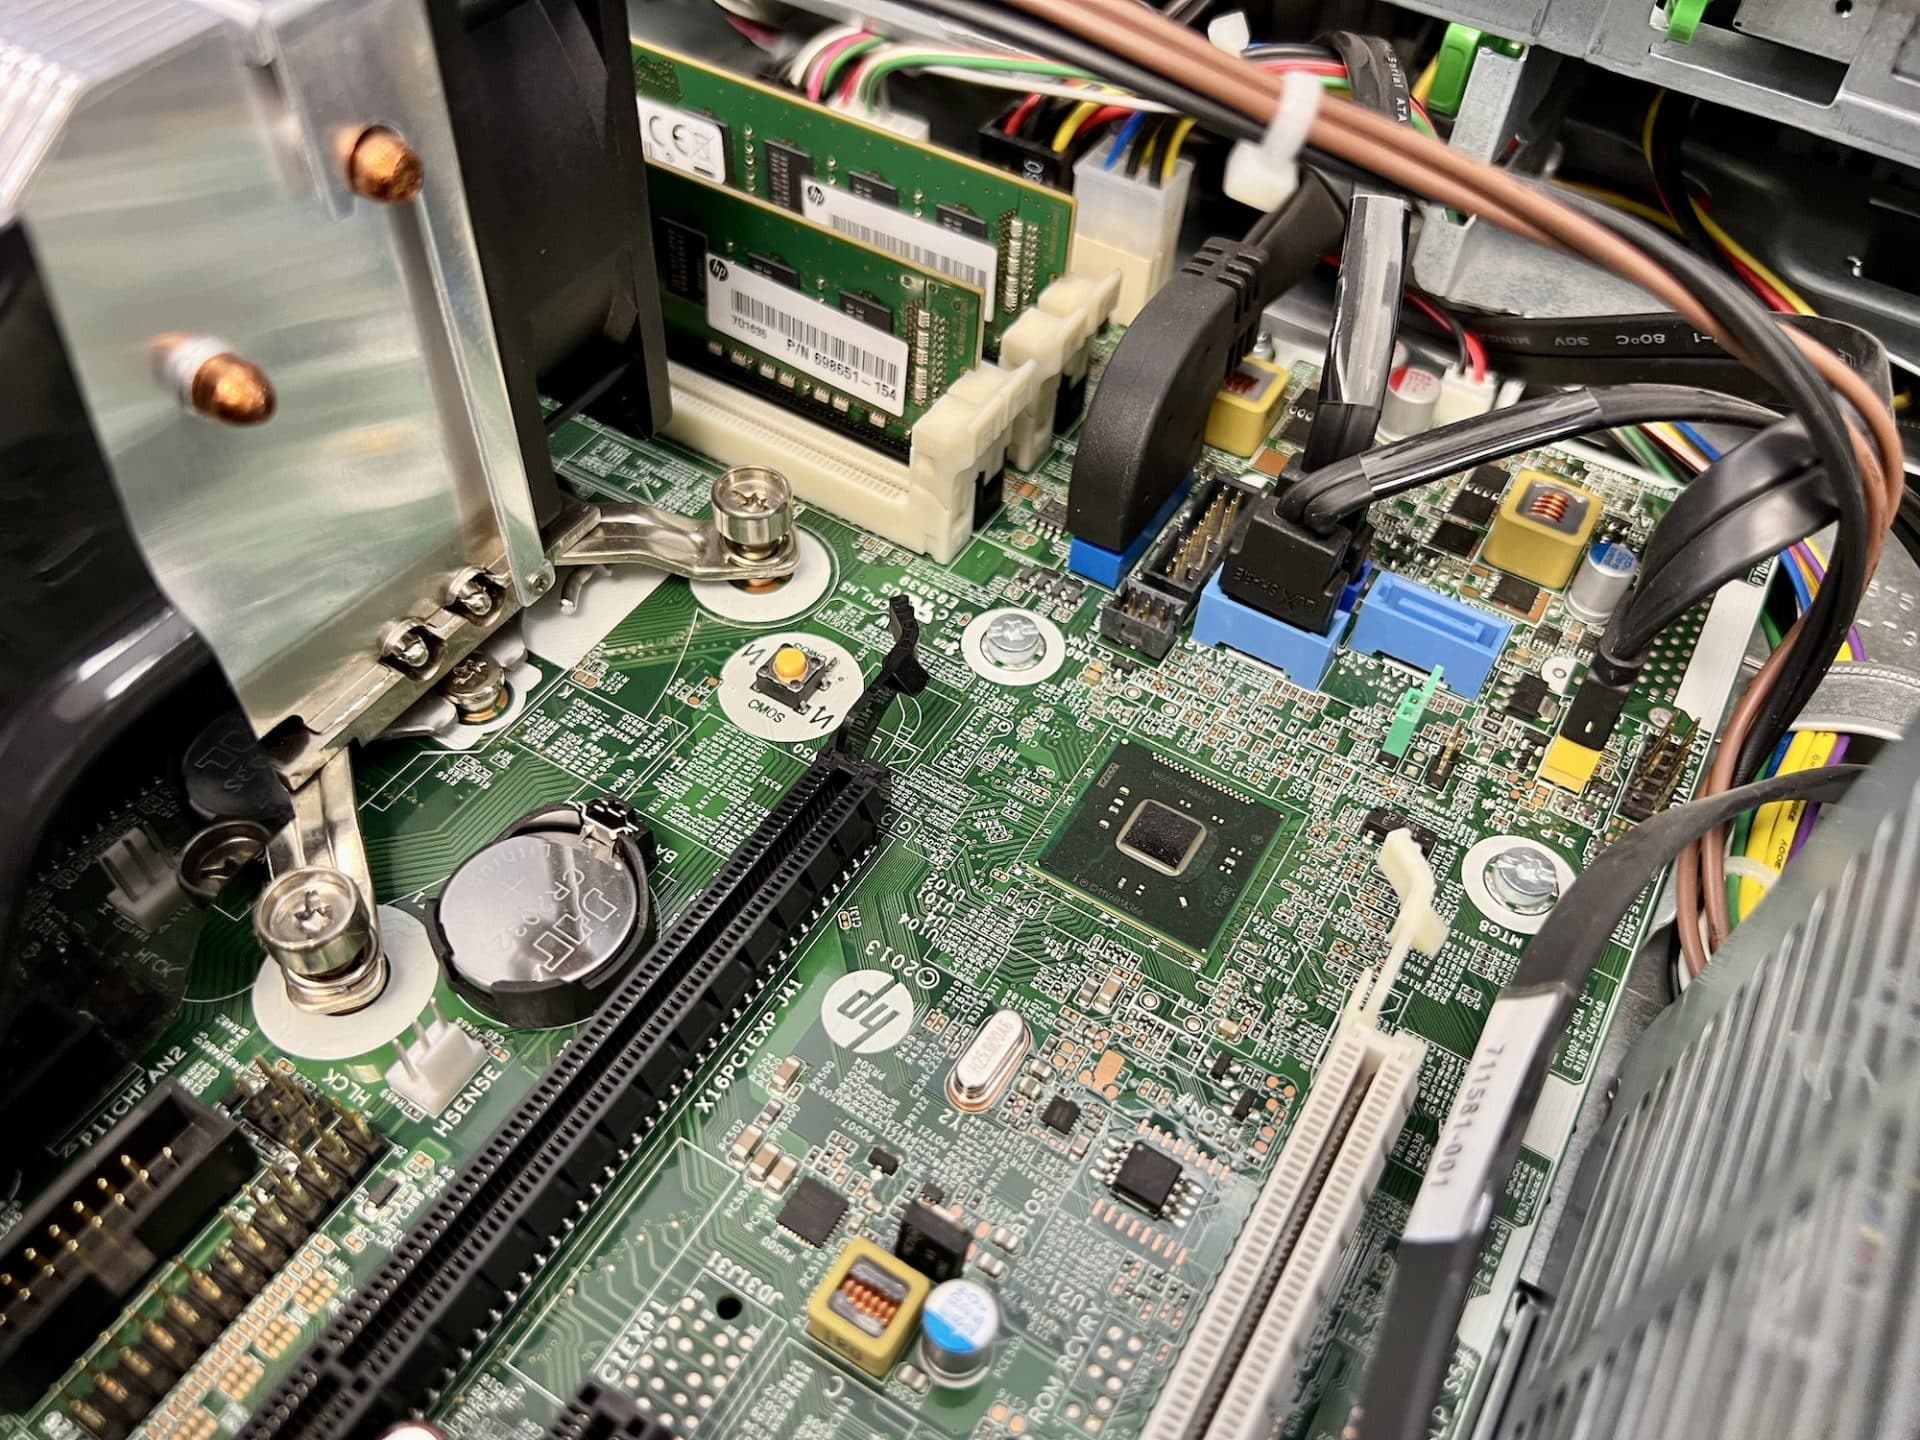
The PC that we are using for this build is again an HP EliteDesk 800 G1 SFF we scavenged off of eBay for about $135. Our HP is configured with a Core i5-4590 at 3.3GHz, along with 16GB of RAM, and a 1TB SSD we had in the lab (originally shipped with a 256GB SSD). In addition to the SSD, we did punch up the RAM from the 4GB included. Having 16GBs of RAM isn’t necessary, there is the possibility of getting away with 4GB, however, if you wanted to run multiple VMs at once, then it would be pretty tough on the system.
One thing that drew our attention when researching hardware opportunities was the onboard NIC, which for this system is the Intel I217LM. Intel GbE drivers tend to be the most stable for a wide range of server applications.
The system requirements to run Hyper-V are pretty simple to run, just as other virtual machine environments that we have seen and talked about. For Hyper-V, the first and most important thing is the device needs to be already running Windows 10 Pro, Enterprise, or Education. Hyper-V isn’t available on Windows 10 Home, Mobile, or Mobile Enterprise, however, if wanted, Windows can be upgraded to Windows 10 Pro.
The cost to do this is usually $99, which can be done from the Microsoft store. If you’re buying systems as we did of the refurb trash heap, you might be able to ask the reseller if they can include a Pro license if it’s not there already. The cost of licensing in bulk is much more affordable than the retail price on a per-unit basis.
In terms of hardware requirements, Hyper-V needs a 64-bit processor with Second Level Address Translation, along with the processor needs to support VM Monitor Mode. This just means that the CPU needs to be able to support virtualization, which is the same as other VM environments.
Lastly is the memory that is required; the EliteDesk has 16GBs of RAM, however, the bare necessity to run is only 4GB. It is important to note that the more physical RAM that a system has, the more VMs that are able to be run. The best way to determine the amount of RAM that is best to have is to count the total number of VMs you want to run, multiple by two, and then add two to determine the total number that is needed for the machine.
Setting up the Budget Hyper-V Box
The setup process of Windows Hyper-V is one of the easiest virtual environments to configure. As stated before, there isn’t any installation of software required, but instead, it is just checking boxes on the current Windows machine and the OS does the rest.
The first thing that is necessary to do is to make sure that the machine, in our case the EliteDesk is running Windows 10 Pro. Normal Windows 10 Home doesn’t allow for Hyper-V to run, so to make sure that the machine is running Windows 10 Pro or higher, go to Settings -> Update & Security -> Activation.
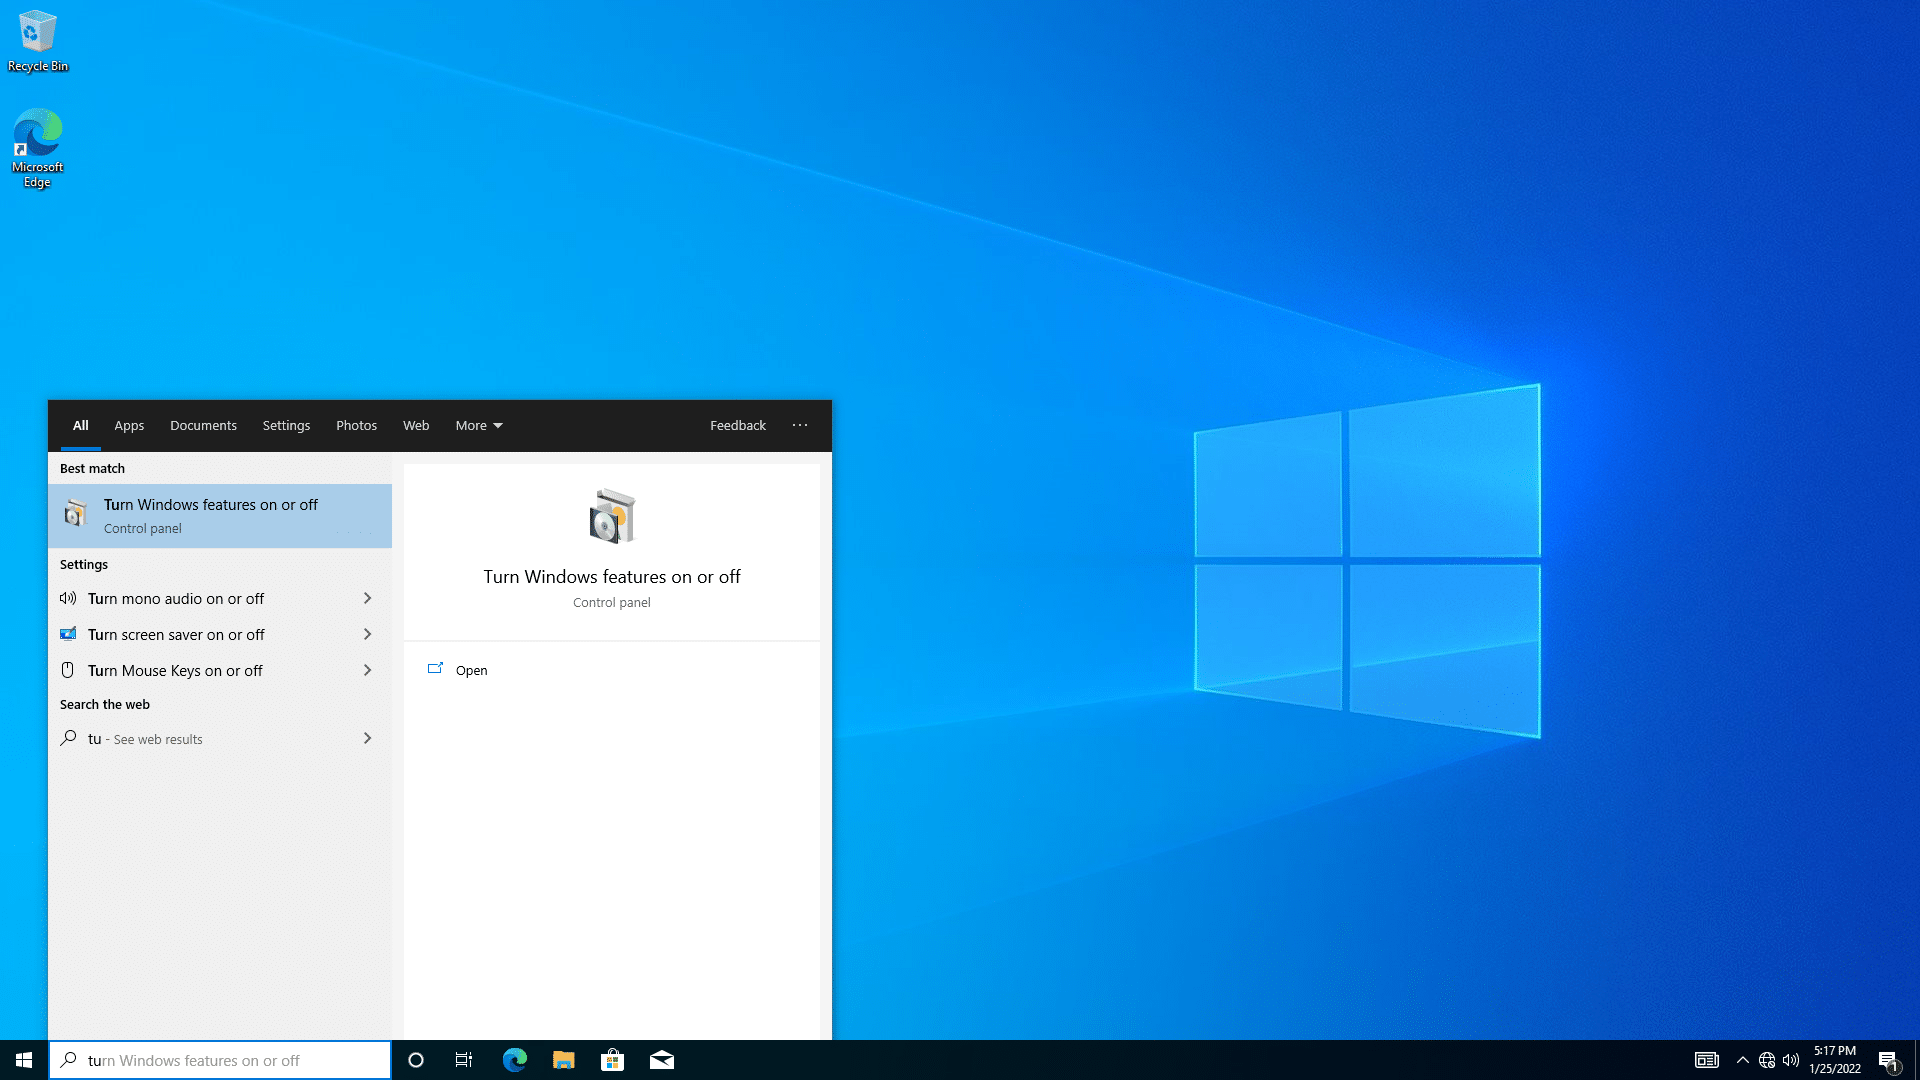
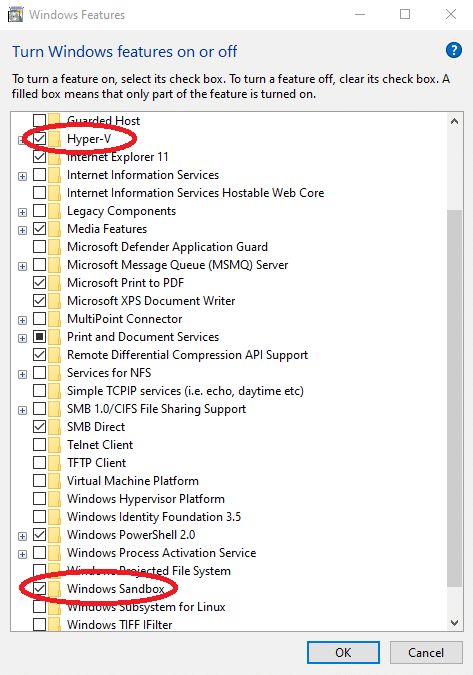
After making sure that the Windows device is running Windows 10 Pro or higher, the next thing to do is to enable Hyper-V and if wanted, also enable Sandbox VM. The most efficient way to do this is to go to the windows menu at the bottom left, then type in “Turn Windows,” and then hit the first option that says “Turn Windows features on and off.”
After going into the feature menu, scroll down to where it says “Hyper-V” checkmark that box. If additional features are wanted as well, the box that says “Windows Sandbox.” Windows Sandbox allows for programs to run separately from the main device, meaning that programs run inside this sandbox environment won’t interfere with the operations of the main system.
After hitting okay, the device is going to ask if it is okay to restart. Restarting is necessary for the machine as it will apply the new drivers and programs that were selected inside the features menu. Once the restart has been completed, to get into the Hyper-V dashboard, go to the windows search function and type Hyper, and it should be the first option to pop up.

After going into the Hyper-V Manager, the dashboard is going to boot up. This is where the creation of VMs is going to happen, along with monitoring and editing other VM’s if needed.
Creating Hyper-V VMs
Now it is time to create some virtual machines, which is pretty easy compared to other software/programs, as the quickest way to set up a new VM would be to hit the “Quick Create” button. Now, hitting this option will basically set all the presets for the VM without adjusting anything or changing anything. The only thing that is necessary to click on or choose is the OS that is wanted.
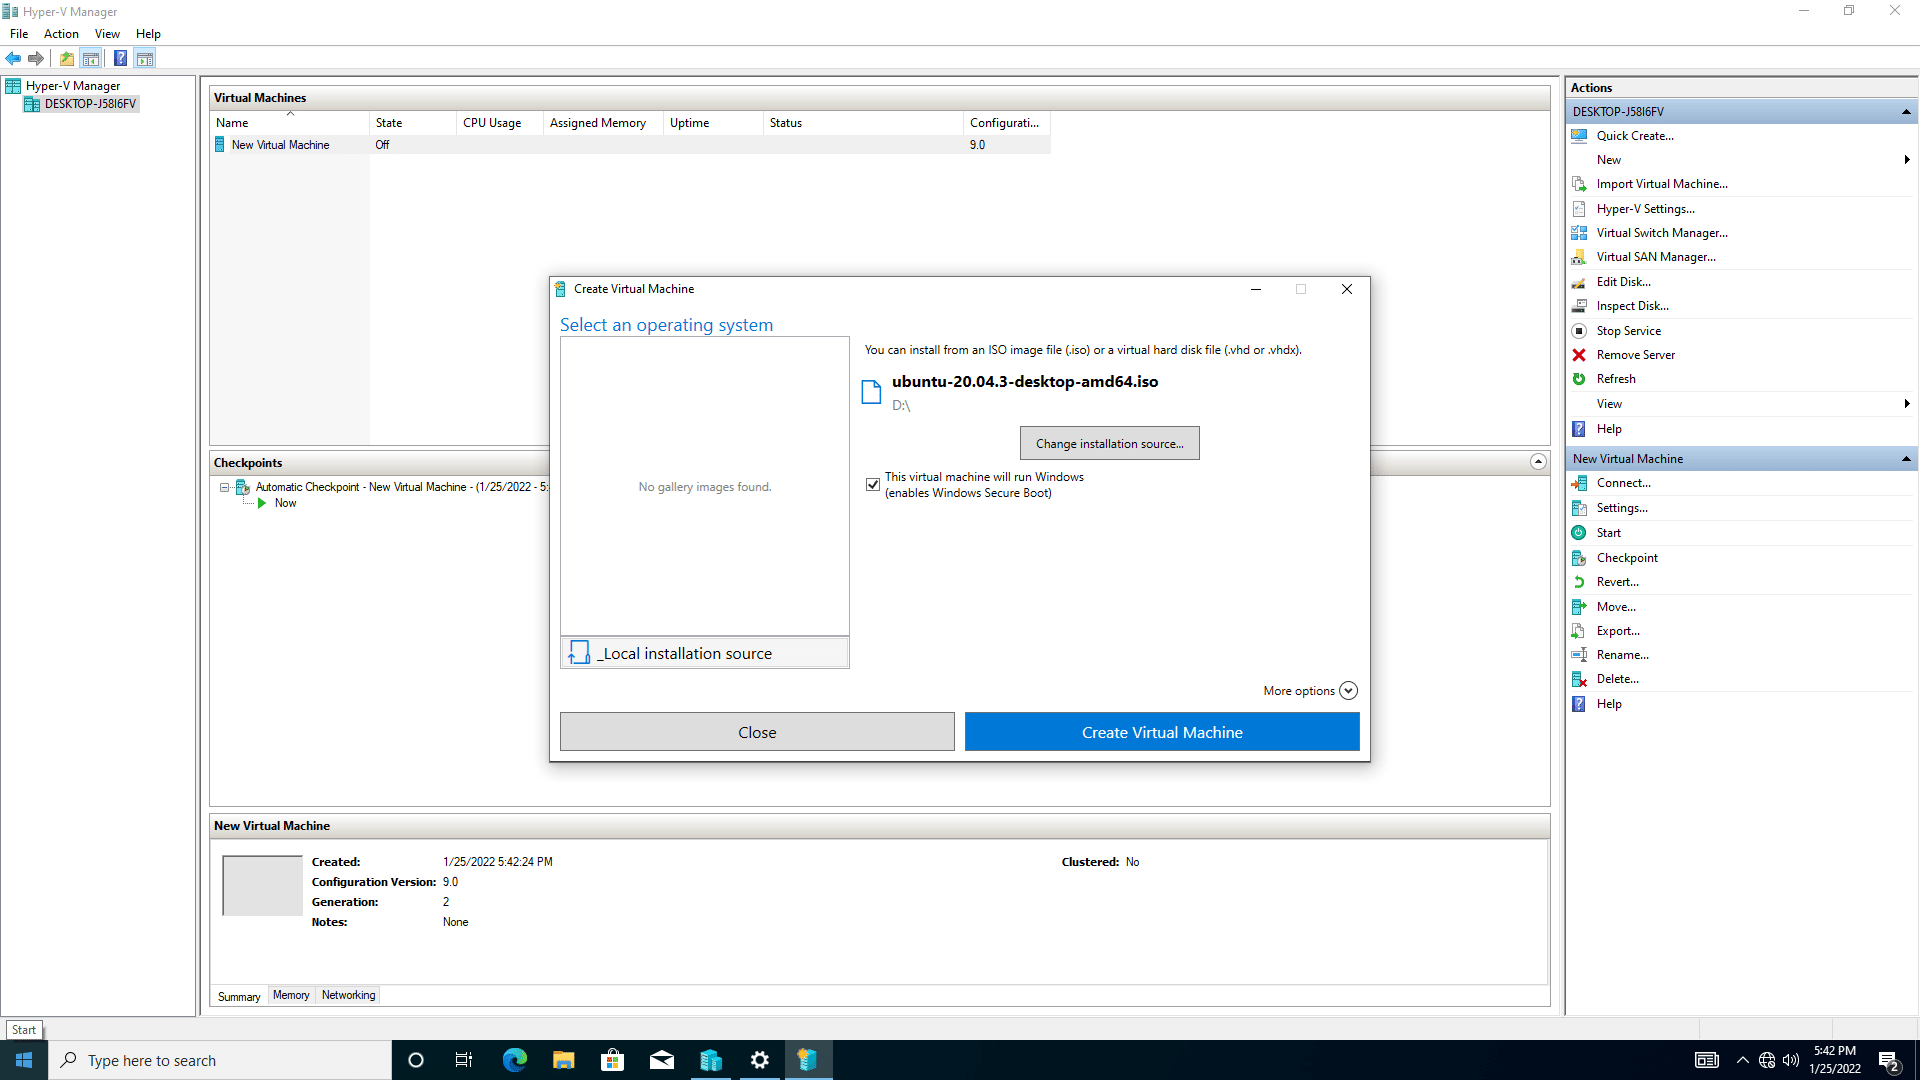
In our case, we just used the same Ubuntu ISO that we have on hand. After selecting the right ISO, hit the blue Create Virtual Machine button, and boom, the VM has now been created. Once the VM is created, it can be booted and used. However, if the VM isn’t configured correctly since it was automatic, the easiest way to edit the VM is to click on the VM and hit “Settings.” Under this menu, Hyper-V gives the ability to change the hardware that the virtual machine is running on.
The settings that were created automatically aren’t too bad, however, in setting up VMs, most times, 2GB of RAM might be enough, but we like to use 4GBs just so it gives us a little bit more wiggle room in case we want to run heavier programs on it. Once the correct settings are established or the automatic configurations are fine, the VMs are now up and running and they can now be used.
Conclusion
Overall, the entire process of Windows Hyper-V is one of the easiest to do in terms of setting up and running Virtual Machines. It also doesn’t require a dedicated system for only virtualization if you install it on a Windows client system. Unfortunately, Hyper-V might be one of the more expensive virtual machine environments for a homelab user to run, which is mainly due to the fact of having to upgrade to Windows 10 Pro.
There is the option of reinstalling Windows 10 Pro under the free installation media that Windows offers, however, it does expire after so long and will need to be activated eventually. You may also get lucky and find a reseller willing to include a Pro license for not much more cost.
Besides the cost, however, Windows Hyper-V was one of the shortest deployments that we had when installing and configuring VM environments. The hardest part of the entire process was waiting for the system to reboot. If there are problems, however, Microsoft and other forum pages have a ton of resources that are easy to find and most of the time solve the problem.
What we did find in this setup and configuration is just the same as the other VM environments that we installed on the HP EliteDesk. The specifications of the machine aren’t the greatest in the world and can only be stretched so far before one component starts bottlenecking another. This HP executed its intended use perfectly and we didn’t really expect much more especially since we grabbed it for under $150. This goes to prove though that homelabs don’t have to be expensive.
The tech market is crazy right now and things don’t really seem to be getting better, however, machines like our HP are out there and honestly really easy to get a hold of. Places like eBay and Facebook Marketplace have machines that are old and outdated, but they can work perfectly for niche homelab users. This is a fun project that anyone can do for their homelab, it doesn’t take too much money or time, and the return it can provide is awesome.
Check out our Budget VMware Server for Homelabs
Check out our Budget Proxmox Server for Homelabs


 Amazon