

In the market of virtualization, there are a ton of options for consumers, prosumers, and enterprise users. One thing that quickly sets apart these different solutions though is cost, where you have hypervisors such as Windows HyperV or VMware ESXi being some of the most expensive, and KVM, Proxmox, and others being effectively free with the exception of support. Synology has been in the game as well with their Virtual Machine Manager, which slots in somewhat in the middle with both no-cost and enterprise options, letting users leverage their existing NAS to run VMs.
NAS systems are getting more powerful with each new release; offering more compute, DRAM, and storage options. It seems almost obvious that a NAS would work well for the consolidation of workloads. As you look up in the enterprise world HCI solutions do just this (generally with two or more nodes for HA), which Synology can start with as little as one NAS or expand with additional nodes thrown into the mix.
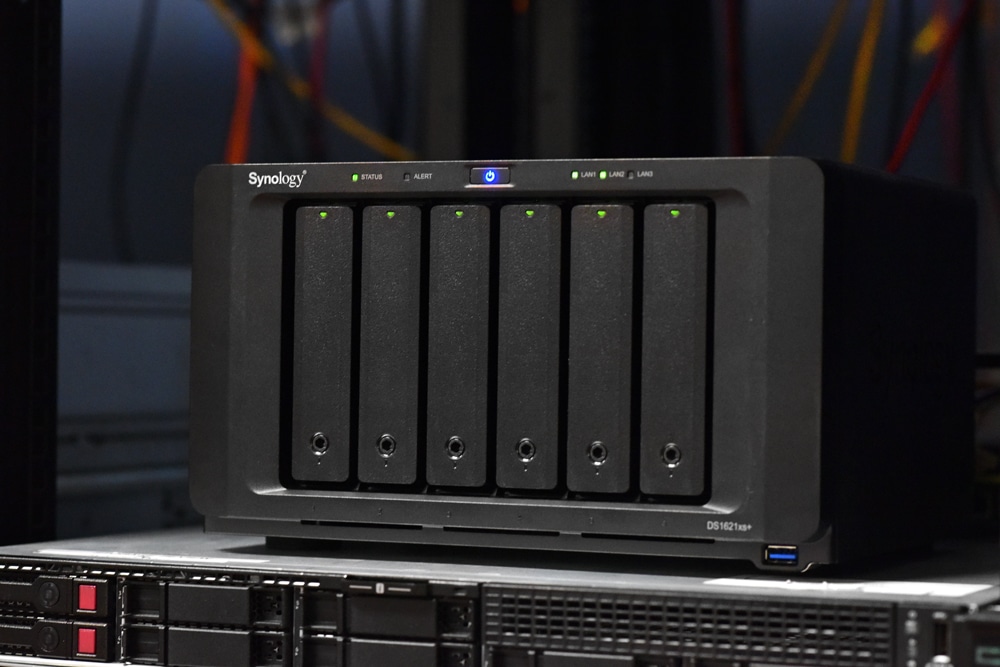
In this review, we focus on the Synology DS1621xs+ which includes a 4-core 2.2GHz CPU and 8GB of RAM standard, which is just enough to start making things interesting with virtualized workloads running internal to the platform.
Synology Virtual Machine Manager (VMM) Overview
In the StorageReview Lab, we’ve been running Synology for years. They work well for file shares obviously, but they offer so much more when it comes to app integration to keep a small or medium business working smoothly. As Synology capabilities have grown through the years, so have the applications running on ours. Our initial kickoff was with Surveillance Station and cameras and then came Docker containers, running a Ubiquiti Unifi controller for our office wireless access points. Recently though we’ve started to dabble with the Virtual Machine Manager.
This might be a bit strange considering our racks of high-end servers running VMware ESXi, but there are some situations where the last man (or VM) standing comes into play. Power failures and lab restructuring present situations where some or most of our lab needs to be shut down, where we lose access to fast shared storage and power-hungry servers. That isn’t true for the Synology NAS though, which uses less than 100W of power and is housed inside our core rack with a 6-8 hour battery backup. Enter Virtual Machine Manager. We can keep a VM up and running internal to our lab for monitoring or remote access, using resources that were already in operation.
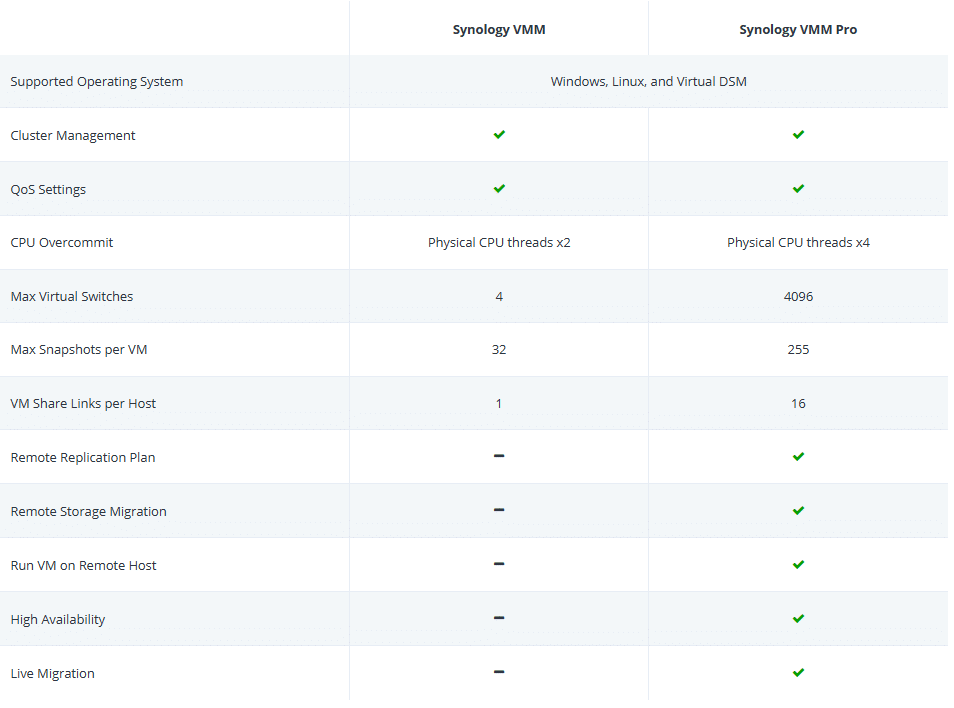
The Synology VMM is offered in a free and Pro version, which roughly breaks down into single versus multi-NAS deployments. Homelab users who have one NAS, fewer needs on CPU over-commitment, or virtual switches will see no difference between the versions. SMB/SME users though who want remote storage migration, HA, live migration and enterprise-focused features will enjoy the items the Pro license enables. A breakdown of the main items is shown below.
Synology Models Supporting Virtual Machine Manager:
- FS series: FS6400, FS3600, FS3400, FS3017, FS2017, FS1018
- SA series: SA3600, SA3400, SA3200D
- 21 series: RS4021xs+, RS3621xs+, RS3621RPxs, RS1221RP+, RS1221+, DS1821+, DS1621xs+, DS1621+, DVA3221
- 20 series: RS820RP+, RS820+, DS1520+, DS920+, DS720+, DS620slim, DS420+, DS220+
- 19 series: RS1619xs+, RS1219+, DS2419+, DS1819+, DS1019+, DVA3219
- 18 series: RS3618xs, RS2818RP+, RS2418RP+, RS2418+, RS818RP+, RS818+, DS3018xs, DS1618+, DS918+, DS718+, DS218+
- 17 series: RS18017xs+, RS4017xs+, RS3617xs+, RS3617RPxs, RS3617xs, DS3617xs, DS1817+, DS1517+
- 16 series: RS18016xs+, RS2416RP+, RS2416+, DS916+
- 15 series: RS815RP+, RS815+, RC18015xs+, DS3615xs, DS2415+, DS1815+, DS1515+
- 14 series: RS3614xs+, RS3614RPxs, RS3614xs
- 13 series: RS10613xs+, RS3413xs+12 series: RS3412RPxs, RS3412xs, DS3612xs
- 11 series: RS3411RPxs, RS3411xs, DS3611xs
How to Set Up Synology Virtual Machine Manager
Getting Synology VMM up and running is as simple as searching for virtualization in the Package Center and installing that application. Similar to Synology’s other apps, this installs in a few seconds and is ready to roll.
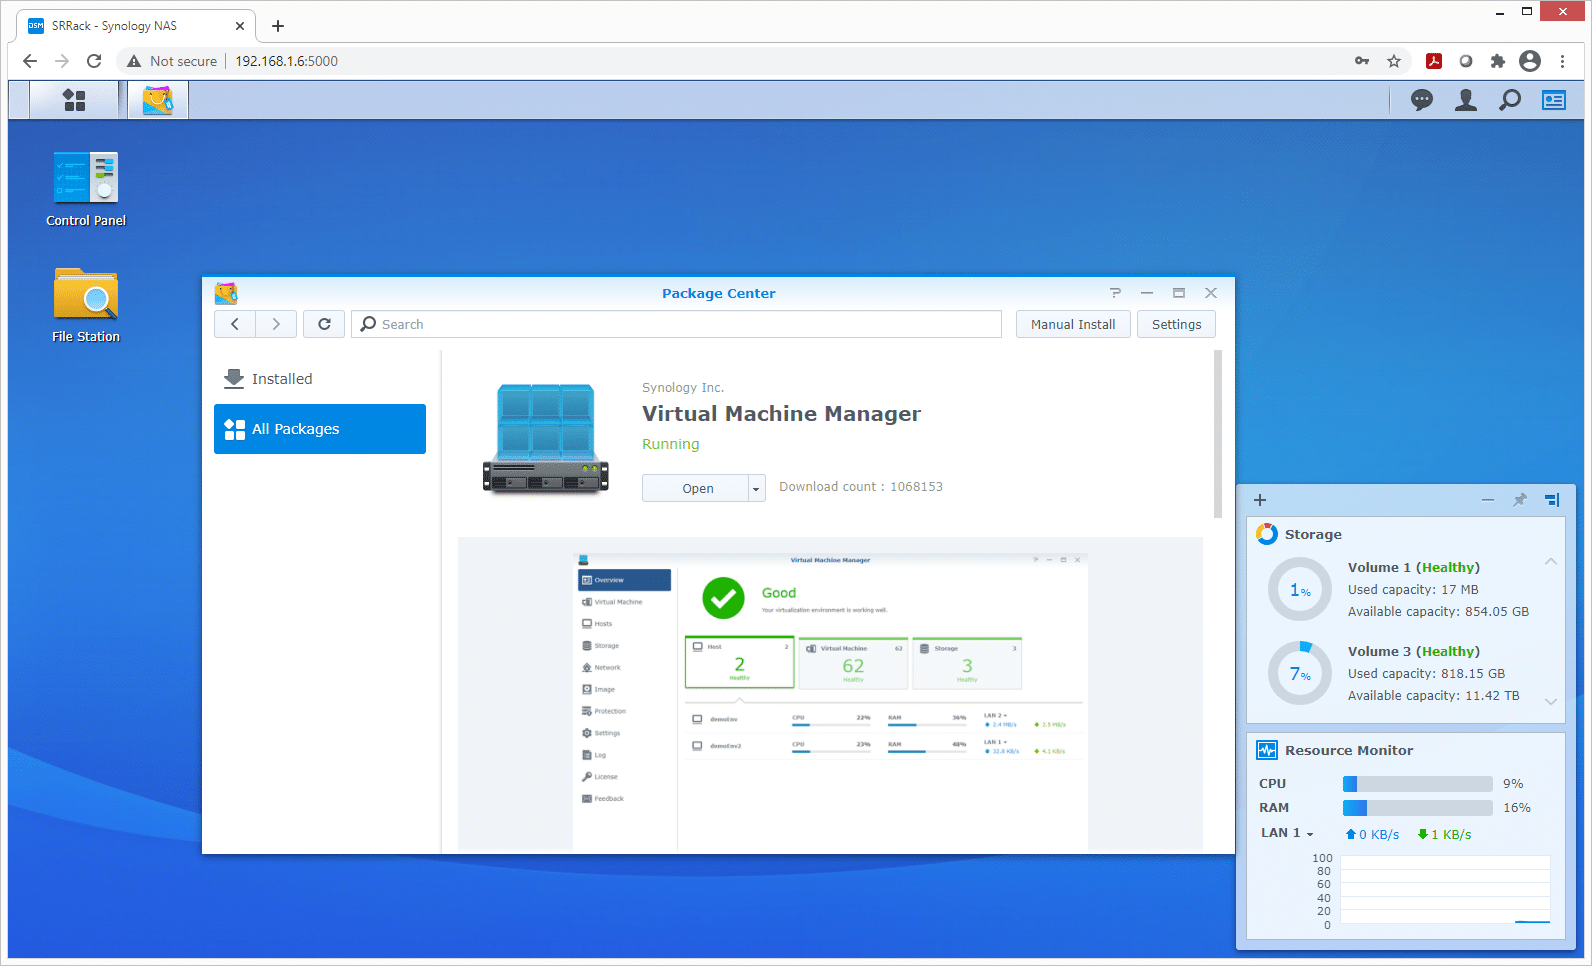
Once VMM is up and running, you can load it up and you land on the main overview page. This shows the host or hosts connected (we only have one NAS in use for this) and many tabs to break out different category options. They include the Virtual Machine, Cluster, Storage, Network, Image, Protection, Settings, Log, License, and Feedback.
- Virtual machine shows the VMs configured and running on the VMM.
- Cluster gives a view of the different hosts, for many this will be just one NAS.
- Storage shows the attached volumes given to VMM for use, which in our case we use both an HDD and SSD volume for different use cases.
- Network is where you name and provision your virtual networks that can be assigned to VM virtual NICs to connect to the outside world.
- Image allows for the selection of ISO boot images.
- Protection offers you snapshot and retention policy assignments for VMs.
- Settings handle default notification and behavior settings for the VMs on the cluster as well as HA options for Pro users.
- Finally, License and Feedback are to install a Pro license and gain access to support for technical help, inquiries, and suggestions.

To create a new VM move to the Virtual Machine tab and click create. Here you define which type of OS you will be running (in our case Windows for a Windows 10 VM), although other options are available depending on your preference.

With the VM type selected, next, you select where the VM will be located. Since we have HDD for bulk storage and flash for faster access, we will be using the SSDs for faster performance.

As we drill into VM options, on the first screen you name the VM, assign the CPU and memory resources as well as the video card type. Pay attention to how much memory and CPU you use already to not over-assign resources.

Now the important part of how much storage you want to assign as well as the number of virtual disks. We go with 200GB.

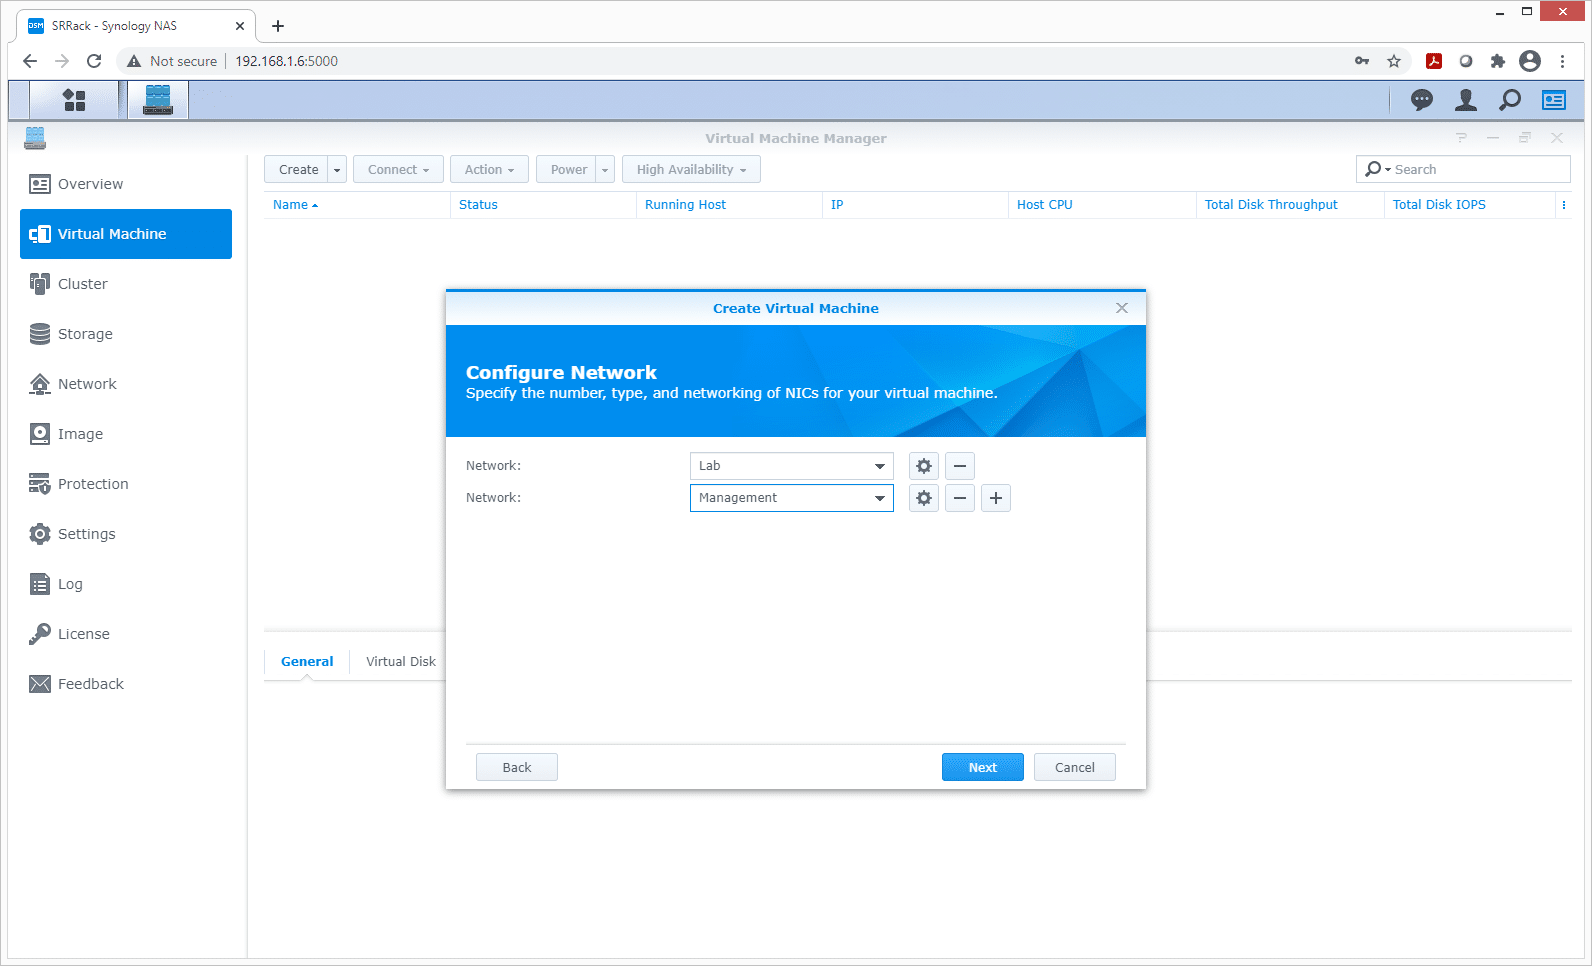
With the network settings, you have one network device by default, which if you use different VLANs is helpful to have the VM talk to different fabrics. We assigned network access to our management and lab networks to manage and address resources on both sides.
With all VMs you will need to make sure you have the installer ISO uploaded to the NAS beforehand. In this case, we select a Windows 10 ISO for the VM.
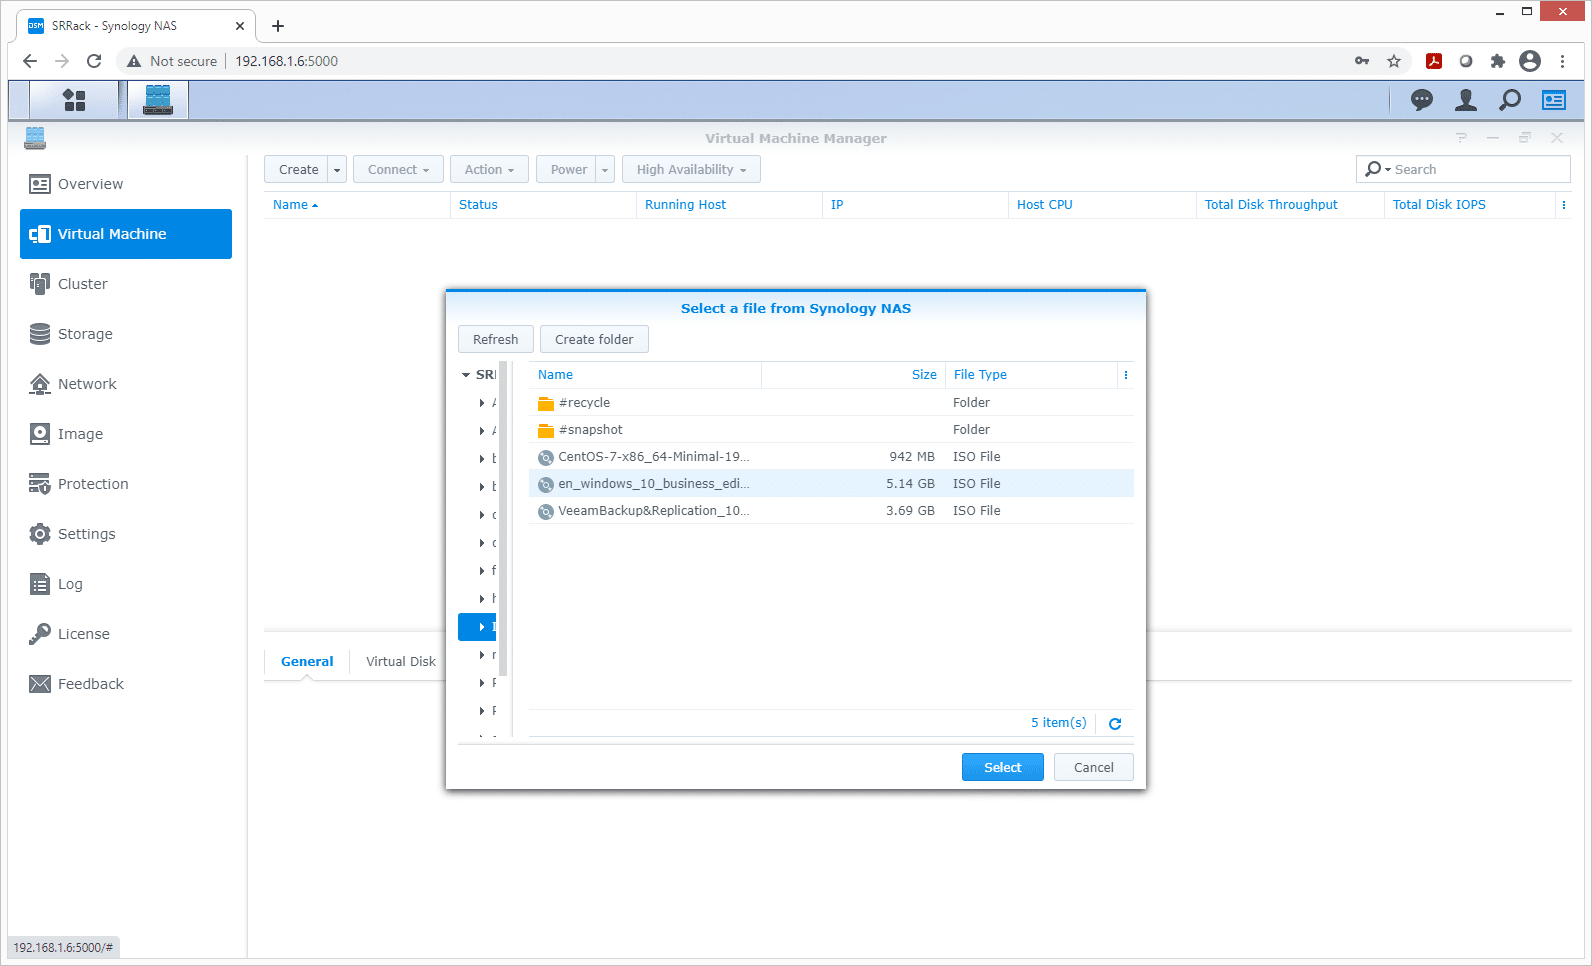
Here you manage the connected devices at bootup. We have the first ISO which is the Windows 10 installer, as well as a Synology guest tool for proper drivers and so the VMM can view the IP address of the guest VM IP addresses.

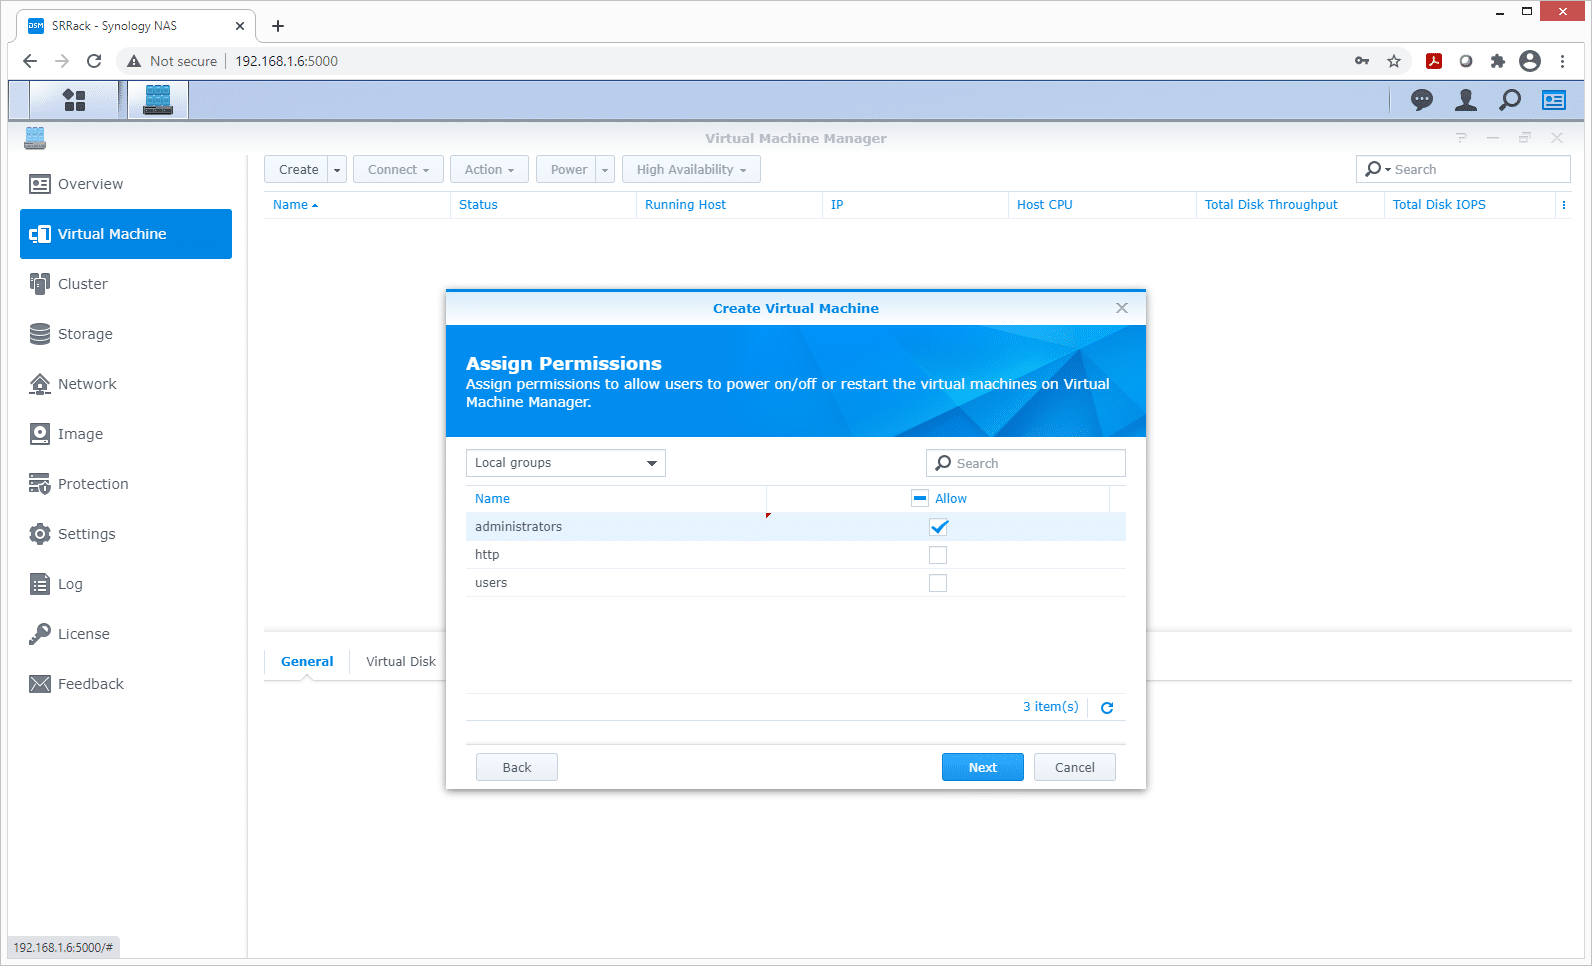
VM permissions are set in the next screen, where for a multi-tenant box you can say who can manage the VM itself. We keep this to administrators, although you can do it by specific users as well.
Finally, a summary screen where you confirm the options and power the VM up.

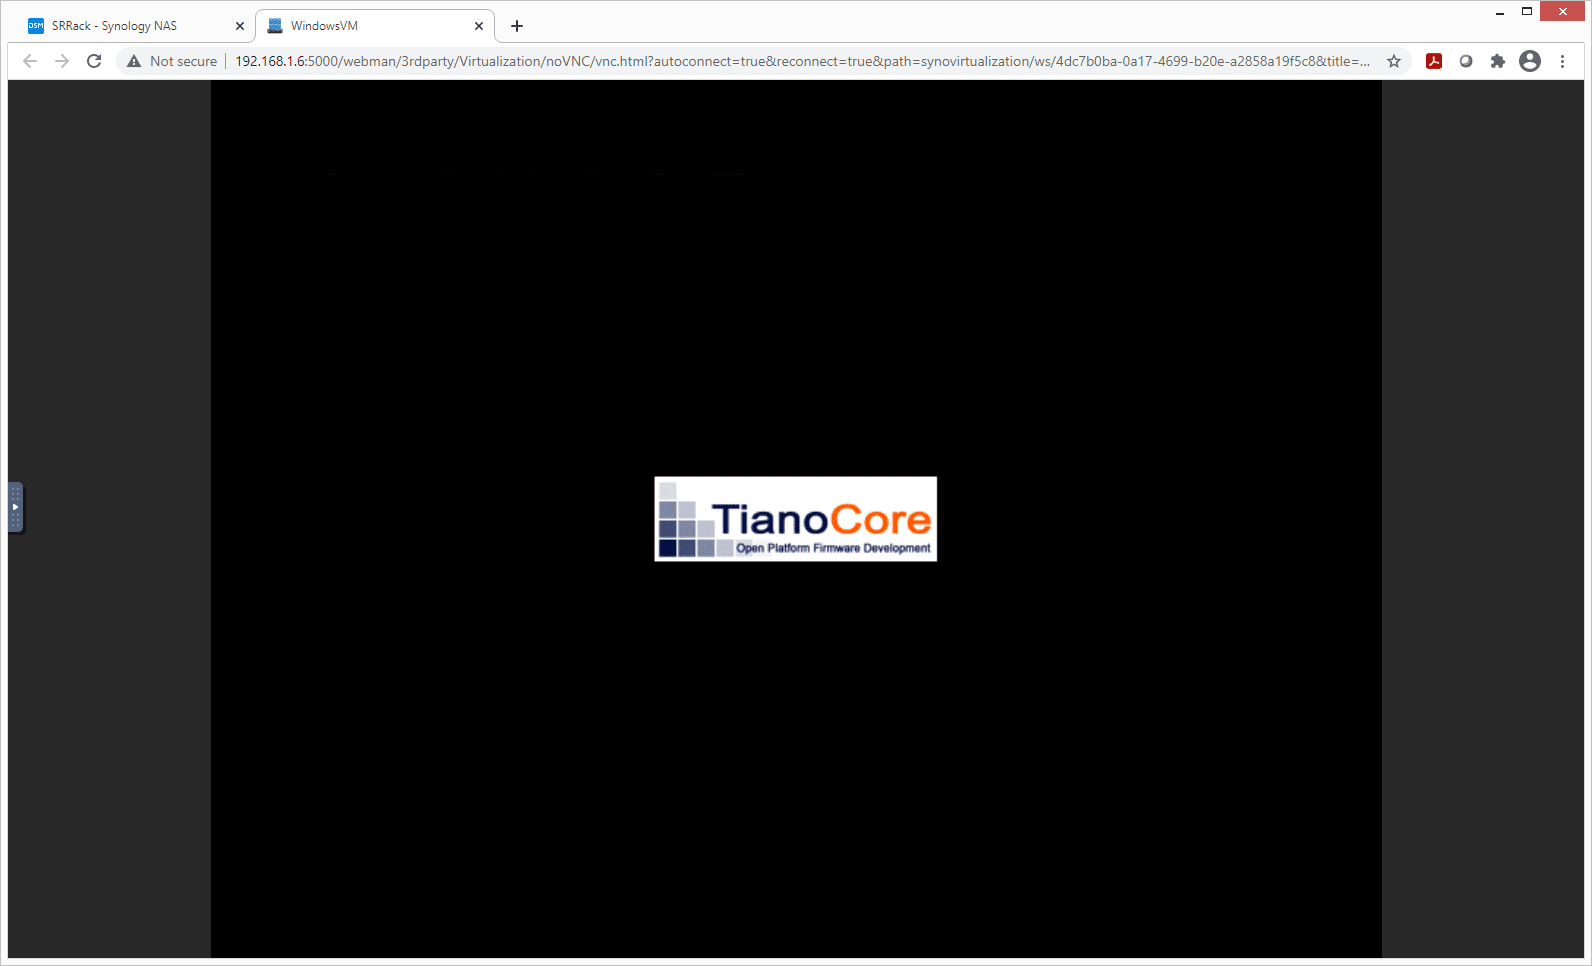
For the initial configuration of the VM, before you have network connectivity up and running, you get access to a basic in-browser KVM. It’s not perfect but it gets the job done to move through the main setup screens.
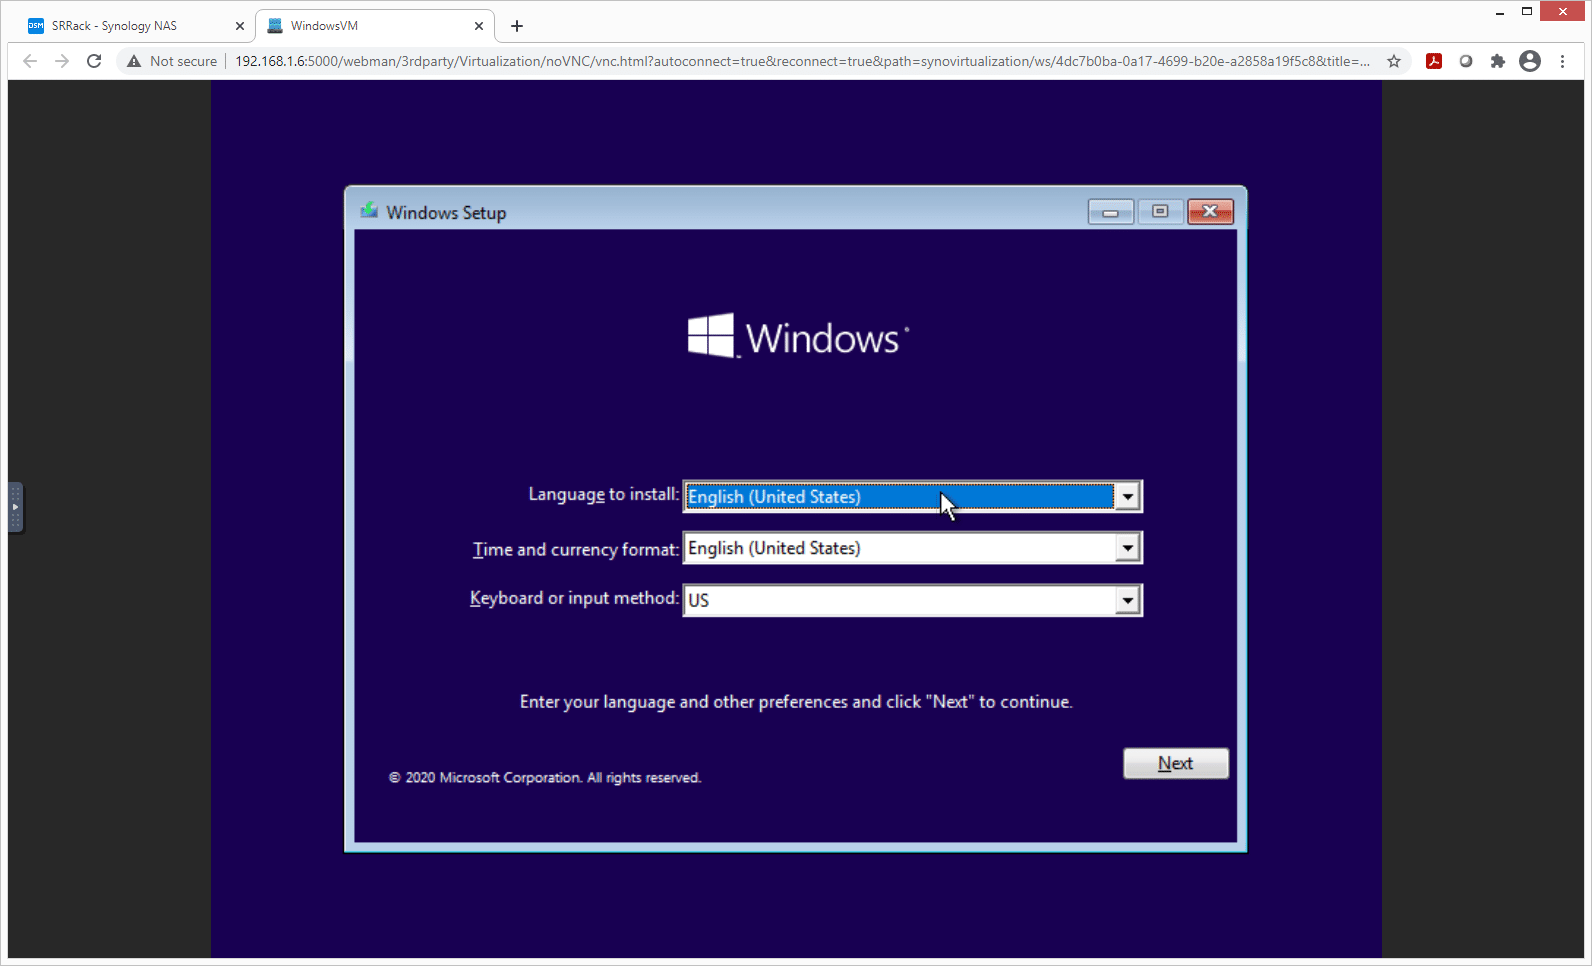
Here we get the Windows 10 installer, which from this point to first boot isn’t any different than installing Windows on any other host. Click next, agree to the terms, select your install disk and go.
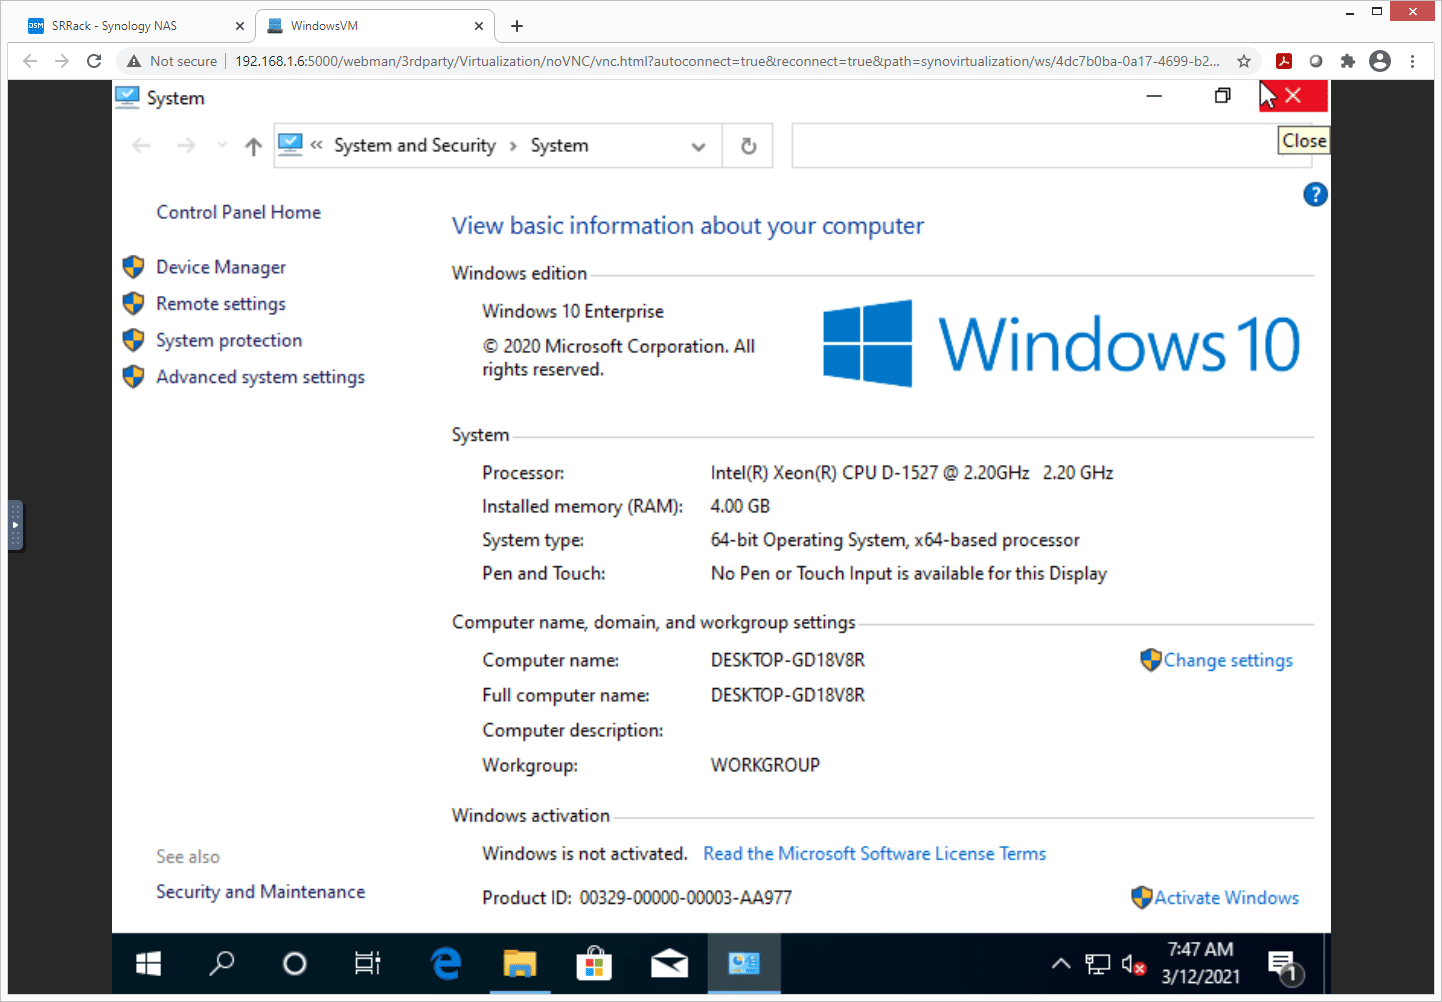
After making our login we get into Windows 10 and can see the assigned resources given to the VM. We see the pass-through of the Intel Xeon D1527 2.2GHz CPU as well as 4GB of RAM.
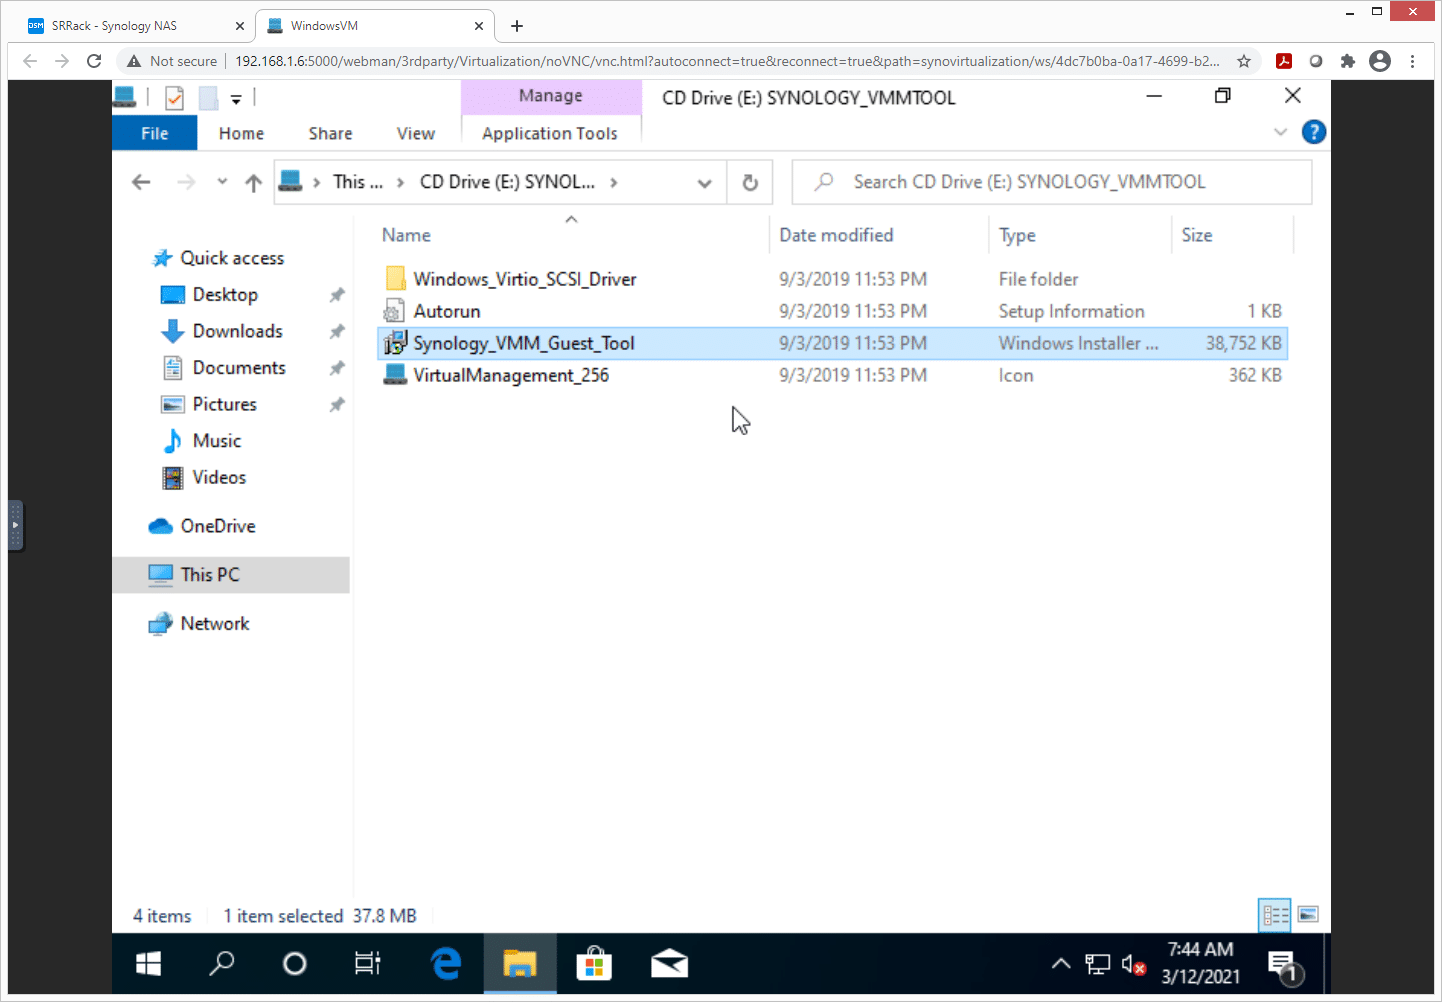
The last step to get things fully in order is to install the mounted Synology VMM guest tools.
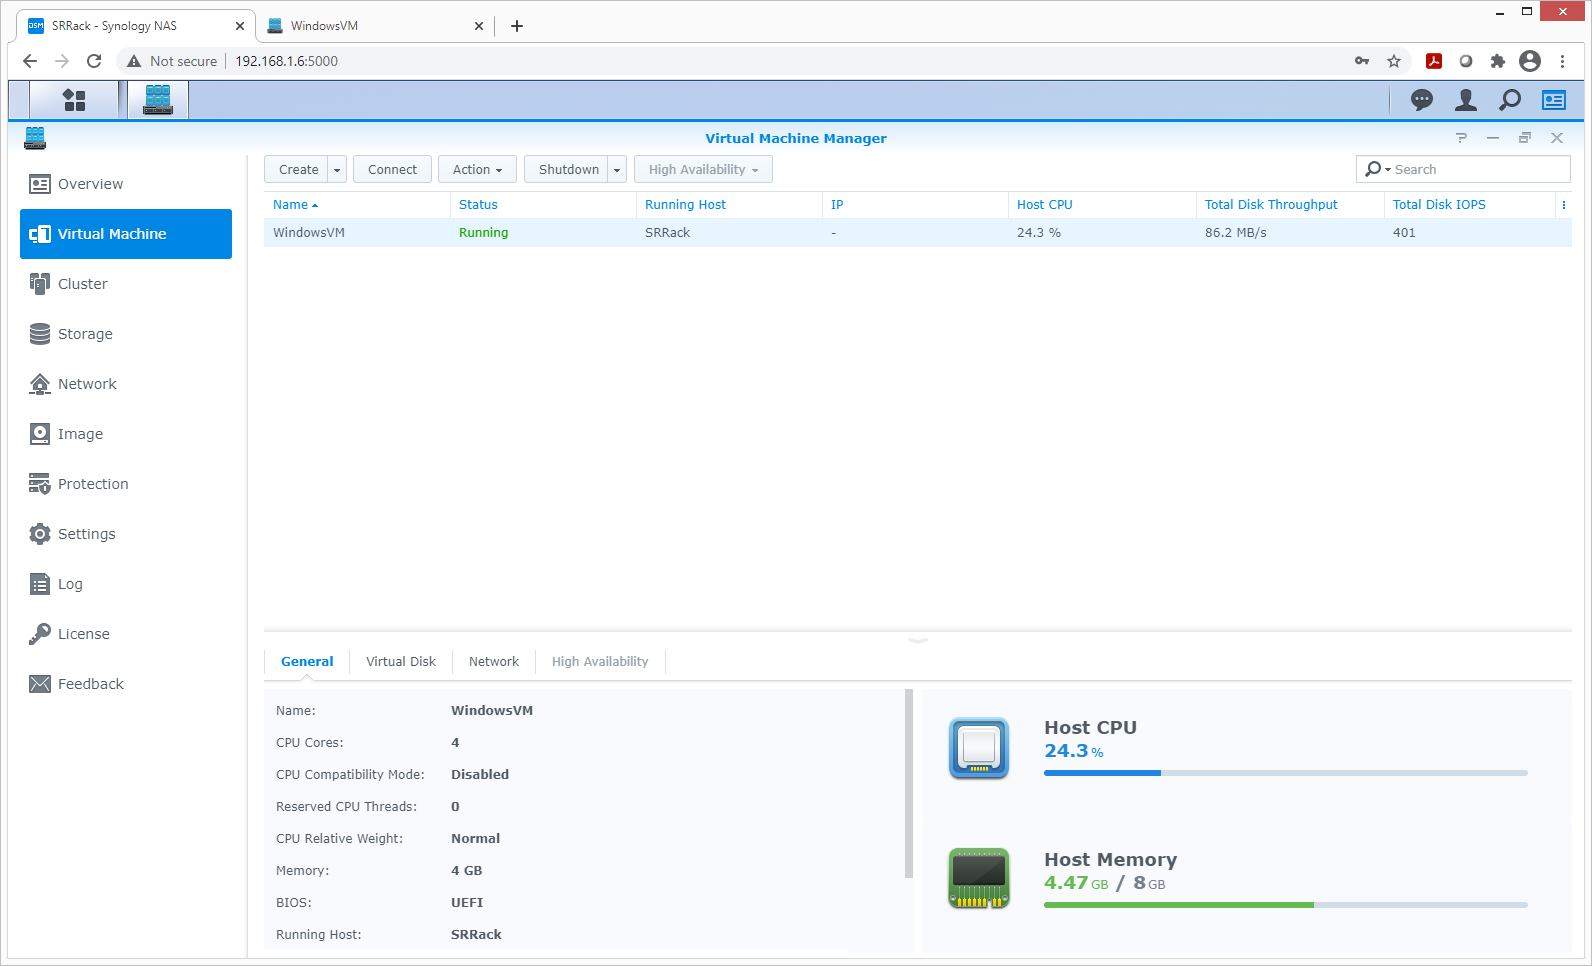
With the VM running, it was interesting to see the level of monitoring capabilities Synology VMM gives you. At the main Virtual Machine overview, you see the host CPU usage, disk throughput, and IOPS consumed. You also see the IP address (or addresses as those items come online).
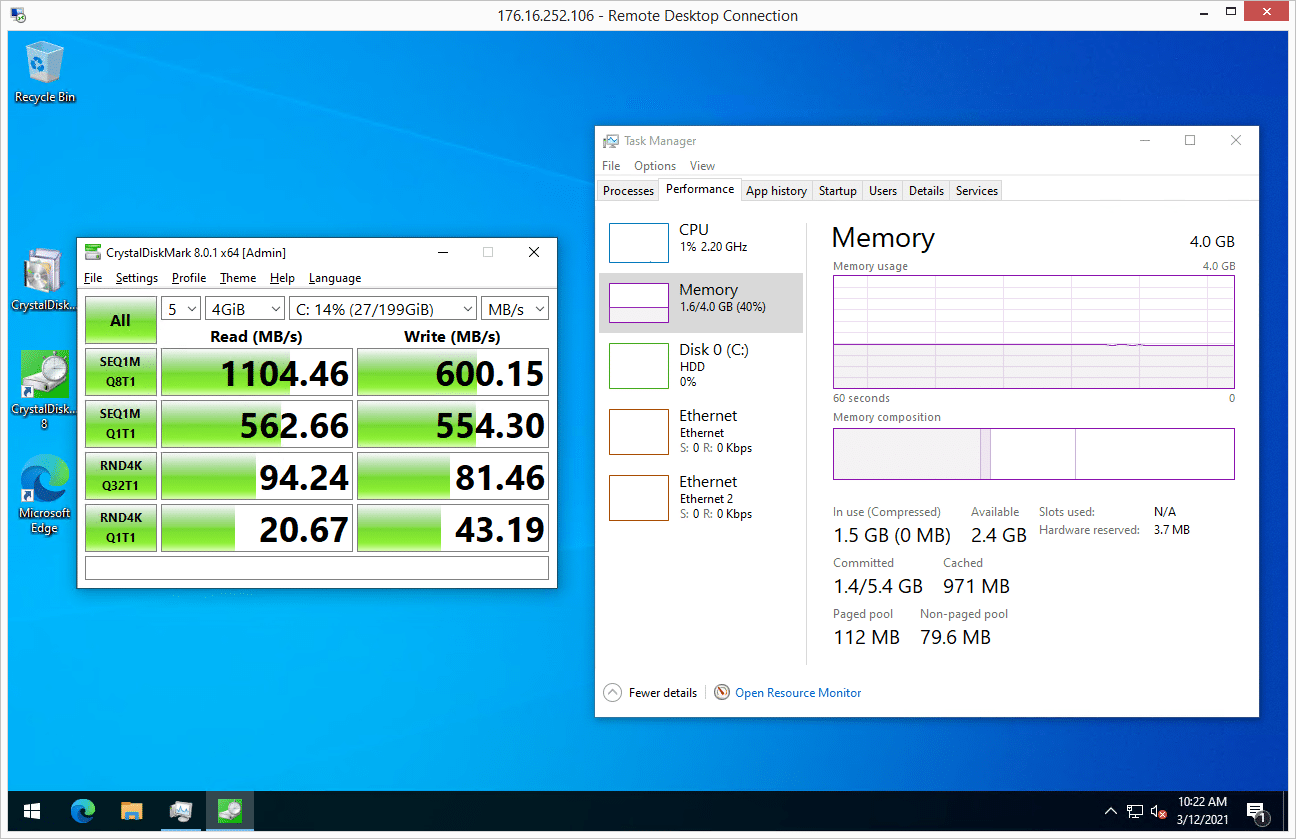
Performance inside the Synology VMM is surprisingly quick. We have our VM sitting on two SATA SSDs in RAID1 and managed to get close to what those disks are capable of raw, showing minimal overhead. During these tests CPU usage inside the guest VM and on the NAS itself didn’t show cause for concern, meaning storage I/O running at the guest VM level shouldn’t hurt other activities on the NAS. If you have those activities on the same storage volume though you may run into storage I/O “noisy neighbor” problems. QoS would alleviate that inside a hypervisor, although that is one component not present in VMM. That is one element that starts pushing more enterprise.
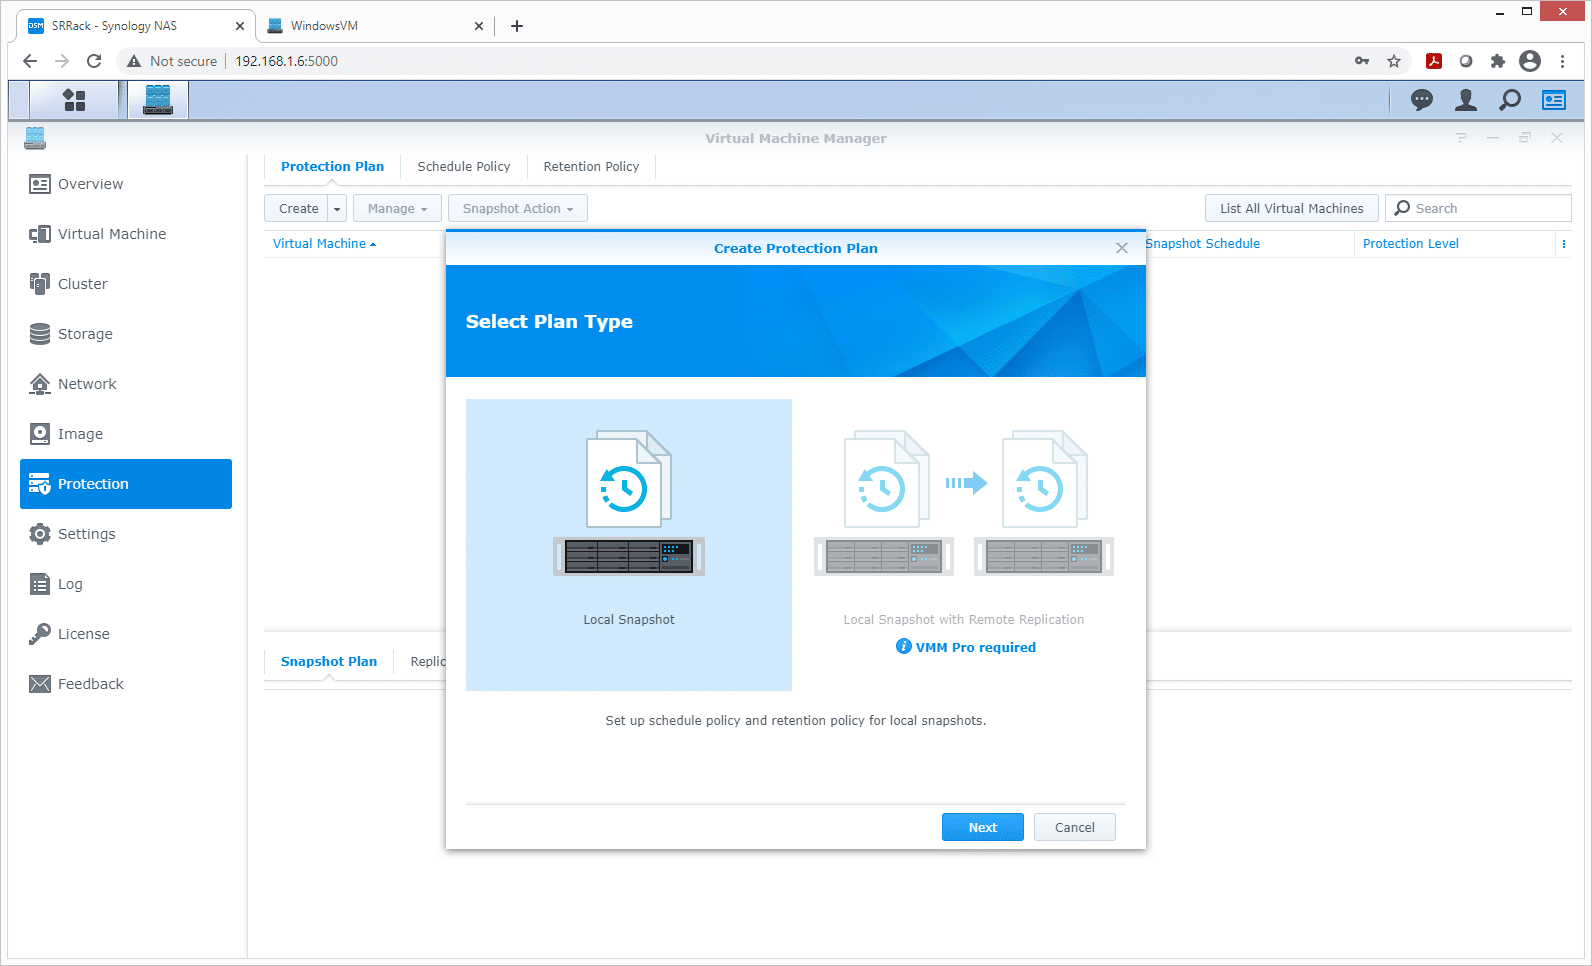
Protection policies are obviously just as important in a homelab as they are in an enterprise setup. Synology gives you a comprehensive protection plan in VMM with built-in snapshots and retention. To get it configured, click create. Since we don’t have a VMM Pro license installed all snapshots will be retained locally.
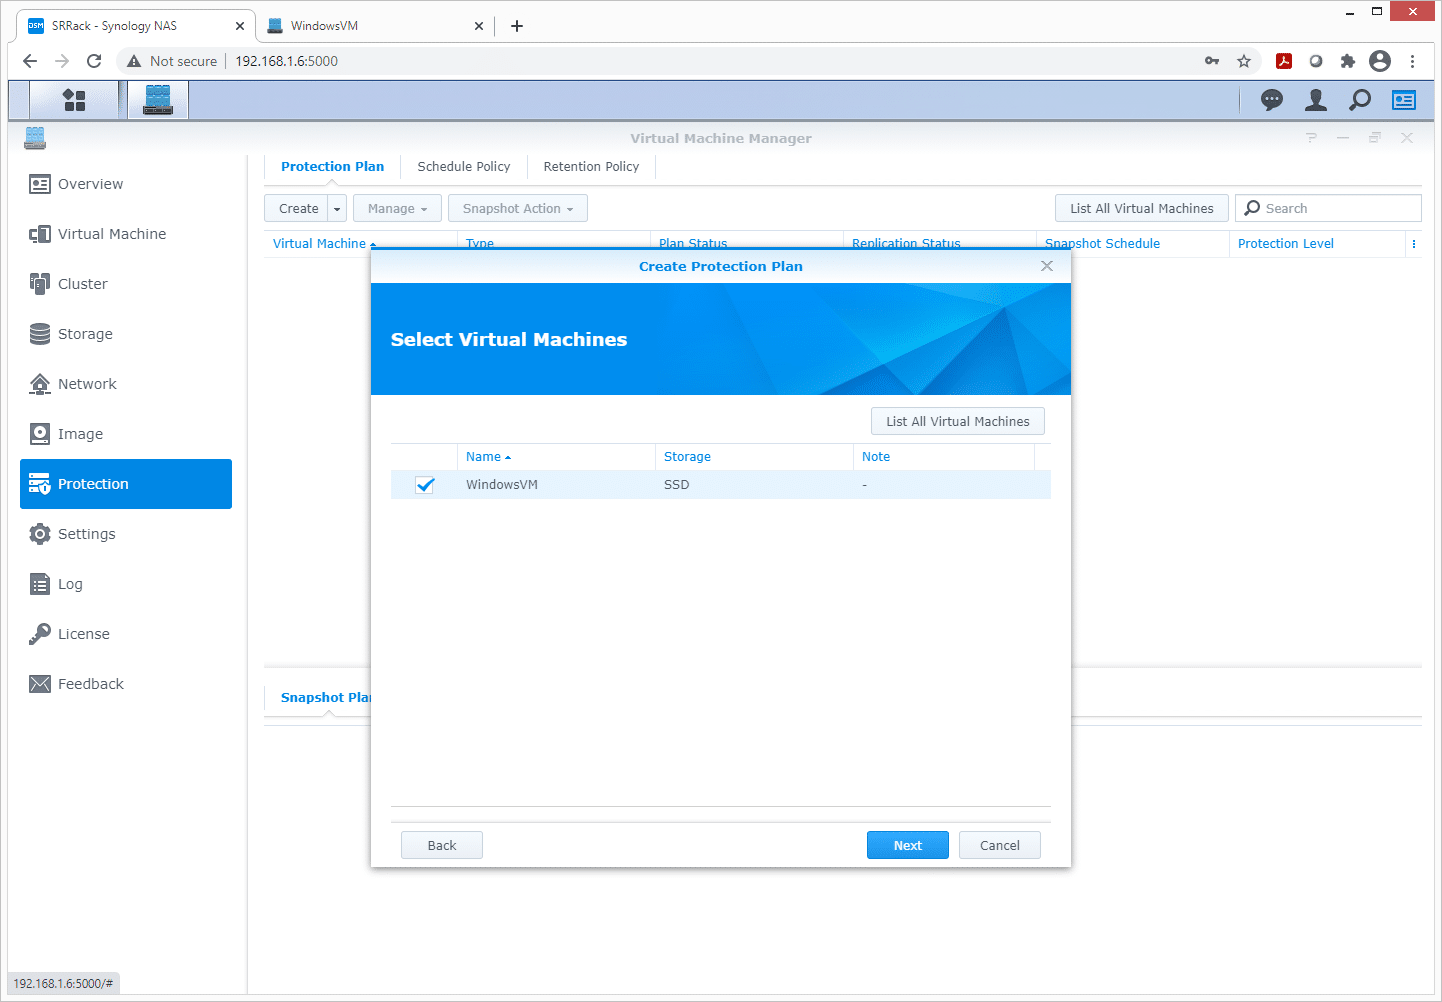
Next, select the VM or VMs you want to create the protection plan on.
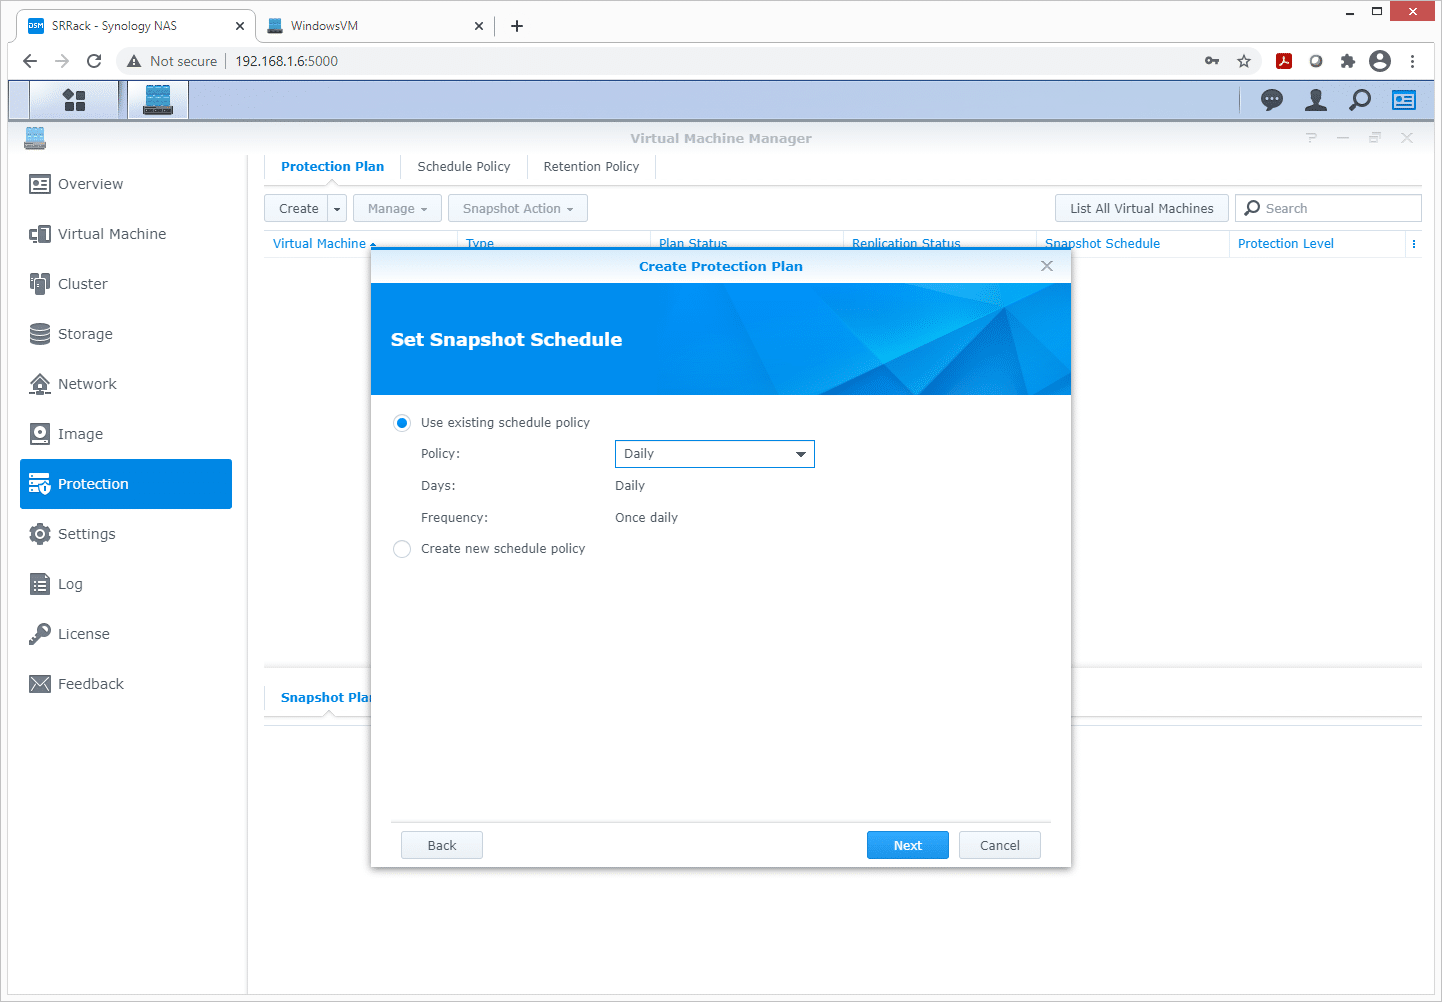
You can then select an existing policy or make a new scheduled policy.
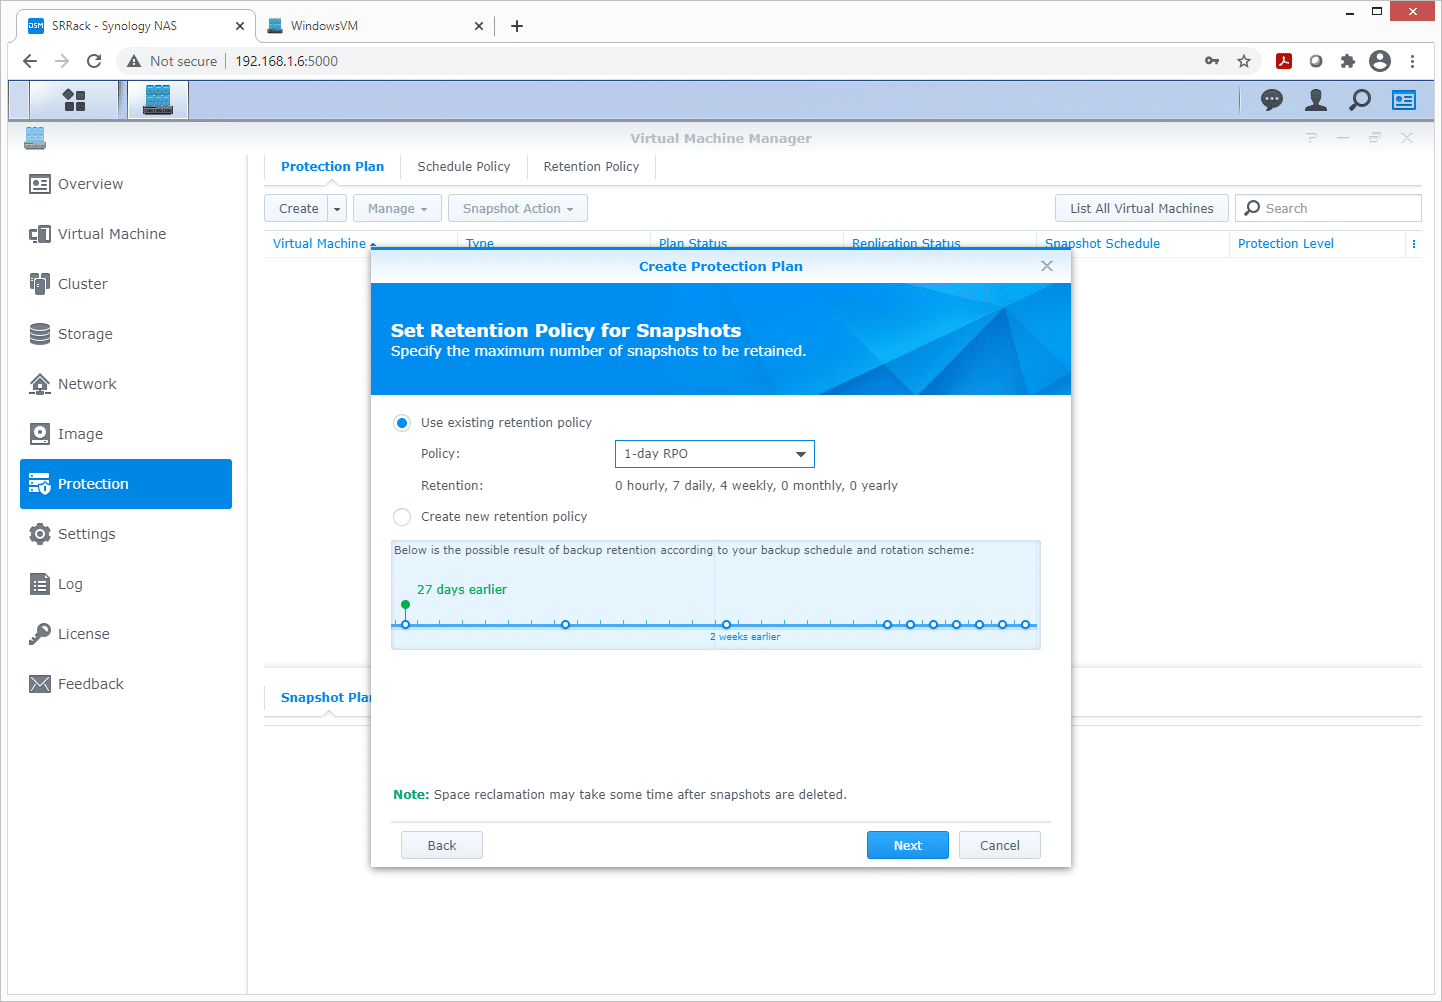
A retention policy is then set up, where you select how long you want to keep the various snapshot intervals. VMM gives you a nice screen explaining the difference between each option as you select it.
Synology Virtual Machine Manager Final Thoughts
Overall the Synology Virtual Machine Manager offers a fantastic feature set for homelab users or SMB customers who want to dabble in the virtualization space without having to acquire additional server hardware. If your needs for a test/dev environment or application aren’t too intensive, many of the Synology systems have enough RAM by default to run a medium workload or a couple of light workloads in the background. While you can expand the RAM as needed depending on the NAS, CPU resources are limited to what you have as is. If you can work with though boundaries, Synology’s VMM is a fantastic choice for existing customers or new users who want to combine tasks for storage and compute in a small footprint.


 Amazon